 Save
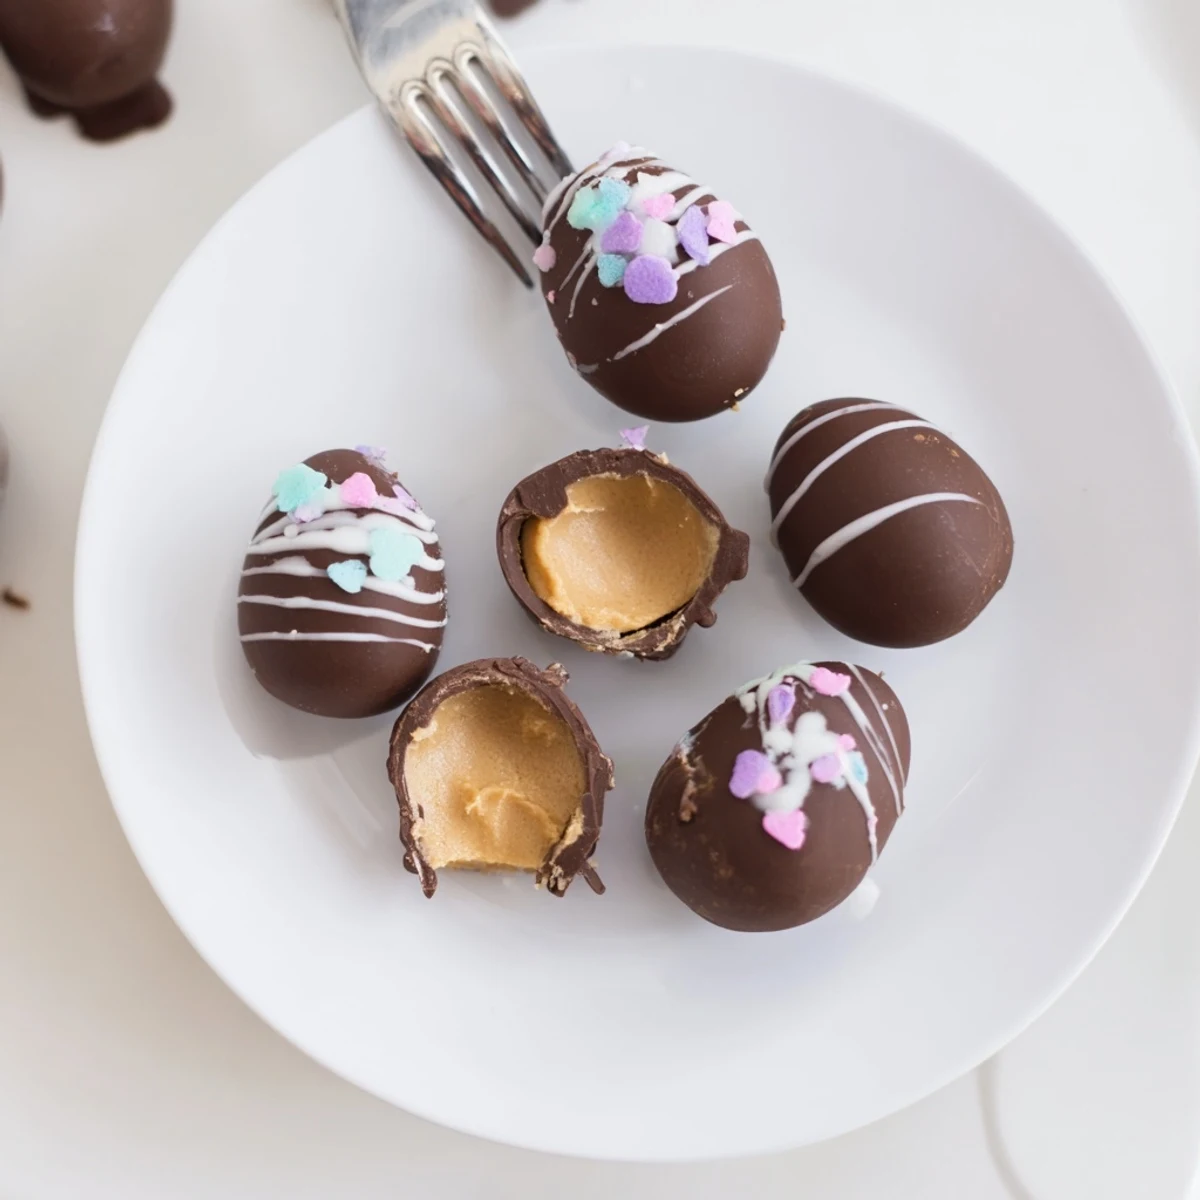
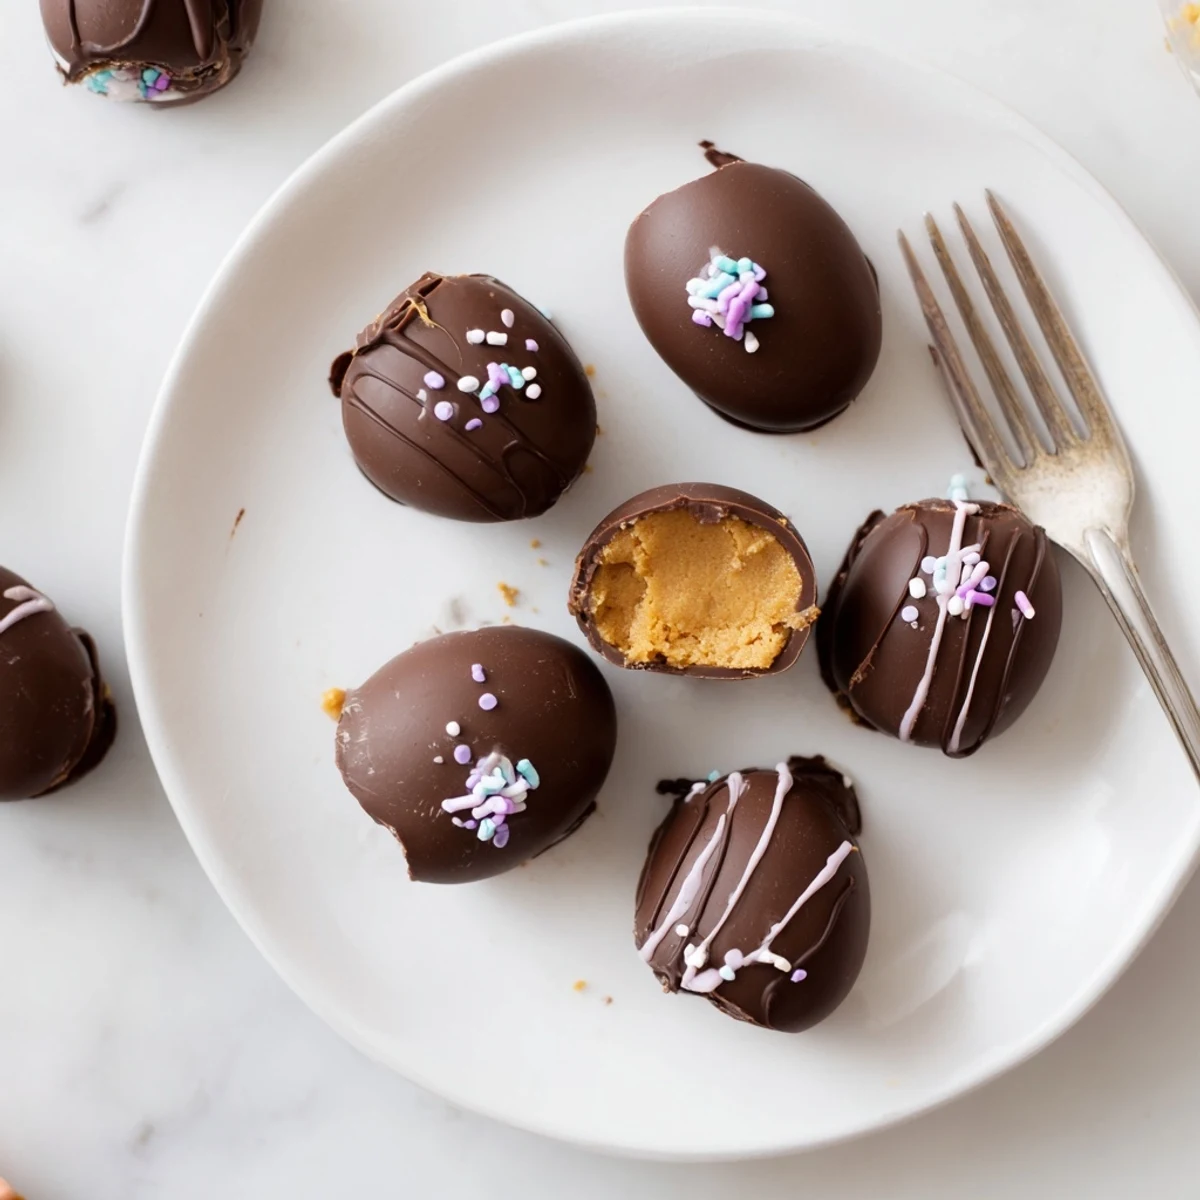
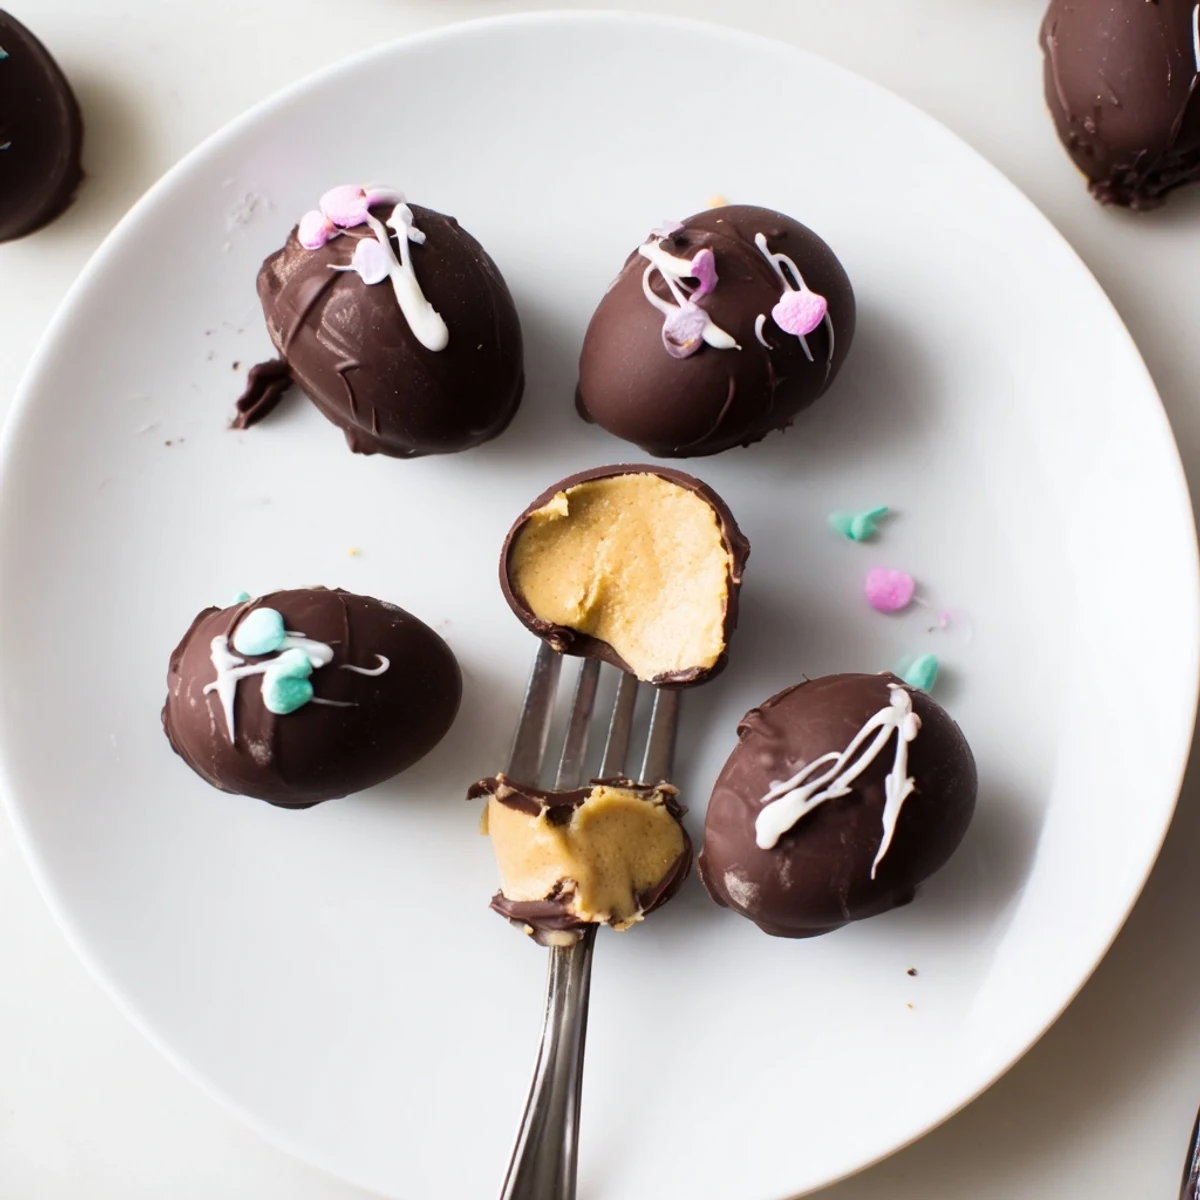
Save Combine 1 cup creamy peanut butter with softened butter, vanilla and powdered sugar; shape into egg forms and chill until firm. Melt 1½ cups chocolate with a tablespoon of oil, dip each piece and return to chill until set. Hands-on time is under 30 minutes; chilling adds about an hour. Try crunchy peanut butter or crushed pretzels for texture and store chilled in an airtight container.
The first clue that peanut butter eggs would be a hit in my kitchen was the faint smell of melted chocolate drifting down the hallway late one quiet Saturday. I didn't set out to make them for a festive reason; I just wanted that pairing of creamy peanut butter and glossy chocolate that makes you pause mid-bite. Funny enough, the process turned into an unexpected little adventure, with powdered sugar dust flying and spoons clinking. By the end I was already plotting excuses to make double next time.
I remember making a batch one chilly spring morning while a friend and I swapped stories and shaped the eggs, slightly messy but laughing the whole way. The decorating was definitely competitive—her drizzle method versus my sprinkle attack—and somehow the imperfections made them even more irresistible.
Ingredients
- Creamy peanut butter: Choose a thick, not too oily peanut butter to keep the filling stable and lush.
- Unsalted butter: Softening the butter first makes it blend in like a dream, and unsalted lets you control the final flavor.
- Powdered sugar: Don't underestimate its power—it binds everything while keeping the center tender, not gritty.
- Vanilla extract: This tiny spoonful brings warmth and rounds out the sweetness.
- Salt: Just a pinch sharpens all the flavors and stops the filling from tasting flat.
- Semi-sweet or milk chocolate chips: Both work, but semi-sweet gives that classic rich chocolate shell.
- Coconut oil or vegetable shortening: Helps melt the chocolate smoothly and gives it an irresistibly glossy finish.
Instructions
- Cream it up:
- Start by blending the peanut butter and softened butter until the mix is so smooth you want to dip a finger in for a taste test.
- Build the dough:
- Add in the vanilla, salt, and then powdered sugar gradually, working carefully—it's easy to create a sugar blizzard.
- Shape your eggs:
- Grab a bit of the dough—it's squishy and a little sticky—and mold it into egg shapes, making sure your hands are just barely damp to prevent sticking.
- Chill out:
- Put the eggs on parchment and slide the tray into the fridge, giving them time to firm up for a perfect chocolate dip later.
- Melt the chocolate:
- Combine the chocolate chips and coconut oil in a bowl, and microwave gently; stir after each burst and stop the second it turns glossy and velvety.
- Dip and set:
- Using a fork, lower each peanut butter egg into the chocolate, coat fully, then let the excess drip off before settling back onto the paper.
- Final chill:
- Refrigerate until the shells are set and dawn a satisfying crack when you bite in.
- Store and enjoy:
- Keep them chilled in an airtight container, hidden away if you don't want to share too soon.
 Save
Save The first time a kid's eyes went wide as they saw their own sprinkled creation set up in the fridge, these eggs officially graduated to 'tradition' territory. There's a certain kind of magic in watching both friends and family bite in, chocolate crackling, all eyes momentarily closed in happy silence.
Getting Creative with Flavors
Once you nail the basic recipe, you might find yourself stirring in a handful of crushed pretzels, or even using almond or cashew butter for a twist. My kitchen quickly filled with little bowls of toppings as friends and family started making wild suggestions. Adding a line of colorful sprinkles or a zigzag of white chocolate makes every batch feel like a small holiday.
Avoiding Sticky Situations
Some days the dough can be stubbornly soft, especially if your kitchen is warm. Chilling your hands briefly under cold water makes shaping less messy—no accidental peanut butter fingerprints on your counters. If you have kids helping, give them smaller portions to shape and let them master the art one egg at a time.
Serving and Storing Secrets
These eggs are at their best cold from the fridge, with that satisfying shell snap you hear in quiet kitchens. They also keep well for days, though honestly, I've never seen a single one survive longer than a weekend.
- If making ahead, wait to decorate with drizzles or extras until the chocolate shell has set.
- Add a sheet of parchment between layers if you stack them in a container.
- Be sure to stash a few in a secret container for yourself—these have a habit of vanishing quickly.
 Save
Save Whether you're making these to celebrate or simply to treat yourself, each bite is a small, joyful reward. Happy mixing, shaping, and—most importantly—sharing (if you must)!
Recipe FAQs
- → How do I keep the chocolate coating smooth and shiny?
-
Warm chocolate gently in short bursts and stir until fully melted; add a small amount of coconut oil to loosen the chocolate and improve shine. Avoid overheating to prevent graininess, and dip pieces when both filling and chocolate are cool but fluid.
- → Can I make the filling less sweet without losing texture?
-
Reduce powdered sugar gradually and balance with a pinch more salt or a touch of lemon juice for brightness. If the mixture becomes too soft, chill briefly and adjust sugar in small amounts until it holds shape.
- → Will crunchy peanut butter work for these centers?
-
Yes—using crunchy peanut butter adds a pleasant bite. You can also fold in crushed pretzels or toasted nuts for extra texture; just ensure the mixture remains pliable enough to form eggs before chilling.
- → What type of chocolate is best for coating?
-
Semi-sweet or milk chocolate chips melt smoothly and balance the filling’s sweetness. For a glossier finish and firmer snap, use higher-quality couverture chocolate or add a little coconut oil to improve flow.
- → How should I store these peanut butter chocolates?
-
Keep them refrigerated in an airtight container to maintain firmness and freshness; they’ll keep well for about one to two weeks. Let them sit a few minutes at room temperature before serving for softer centers.
- → Tips for shaping and dipping without sticky hands?
-
Use a small scoop to portion the filling, chill the shapes until firm, and work with cold hands or lightly oiled gloves. Use a fork or dipping tool to coat and let excess drip off before returning to parchment for final chill.
