 Save
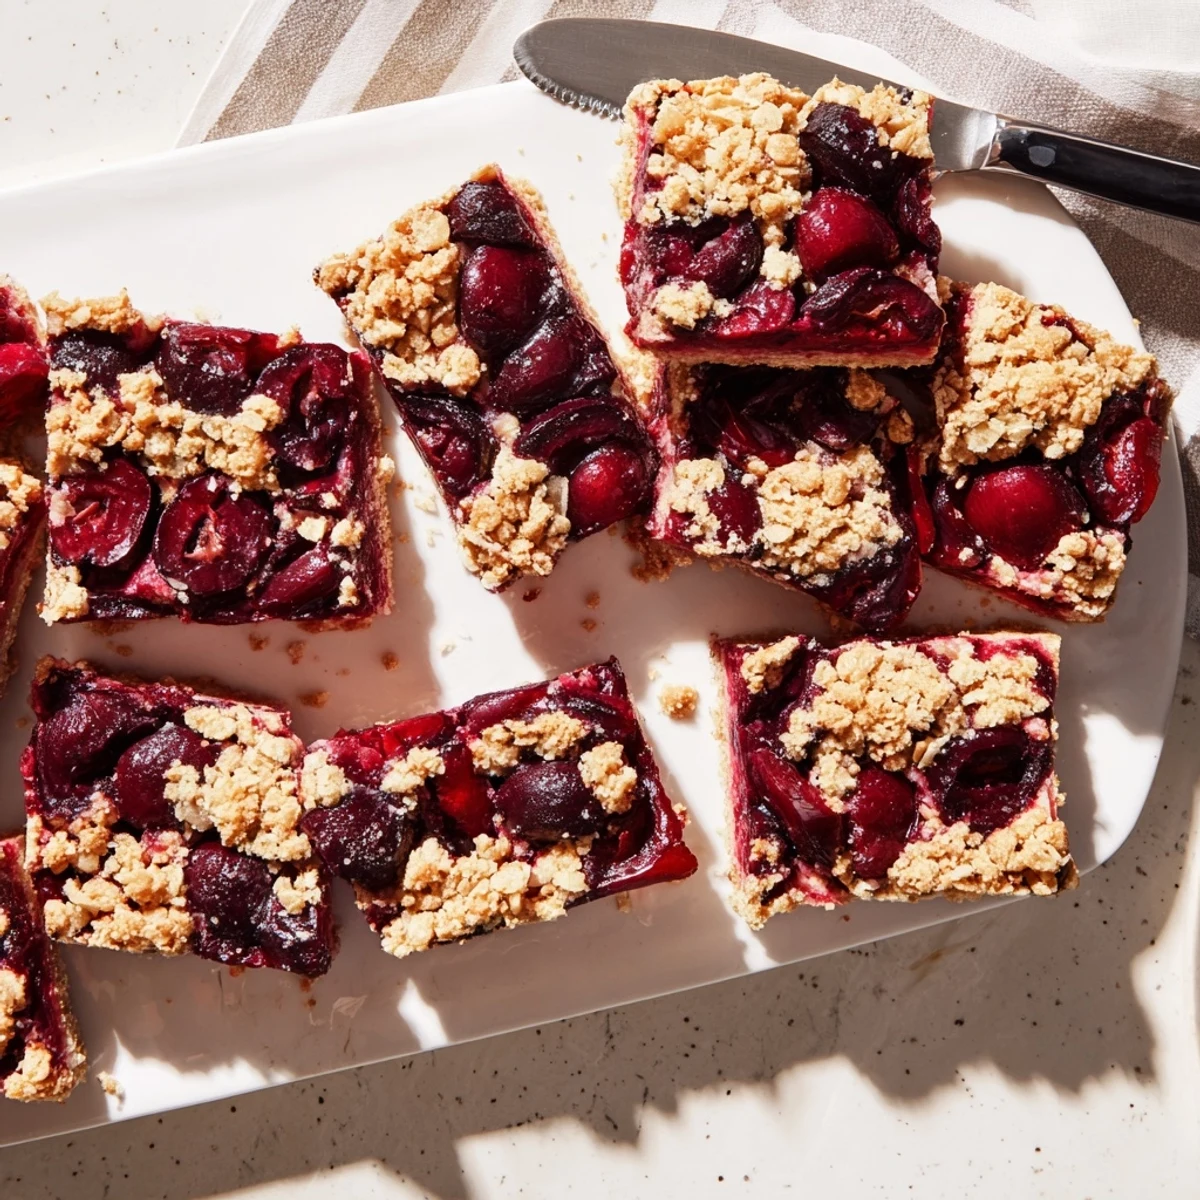
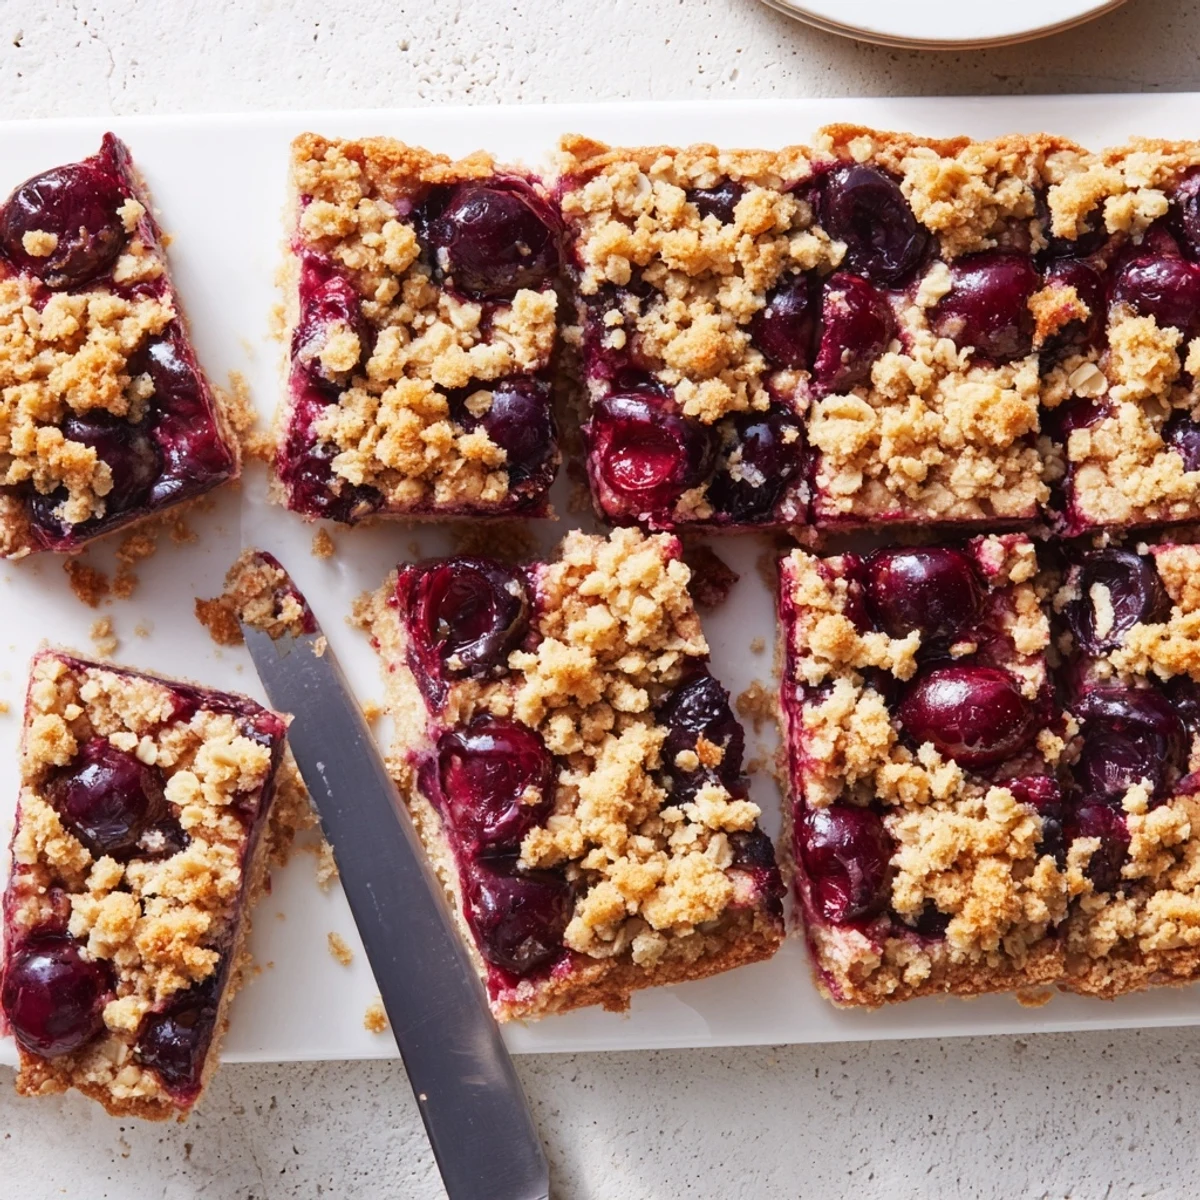
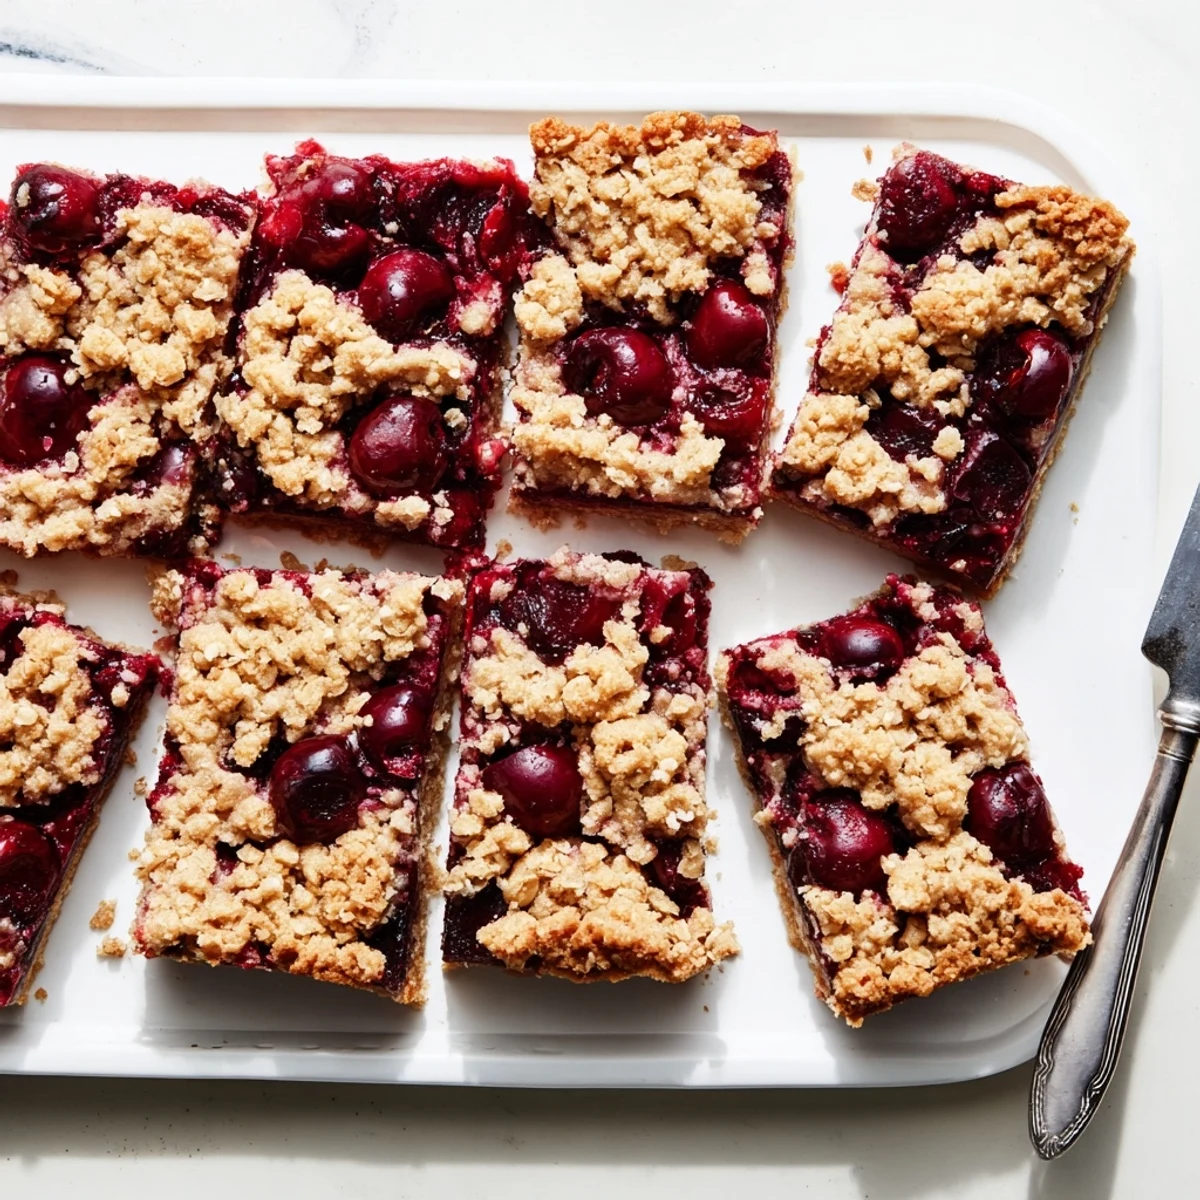
Save These cherry crumble bars feature a buttery oat crust pressed into a pan, topped with sweetened cherries, and finished with a reserved crumble topping that bakes until golden brown. The bars come together quickly with just 20 minutes of prep time.
Fresh or frozen cherries work equally well—toss them with sugar, cornstarch, and lemon juice for a thickened fruit layer. The oat-based crumble doubles as both crust and topping, making this dessert efficient to assemble.
Let the bars cool completely before cutting to ensure clean slices. Serve plain for a simple treat, or warm with vanilla ice cream for an indulgent dessert. Store at room temperature for up to three days.
Last summer, my neighbor brought over a basket of cherries from her tree, and I stood there staring at them, wondering what to do with all that jewel-toned fruit before it started to soften. These crumble bars were born out of that happy abundance, and the way the house smelled while they baked made me immediately text my sister to come over early.
My roommate walked in while I was pressing the crust into the pan, asking what that incredible smell was, and ended up leaning against the counter waiting for the timer to go off. We ate them warm, standing in the kitchen, and agreed that some desserts are worth the inevitable cherry-stained fingers.
Ingredients
- All-purpose flour: Forms the structure of both crust and crumble, so measure accurately for the right texture
- Old-fashioned rolled oats: These give the crumble its signature chew and nutty flavor, avoiding instant oats which disappear too much
- Granulated sugar: Sweetens both the crumble base and balances the natural tartness of fresh cherries
- Light brown sugar: Adds deep caramel notes and keeps the crumb tender with its molasses content
- Baking powder: Helps the crust puff slightly for that tender bite instead of becoming a hard cookie layer
- Salt: Essential for balancing all that sugar and letting the cherry flavor shine through
- Unsalted butter: Melted butter coats every flour particle for that irresistible sandy crumble texture
- Vanilla extract: Rounds out the flavors and adds that classic baked dessert warmth
- Fresh or frozen cherries: The star of the show, and frozen work beautifully when cherries are out of season
- Cornstarch: Thickens the cherry juices as they bake, preventing a soggy bottom layer
- Lemon juice: Brightens the cherry filling and enhances the fruit's natural acidity
- Almond extract: Completely optional but pairs magically with cherries if you want that extra layer
Instructions
- Get your oven ready:
- Preheat to 350°F and line a 9x13 pan with parchment, letting the edges hang over like a little sling for lifting later
- Mix the crumble base:
- Whisk flour, oats, both sugars, baking powder, and salt in a large bowl until everything looks evenly combined
- Add the butter:
- Pour in melted butter and vanilla, then stir until the mixture looks like damp sand and holds together when squeezed
- Make the crust:
- Reserve about 1½ cups of the mixture for topping, then press the rest firmly and evenly into your prepared pan
- Prepare the filling:
- Toss cherries with sugar, cornstarch, lemon juice, and almond extract until every piece is coated
- Layer it up:
- Spread the cherries evenly over the crust, then sprinkle that reserved crumble all over the top
- Bake until golden:
- Bake 35 to 40 minutes until the top is golden brown and you see the cherry filling bubbling around the edges
- Patience pays off:
- Let cool completely in the pan before lifting out with the parchment and cutting into clean bars
 Save
Save These bars have become my go-to for potlucks because they travel well and always disappear first. Someone asked for the recipe before they even finished their first bite, which I take as the highest compliment.
Making These Year Round
Frozen cherries work just as well here, and I actually keep bags in my freezer specifically for when the craving hits in winter. No need to thaw them first, just toss them with the sugar and cornstarch like you would fresh ones.
Getting The Right Texture
The crumble should look like wet sand when you squeeze it together, and if it seems too dry, your butter might not have been hot enough when you poured it in. The crust needs to be pressed firmly or the bars will fall apart when you cut them.
Serving Ideas
These bars are perfect on their own, but a scoop of vanilla ice cream while they are still slightly warm is absolutely worth the mess. They also pair beautifully with a cup of coffee or tea for an afternoon treat that feels fancy but comes together so quickly.
- Store them in an airtight container for up to three days
- The crust softens slightly overnight but the flavor develops beautifully
- They freeze well for up to two months if you want to bake ahead
 Save
Save There is something so satisfying about a dessert that looks impressive but comes together with such simple ingredients. Hope these become a staple in your kitchen too.
Recipe FAQs
- → Can I use frozen cherries instead of fresh?
-
Yes, frozen cherries work perfectly in this dessert. No need to thaw them first—just add about 5 extra minutes to the baking time to account for the frozen fruit.
- → How should I store these cherry bars?
-
Keep the bars in an airtight container at room temperature for up to 3 days. For longer storage, refrigerate for up to a week or freeze individually wrapped bars for up to 3 months.
- → What can I substitute for the almond extract?
-
You can omit the almond extract entirely, or replace it with vanilla extract for a more traditional flavor profile. A pinch of cinnamon also works well with the cherry filling.
- → Why did my filling turn out runny?
-
The cornstarch helps thicken the cherry juices during baking. Make sure to mix it thoroughly with the cherries and sugar. Also, let the bars cool completely before cutting—warm filling will seem looser.
- → Can I add nuts to the crumble topping?
-
Absolutely! Chopped almonds, pecans, or walnuts add wonderful crunch to the topping. Mix about ½ cup of chopped nuts into the reserved crumble mixture before sprinkling over the cherries.
- → What size pan should I use?
-
A 9x13-inch baking pan works best for this recipe. The larger surface area ensures the bars bake evenly and aren't too thick. Lining with parchment paper makes removal and cutting much easier.
