 Save
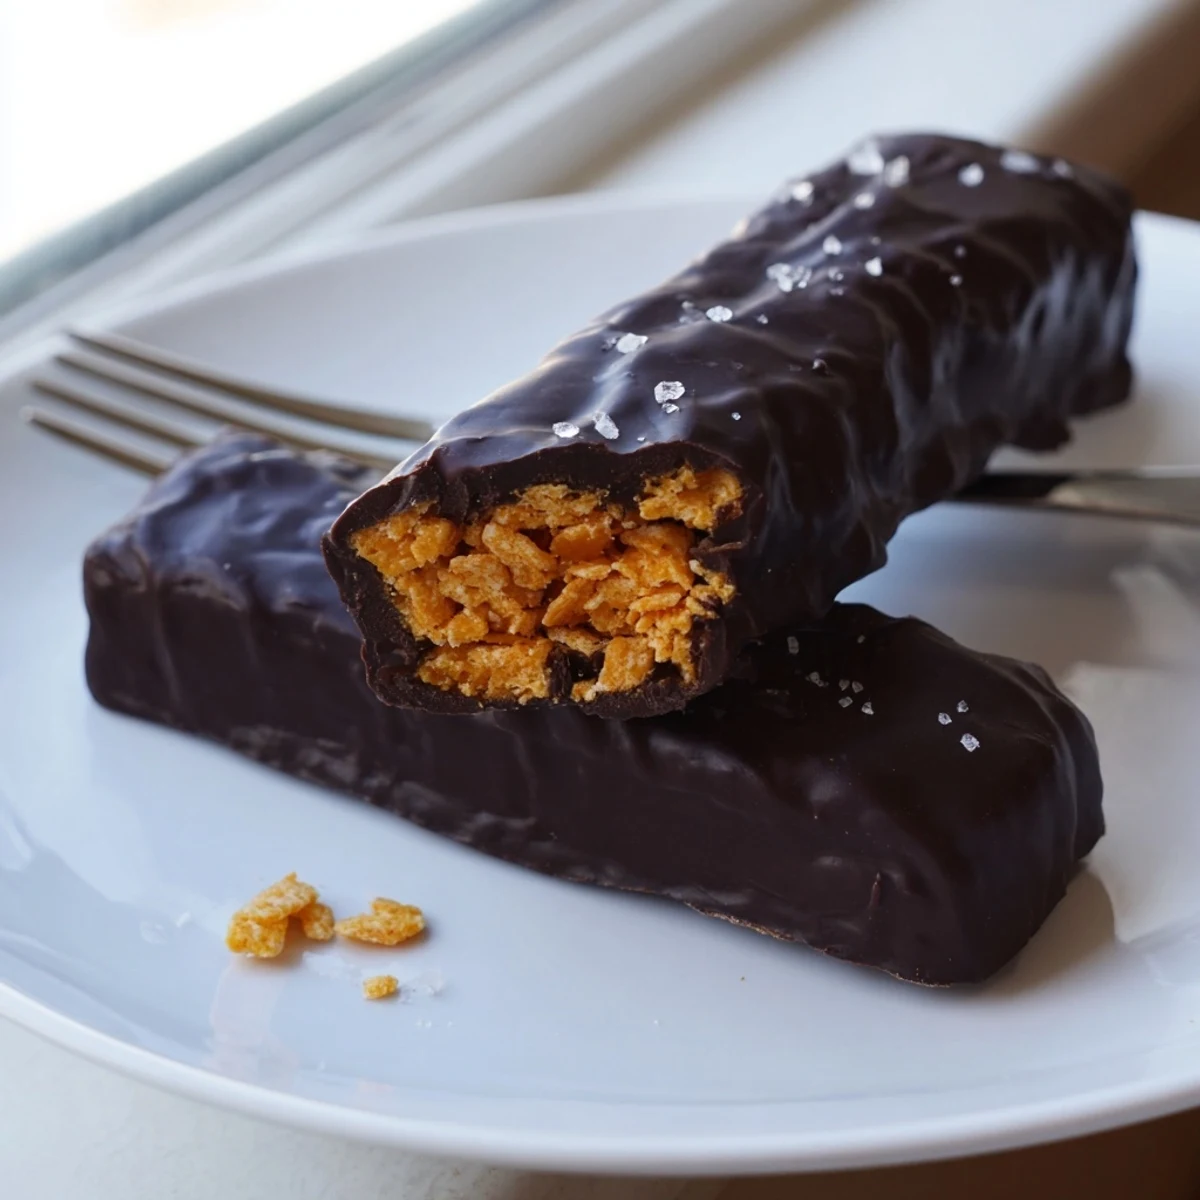
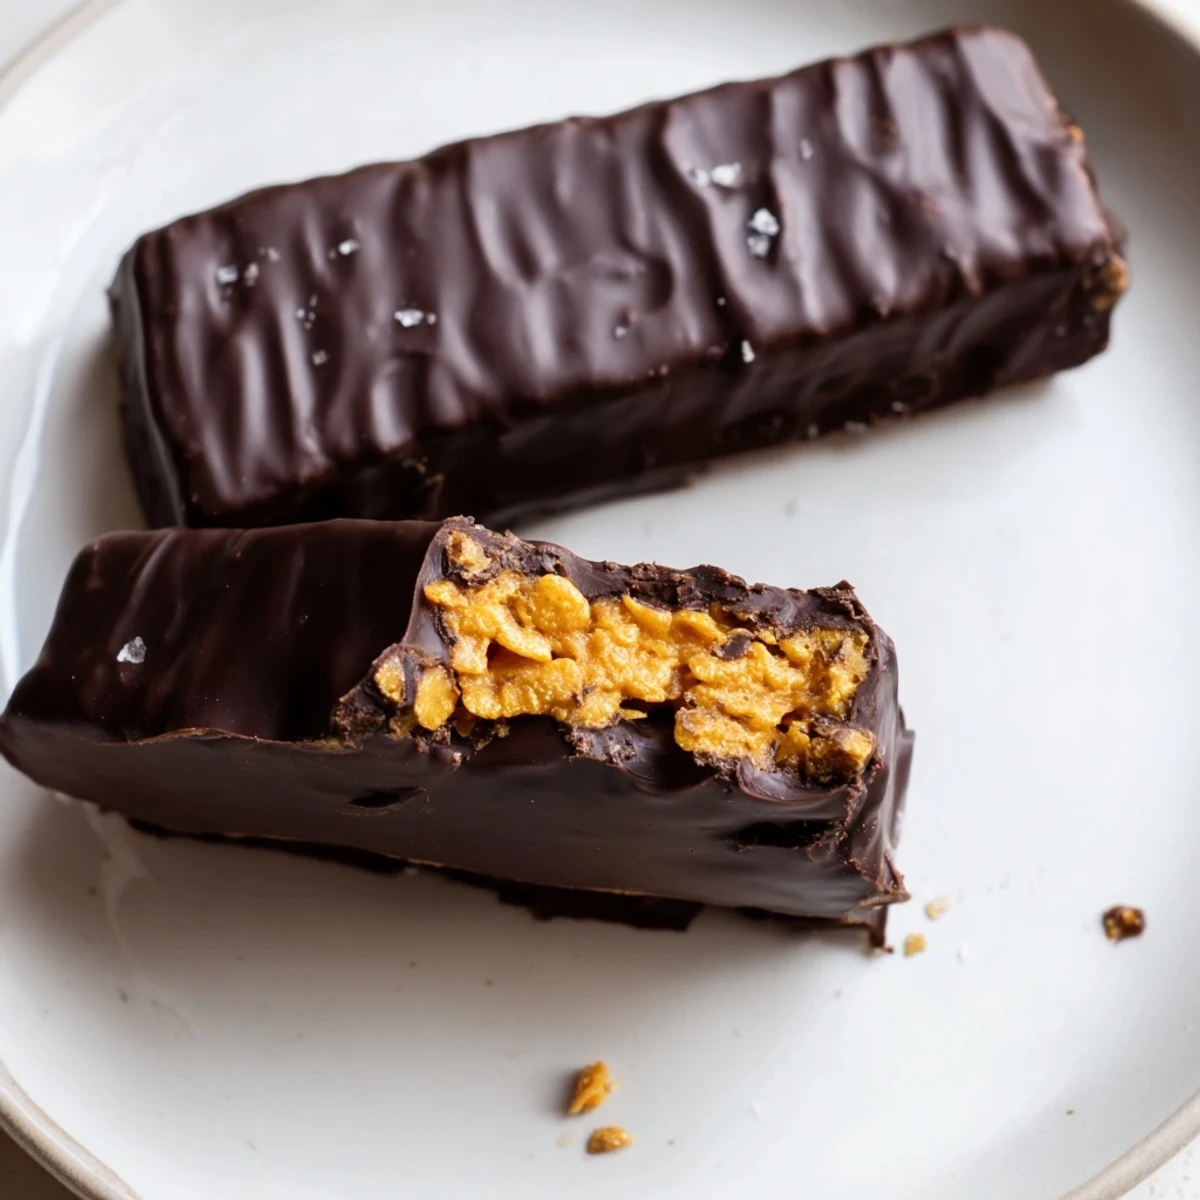
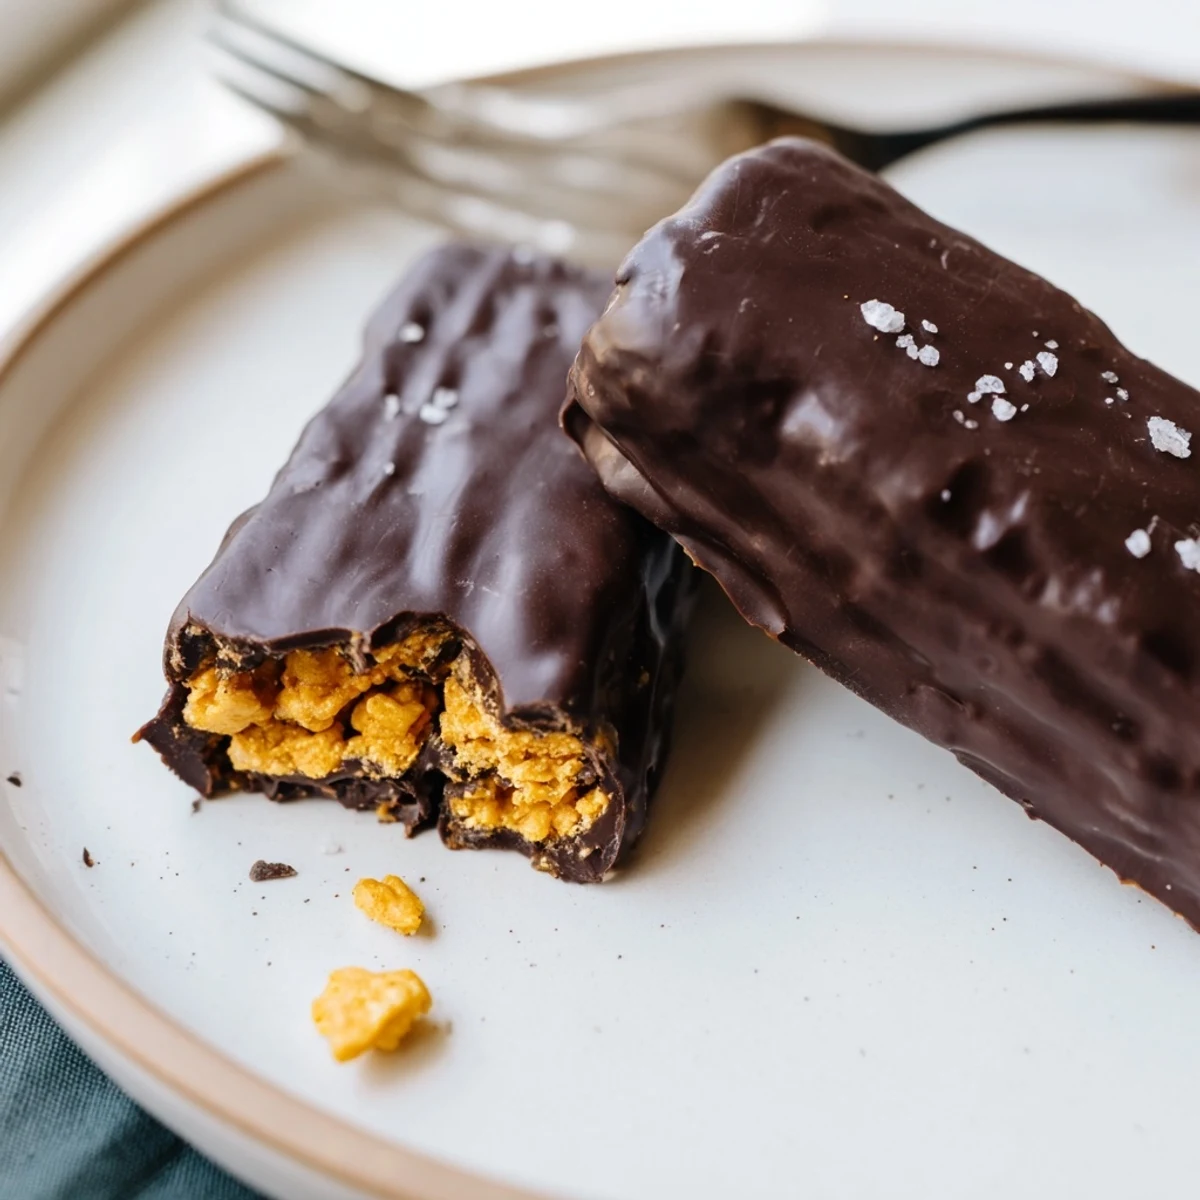
Save These homemade Butterfingers capture everything you love about the classic candy bar — the shattering peanut butter crunch, the glossy chocolate shell — using wholesome ingredients you can feel good about.
A simple mixture of creamy peanut butter, maple syrup, and crushed cornflakes forms the signature flaky center. After a quick chill, each bar gets dipped in melted dark chocolate and sets in the fridge.
No candy thermometer, no corn syrup, no fuss. The whole process takes about 30 minutes of active time, and the bars keep beautifully in the fridge or freezer for weeks.
The candy aisle at the grocery store used to call my name every single checkout trip, and Butterfingers were always the first to land in my basket. Something about that shattering peanut butter core and the waxy chocolate shell kept me coming back for years. Then one rainy Saturday, staring at an ingredient list I could barely pronounce, I decided it was time to figure out how to build that same crackly magic in my own kitchen. Twenty minutes and a bag of cornflakes later, I had something arguably better than the original.
I brought a batch of these to a friends Halloween party last October and watched a grown man eat four of them while standing over the dessert table pretending he was not eating four of them. His wife caught him on the third one and just shook her head. By the end of the night, the plate was licked clean and I had sent the recipe to seven different people.
Ingredients
- Natural creamy peanut butter: Use the kind with just peanuts and salt on the label, nothing else, because added oils make the mixture greasy instead of sticky and rich.
- Pure maple syrup or honey: Maple syrup keeps the bars vegan and adds a warm caramel note, while honey gives a slightly floral sweetness that pairs beautifully with the peanut butter.
- Vanilla extract: Just a teaspoon rounds out the sweetness and makes the whole batch taste more like a finished candy than a pantry experiment.
- Cornflakes: Lightly crushed is the key here, you want rough pieces, not dust, because those jagged little shards are what create that signature Butterfinger snap.
- Sea salt: A pinch in the base and another on top of the chocolate makes every flavor louder and more balanced.
- Dark chocolate chips: Go for something around 60 to 70 percent cacao for a coating that sets firm and cuts through the sweetness of the filling.
- Coconut oil: Just a tablespoon thins the chocolate so it coats smoothly and gives that satisfying snap when you bite into a cold bar.
Instructions
- Prep your pan:
- Line an 8 by 8 inch baking dish with parchment paper, leaving enough hanging over the edges to lift the whole slab out later like a giant candy brick.
- Melt the base together:
- In a saucepan over medium low heat, stir the peanut butter and maple syrup until they melt into one glossy, warm mixture that smells like the inside of a peanut butter cup. This only takes about two or three minutes, so do not walk away.
- Add the flavor and crunch:
- Off the heat, stir in the vanilla and salt, then gently fold in the crushed cornflakes until every flake is coated and the mixture looks like beautiful, chunky rubble.
- Press and freeze:
- Spread the mixture into your prepared pan and press it flat with a spatula, really leaning into it so the bars hold together when you slice them. Freeze for twenty to thirty minutes until completely firm.
- Cut into bars:
- Lift the slab out of the pan using the parchment overhang and cut it into sixteen bars with a sharp knife, wiping the blade between cuts for clean edges.
- Melt the chocolate:
- Combine the chocolate chips and coconut oil in a microwave safe bowl and heat in thirty second bursts, stirring between each, until the mixture is silky and lump free.
- Coat each bar:
- Dip each bar into the melted chocolate, using a fork to flip it and tap off the excess, then set it on a fresh sheet of parchment to set.
- Chill until set:
- Refrigerate the coated bars for fifteen to twenty minutes until the chocolate shell is firm and no longer tacky to the touch.
 Save
Save The real moment this recipe became permanent in my rotation was when my nephew, who normally refuses anything homemade, asked if I could bring these instead of store candy for his birthday. That sealed the deal forever.
Storing Your Candy Bars
Keep these bars in an airtight container in the refrigerator and they stay perfect for about two weeks, though in my house they never last more than three days. You can also freeze them layered between sheets of parchment for up to three months, which means you can always have a secret stash ready when the candy craving hits at eleven oclock at night.
Making Them Your Own
Swap the dark chocolate for milk chocolate if you want something sweeter and closer to the original Butterfinger coating. A friend of mine drizzles white chocolate over the top and adds a pinch of flaky sea salt, which looks bakery level gorgeous. You can also stir a handful of mini chocolate chips directly into the cornflake mixture for a double chocolate punch that surprises people on the first bite.
Getting the Coating Right
The coconut oil is what makes the chocolate thin enough to coat evenly and firm enough to snap when cold, so do not skip it or substitute with butter which contains water and makes the coating cloudy and soft. If your kitchen is warm, work quickly and pop the dipped bars into the fridge immediately so the chocolate does not pool at the bottom.
- Use a fork to dip the bars so excess chocolate drips through the tines naturally.
- Tap the fork gently on the edge of the bowl to get a thin, even coating every time.
- Always let the bars chill on parchment or they will stick to the tray and ruin the smooth bottom.
 Save
Save These bars are proof that you do not need a candy thermometer or fancy equipment to make something that rivals the checkout aisle. Keep a batch in your freezer and you will never be caught empty handed when a sweet tooth strikes.
Recipe FAQs
- → Can I use a different cereal instead of cornflakes?
-
Yes, rice cereal or crushed pretzels work well as substitutes. Keep in mind the texture will vary slightly — cornflakes give the most authentic Butterfinger-like crunch.
- → Why do my bars need to be stored in the fridge?
-
The peanut butter filling softens at room temperature. Refrigerating keeps the bars firm and the chocolate coating snap-fresh. They taste best chilled anyway.
- → Can I make these vegan?
-
Absolutely. Use maple syrup instead of honey and choose dairy-free dark chocolate chips. Coconut oil stays vegan-friendly and helps the chocolate set with a nice shine.
- → How long do homemade Butterfingers last?
-
Stored in an airtight container in the fridge, they stay fresh for up to 2 weeks. You can also freeze them for up to 3 months — just let them chill in the fridge for a few minutes before enjoying.
- → My chocolate coating keeps seizing — what am I doing wrong?
-
Make sure no water gets into the chocolate while melting. Use a completely dry bowl and utensils. The coconut oil helps prevent seizing and gives a smoother, more workable coating.
- → Can I use milk chocolate instead of dark?
-
Of course. Milk chocolate creates a sweeter, more traditional candy bar flavor. Reduce the sweetness in the filling slightly if you prefer a less sweet treat overall.
