 Save
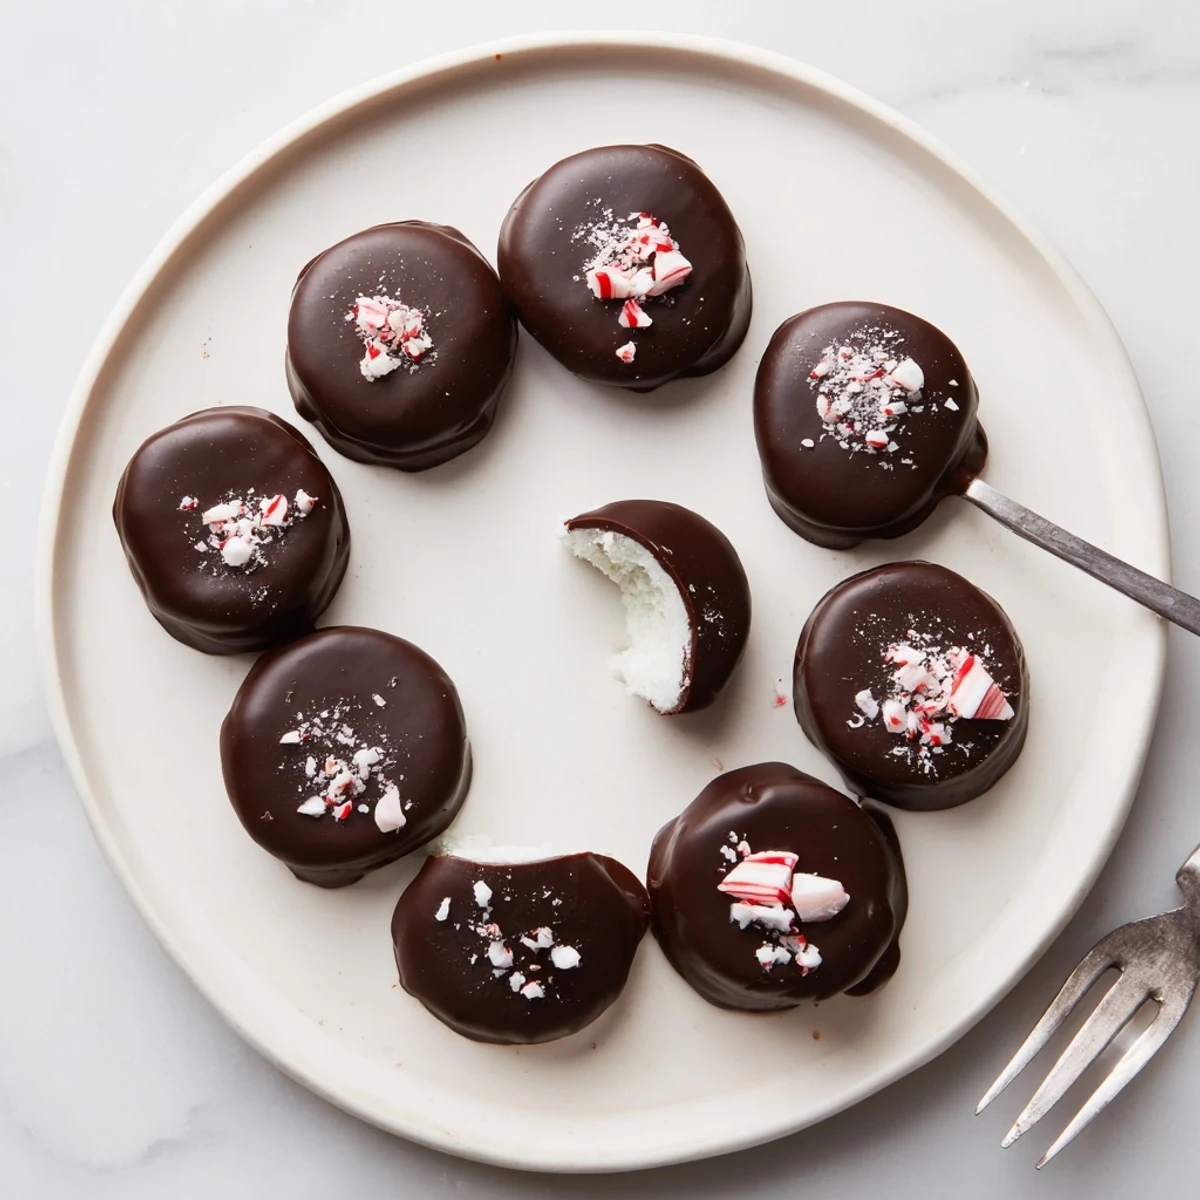
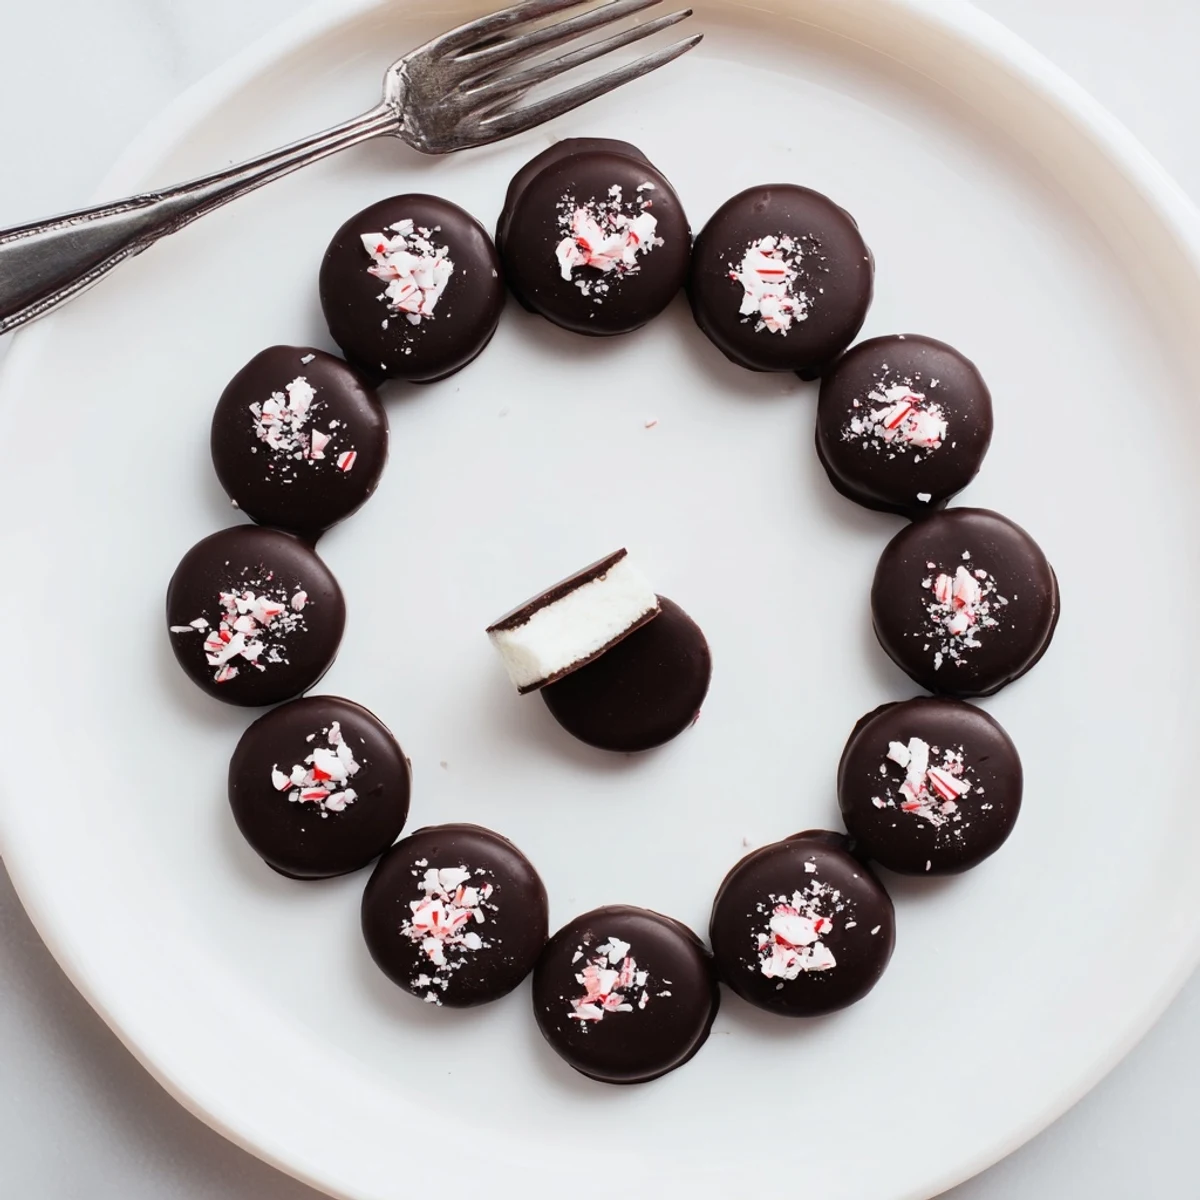
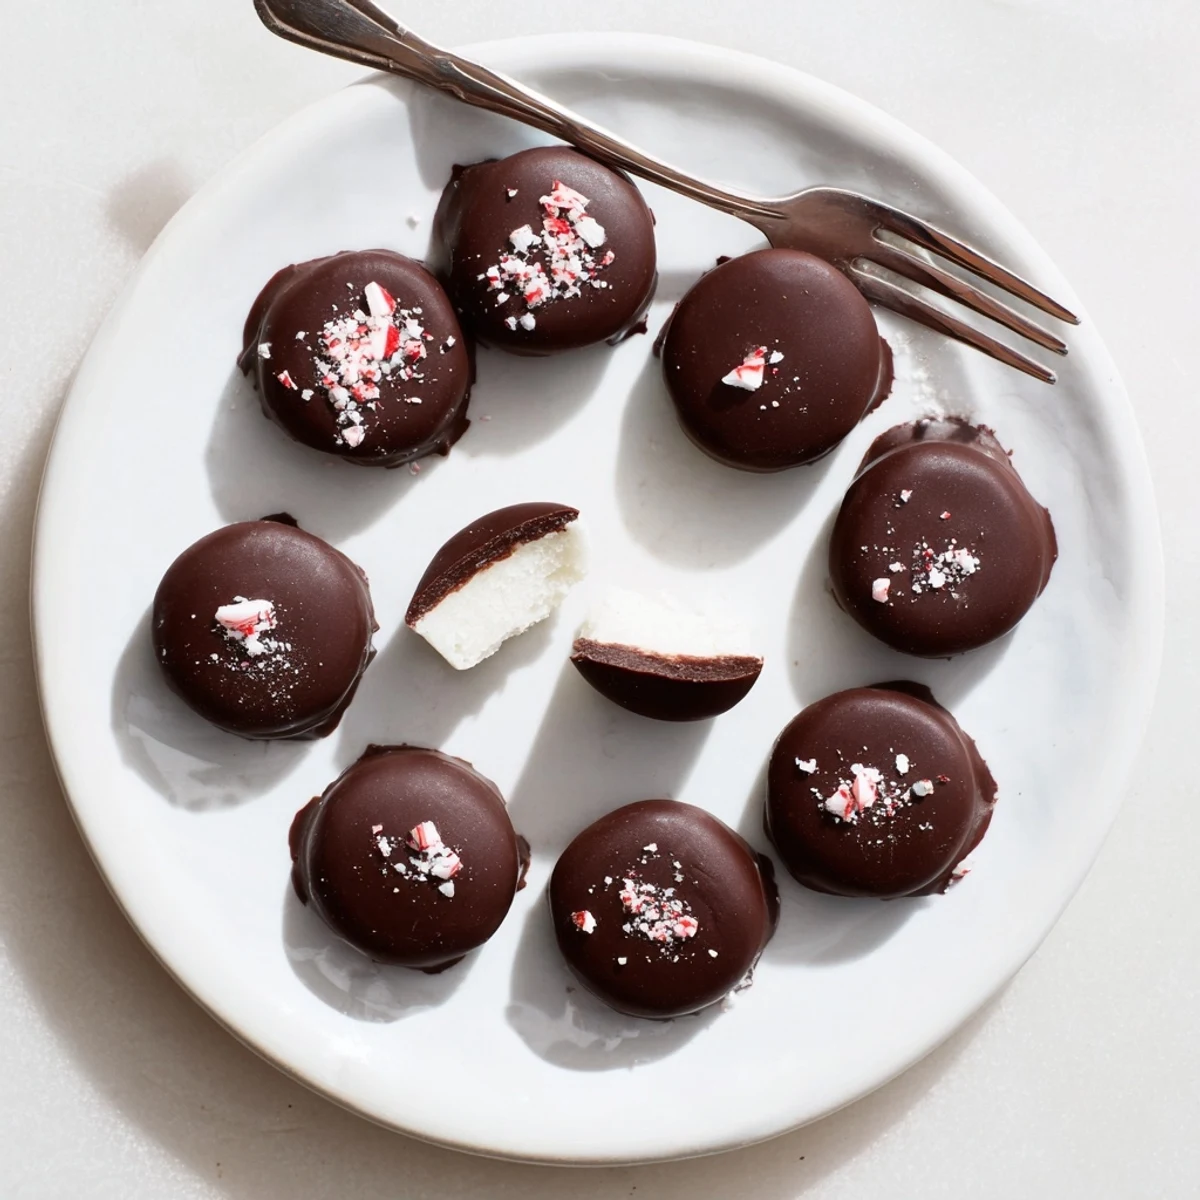
Save Silky peppermint dough combines sifted powdered sugar, softened butter, peppermint extract and a touch of cream; shape into small discs, freeze 20–30 minutes, then dip in melted dark chocolate and chill until set. Finish with crushed candy or flaky sea salt. Yields about 24 patties and stores well chilled in an airtight container for up to two weeks.
I remember the first time I made peppermint patties, the kitchen filled with the surprising rush of cool mint even before I unwrapped the chocolate. My curiosity coaxed me into trying to make them from scratch after seeing the neat rounds lined up behind the glass at an old-fashioned candy shop. The scent alone felt like a promise of winter holidays, but I had no idea my hands would get so delightfully sticky. It turned into a mini adventure, laughter echoing with every smudge of chocolate on my cheek.
The last time I whipped up a batch was right before friends popped by for game night, and everyone ended up stealing pieces right off the tray before they were even chilled. There’s something oddly unifying about sneaking homemade treats together while the dog circles your feet, nose in the air for crumbs. Peppermint patties have now become my go-to peace offering and sweet surprise for any guest who happens to linger at the counter.
Ingredients
- Powdered sugar (sifted): Key to creating that silky, melt-in-your-mouth filling; sifting avoids clumps and makes smoother dough.
- Unsalted butter (softened): Creams beautifully for the filling and helps everything hold together; I've learned that room temperature butter blends faster.
- Pure peppermint extract: Pure extract provides that bright cooling zing—start with less, then add more drop by drop for your perfect strength.
- Heavy cream: Adds lushness and makes the peppermint center just soft enough to bite through; don’t substitute milk, as cream gives the best texture.
- Pinch of salt: A little goes a long way, subtly amplifying the chocolate and mint flavors in each bite.
- Dark chocolate (60–70% cocoa), chopped: Rich and sophisticated, this doubles as both a flavor booster and a crispy shell; quality matters here, use the best you can get.
- Coconut oil (optional): One teaspoon is all it takes for ultra-glossy, snappable chocolate—especially helpful if your kitchen is chilly.
Instructions
- Mix the dough:
- In a mixing bowl, combine powdered sugar, softened butter, peppermint extract, heavy cream, and a pinch of salt. Blend until the dough pulls away from the sides and feels cool and pliable, like modeling clay but softer.
- Shape the patties:
- Scoop out small amounts (about 2 teaspoons each), then roll and flatten into 1/4-inch thick discs—hands will get sticky but that’s half the fun. Lay each disc on a parchment-lined baking sheet so they don’t stick together.
- Freeze for firmness:
- Slide the baking sheet into the freezer for at least 20–30 minutes; listen for the sound of your fridge working overtime as the discs firm up for easy dipping.
- Melt the chocolate:
- In a heatproof bowl over simmering water, gently stir the chopped dark chocolate (and coconut oil, if using) until glossy and smooth—resist the urge to crank the heat.
- Dip the patties:
- Working quickly, use a fork to dunk each peppermint disc into melted chocolate, letting excess drip off for clean edges. Return them to the sheet with space in between—cleanup is easier if you line the tray well.
- Chill to set:
- Refrigerate the chocolate-dipped patties about 15 minutes, just until the shell is firm with a slight shine.
 Save
Save One time, I handed out little packs at work, and seeing grown adults sneak to my desk for seconds was better than any store-bought dessert. Sometimes, it’s the homemade touch—and the uneven drizzle of chocolate—that gets remembered most.
The Art of Dipping Without Disaster
Dipping is a hands-on affair and, trust me, you’ll end up with chocolate fingers the first few tries. I’ve learned to use a fork for a cleaner dip and rotate the disk gently, letting excess drip before setting it back on the tray. If you keep your patties cold, the chocolate sets in a flash and doesn’t leave too many streaks or fingerprints.
Flavor Tweaks You Can Try
Once, I added a touch of vanilla to half the batch, which mellowed the peppermint into something unexpectedly cozy for winter. You can try swirling a little orange zest or even a pinch of espresso powder into the filling—just remember, a little goes a long way. Customizing to your taste is half the fun of making these at home.
Gift-Wrapping and Storage Tricks
I love slipping a few patties into a crinkly cellophane bag and tying it shut with kitchen twine for a quick, thoughtful present. Layering wax paper between them keeps chocolate shells looking smooth, and stashing in the coldest part of the fridge means they hold their snap for days. These are my top reminders every holiday season—
- Don’t stack the patties before chocolate is set.
- Label for allergies if gifting.
- Hide a few for yourself or they’ll disappear instantly.
 Save
Save Making peppermint patties always leaves my kitchen smelling like a sweet winter breeze. Each bite is a cool surprise, perfect for sharing or stashing away for just yourself.
Recipe FAQs
- → How do I get a smooth peppermint filling?
-
Beat powdered sugar with softened butter, peppermint extract and cream until smooth and pliable; add extra powdered sugar a little at a time if it feels sticky to achieve a workable dough.
- → Best way to melt dark chocolate for coating?
-
Melt chocolate gently over simmering water in a heatproof bowl, stirring frequently. Add a teaspoon of coconut oil for a glossier, smoother coating if desired.
- → Can I make these vegan?
-
Yes. Substitute dairy-free butter and coconut cream for the butter and heavy cream, and choose dairy-free dark chocolate to keep the mint centers and coating plant-based.
- → How do I prevent the coating from seizing?
-
Ensure no moisture contacts the chocolate while melting. Keep utensils and bowls dry, and melt slowly over low heat to avoid sudden temperature changes that cause seizing.
- → How should I store the patties?
-
Place in an airtight container and refrigerate; they keep well for up to two weeks. For longer storage, layer with parchment between pieces and freeze, thawing in the fridge before serving.
- → Any tips for a decorative finish?
-
Sprinkle crushed peppermint candy or flaky sea salt onto the chocolate before it sets for texture and visual contrast; allow chocolate to firm slightly so toppings adhere without sinking.
