 Save
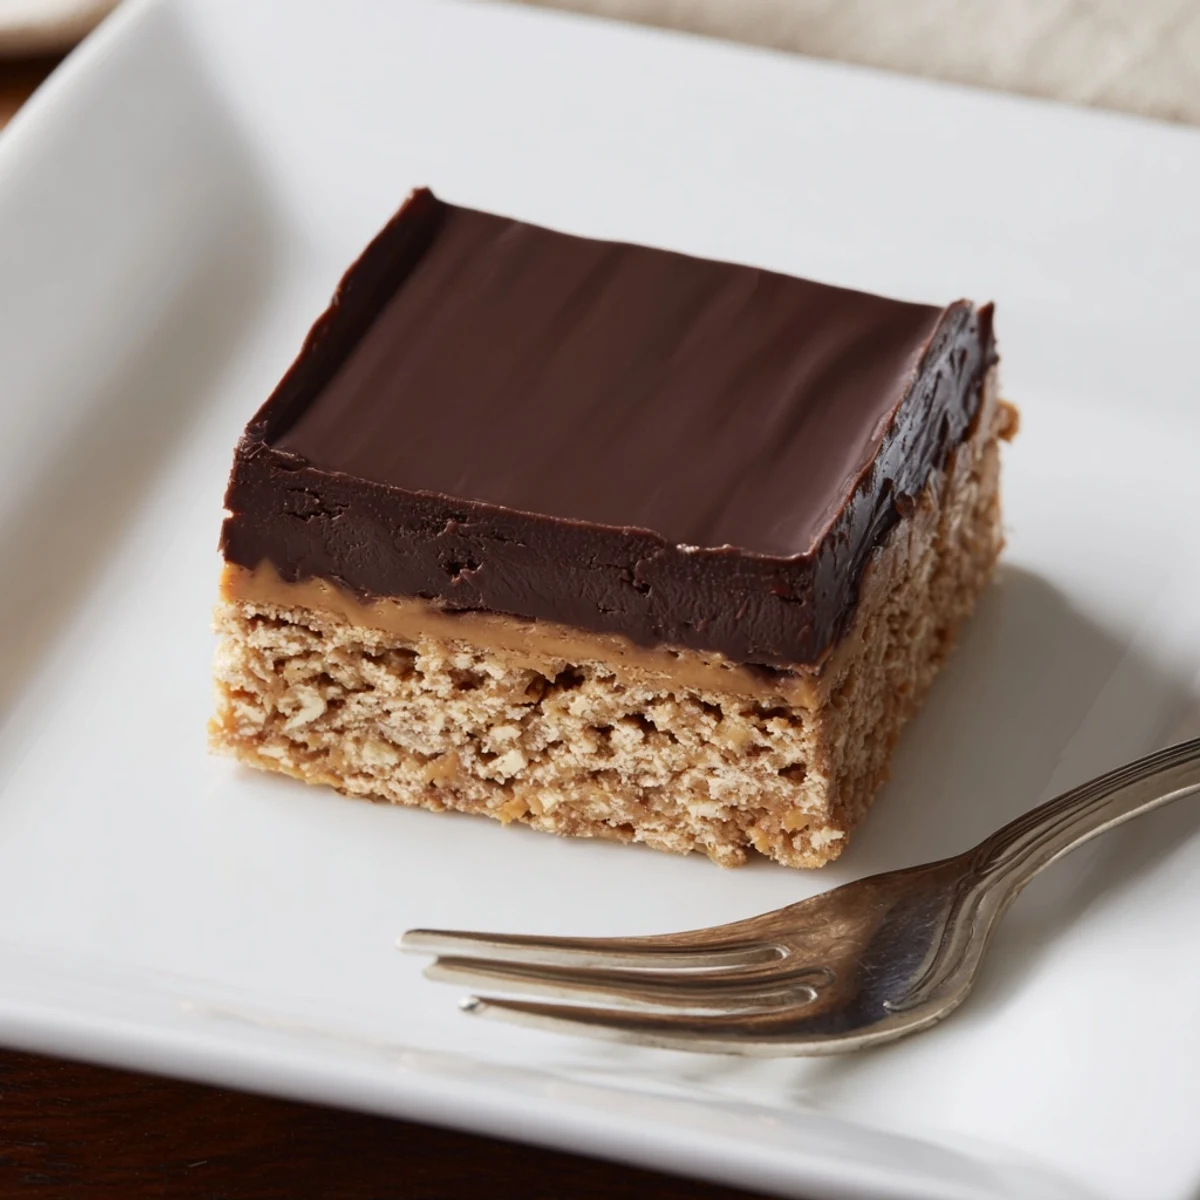
Save These indulgent layered bars feature a buttery peanut butter and graham cracker base topped with glossy chocolate. The no-bake method comes together quickly—just mix, press, and chill. Each square delivers the perfect balance of salty-sweet peanut butter and rich semisweet chocolate.
The summer my air conditioner broke was the summer I fell hard for no-bake desserts, and these peanut butter bars were the MVP of that sweltering July. Something about pressing that thick peanut butter dough into the pan with bare hands, feeling it cool against my palms, made the misery of a hot kitchen almost worth it. I brought a pan of these to a neighbor who had loaned me a fan, and she returned the empty dish the next morning with a note that just said more.
I have made these for office birthday celebrations, backyard movie nights, and once at midnight when a friend showed up at my door needing to talk through a breakup. They are the kind of recipe you memorize after two batches and then carry with you everywhere, like a kitchen party trick. My sister now makes them for her kids playdates and tells people she invented them, which I allow because she always saves me a corner piece.
Ingredients
- Creamy peanut butter (1 cup for base, 1/4 cup for topping): Use the mainstream supermarket kind, not the natural stir-and-spread type, because the stabilizers help the bars set firm and slice cleanly.
- Unsalted butter (1/2 cup, melted): Melting it first ensures the base comes together smoothly without any elbow grease.
- Powdered sugar (2 cups, sifted): Sifting is nonnegotiable here, unless you enjoy biting into sugary little pebbles.
- Graham cracker crumbs (1 1/2 cups): These give the base structure and a subtle honey sweetness that balances the rich peanut butter.
- Semisweet chocolate chips (1 1/2 cups): Semisweet is the sweet spot between too bitter and too sweet, but milk chocolate works if you have a serious sweet tooth.
Instructions
- Prep your pan:
- Line a 9 by 9 inch baking dish with parchment paper, leaving generous overhang on two sides so you can lift the whole slab out later like a gift you are unwrapping.
- Build the base:
- Stir the melted butter and 1 cup peanut butter together until completely smooth, then fold in the powdered sugar and graham cracker crumbs. The mixture will be thick and slightly sticky, almost like playdough, and that is exactly right.
- Press it in:
- Transfer the dough to your lined pan and press it firmly into an even layer using a spatula or your hands. Spend an extra minute getting the surface as flat as you can because every bump will show through the chocolate.
- Melt the topping:
- Combine the chocolate chips and remaining 1/4 cup peanut butter in a microwave safe bowl and heat in 20 second bursts, stirring between each one, until the mixture is glossy and pourable.
- Spread and chill:
- Pour the chocolate over the base and spread it edge to edge with the back of a spoon, then refrigerate for at least 2 hours until the top is set firm enough to cut cleanly.
- Slice and serve:
- Use the parchment overhang to lift the entire block onto a cutting board, then slice into 16 squares with a sharp knife. A warm knife dipped in hot water and dried gives the neatest cuts.
 Save
Save  Save
Save The batch I made for a Fourth of July picnic disappeared in under ten minutes, and three strangers asked for the recipe before the fireworks even started. Moments like that remind me that the simplest desserts often leave the biggest impression.
Storing Your Leftovers (If You Have Any)
Keep these bars in an airtight container in the refrigerator and they stay delicious for up to a week, though in my experience they rarely survive past day three. The chocolate firms up in the cold, so let them sit at room temperature for about ten minutes before eating if you prefer a softer bite.
Fun Twists Worth Trying
Swap the graham crackers for crushed pretzels when you want a saltier edge, or fold mini marshmallows into the base for a fluffernutter vibe that kids go crazy for. A friend of mine drizzles caramel over the chocolate layer and calls them millionaire bars, which I find both hilarious and technically accurate.
Making Them Your Own
Part of the charm of a recipe this simple is how forgiving it is, so do not be afraid to play around with ratios and add-ins once you have the basic technique down. After a few batches you will develop your own instinct for how thick you like the base and how generous you want the chocolate layer.
- Sprinkle flaky sea salt over the wet chocolate topping for a sweet and salty punch.
- Add a handful of chopped peanuts or toffee bits to the base for welcome crunch.
- Always taste the peanut butter before you start, since flavor varies wildly between brands.
 Save
Save  Save
Save Keep this recipe in your back pocket for potlucks, late-night cravings, or anytime you need a guaranteed crowd-pleaser with almost zero effort. It is the dessert equivalent of a warm hug.
Recipe FAQs
- → How long do peanut butter bars need to chill?
-
Refrigerate for at least 2 hours until firm. The chilling time allows the layers to set properly, making clean cuts possible. For best results, chill overnight—the flavors deepen and texture becomes perfectly fudgy.
- → Can I use natural peanut butter?
-
Natural peanut butter works, though the bars may be slightly softer. If using unstabilized varieties, consider reducing the melted butter slightly. Stir well before measuring since natural separation occurs. The texture will still be delicious.
- → What chocolate works best for the topping?
-
Semisweet chocolate chips provide balanced sweetness. Milk chocolate creates a sweeter result, while dark chocolate offers intensity. The added peanut butter in the topping ensures glossy, smooth consistency that cuts cleanly.
- → Can I freeze these bars?
-
Yes, freeze for up to 3 months. Wrap the uncut slab tightly in plastic and foil, or freeze individual squares between parchment layers. Thaw in the refrigerator for 2 hours before serving. Texture remains excellent.
- → How do I prevent the chocolate from cracking when cutting?
-
Let bars sit at room temperature for 5-10 minutes before cutting. Use a sharp knife warmed under hot water and wiped dry between slices. Cutting with gentle sawing motions rather than pressing down helps maintain clean edges.
- → Can I make these gluten-free?
-
Substitute graham cracker crumbs with gluten-free cookie crumbs or crushed gluten-free vanilla wafers. Ensure all ingredients, particularly chocolate chips, are certified gluten-free. The taste and texture remain virtually identical.
