 Save
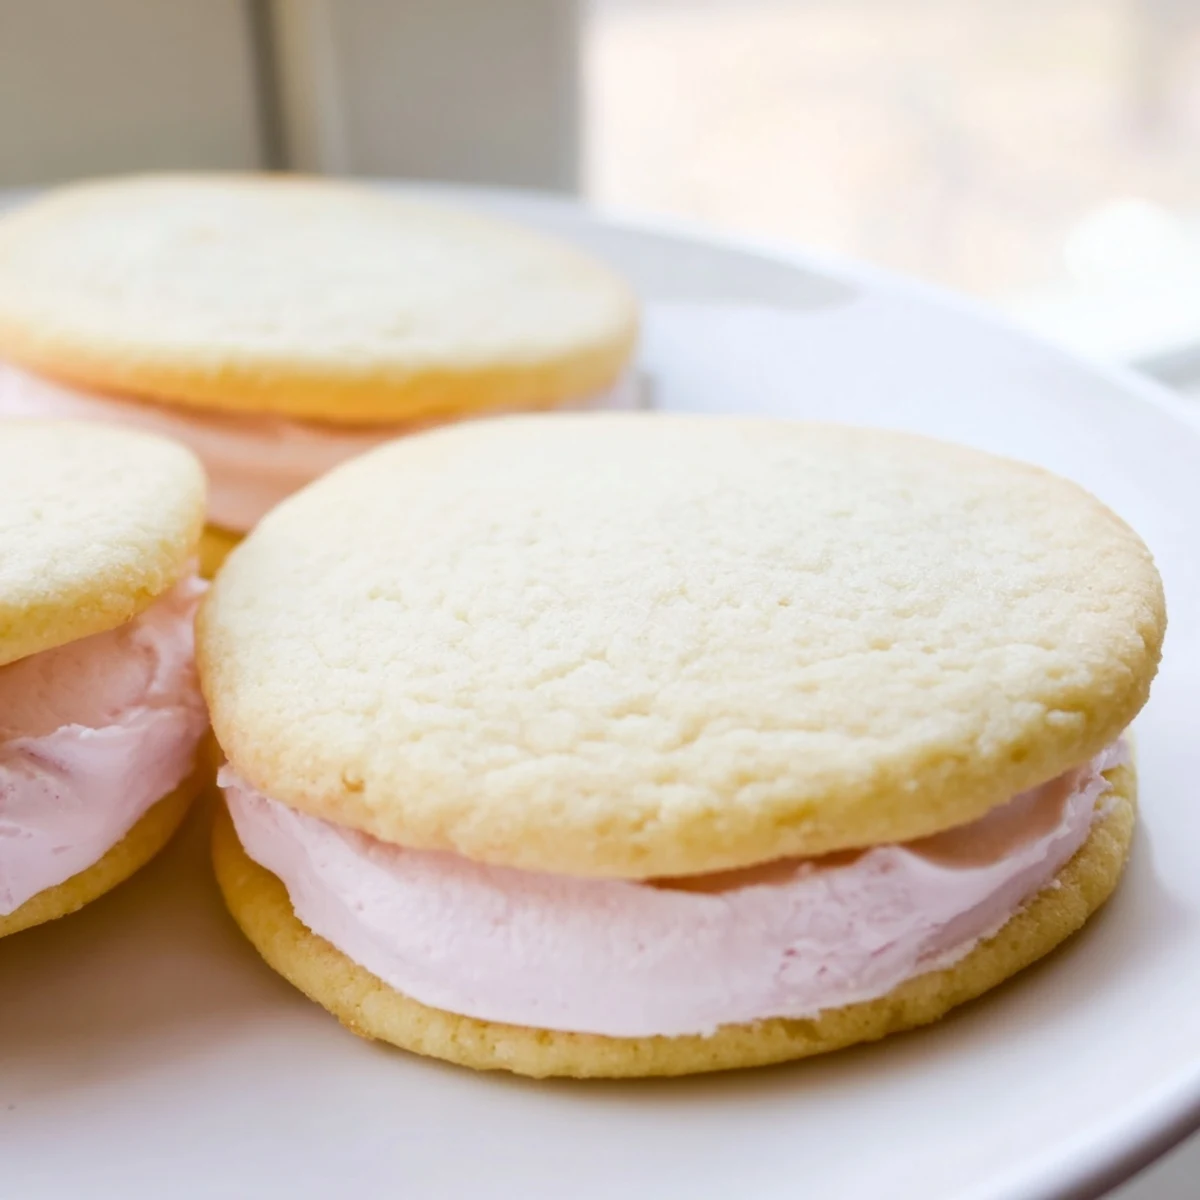
Save These delightful sandwich cookies feature tender, melt-in-your-mouth sugar cookies paired with vibrantly colored buttercream filling. The pastel hues—soft pinks, yellows, greens, blues, or purples—make them an irresistible addition to spring gatherings, baby showers, bridal events, or simply as an elegant afternoon tea accompaniment.
The dough requires proper chilling for clean-cut rounds, while the buttercream whips up light and fluffy, easily tinted to your preferred pastel shades. Roll the edges in sprinkles for extra celebration-ready flair.
Store these beauties in an airtight container at room temperature for up to three days, though their charming appearance often means they disappear much faster at gatherings.
The first time I made these, my kitchen looked like a pastel explosion had mid-air collided with my afternoon. I was attempting to bake something for my sister's baby shower, and somewhere between mixing the dough and dividing buttercream into four separate bowls, I realized gel food coloring does not wash off countertops easily. But when everyone bit into those delicate sandwiches and the room went quiet for that perfect second before someone whispered oh my god, I forgave the pink-stained grout completely.
My niece helped me make a batch last spring, and she took her color分配 duties very seriously. We ended up with the most gorgeous gradient of pink, yellow, mint, and lavender filling. She ate three before they even cooled, declaring with frosting smeared across her chin that the yellow ones taste like sunshine. I cannot scientifically prove this, but I also cannot argue with a six year old.
Ingredients
- 2 ½ cups all-purpose flour: Sift it first, trust me, nobody wants a lumpy cookie situation
- ½ teaspoon baking powder: Just enough to give them a subtle lift without spreading too thin
- ¼ teaspoon salt: Balances all that sugar so the flavor does not fall flat
- ¾ cup unsalted butter, room temperature: Cold butter creates nightmares, let it sit out for at least an hour
- 1 cup granulated sugar: Cream this properly with the butter or your cookies will turn out sad and dense
- 1 large egg: Also room temp, otherwise it will seize up your butter mixture
- 1 teaspoon pure vanilla extract: Do not use imitation, the difference is actually shocking here
- ½ cup unsalted butter for frosting: This needs to be properly soft but not melting into a puddle
- 2 cups powdered sugar, sifted: Those little lumps never fully beat out, save yourself the frustration
- 1 ½ tablespoons milk: Whole milk makes the creamiest buttercream, though any milk works in a pinch
- 1 teaspoon pure vanilla extract: Yes, more vanilla, it carries the entire flavor profile
- Pinch of salt: Just a tiny one keeps the buttercream from tasting like straight sugar
- Pastel gel food coloring: Gel gives you those soft, dreamy colors without adding liquid to your frosting
Instructions
- Whisk the dry ingredients:
- Combine the flour, baking powder, and salt in a medium bowl, making sure to break up any flour clumps with your whisk
- Cream the butter and sugar:
- Beat on medium speed for a full 3 minutes, scraping down the bowl halfway through, until the mixture looks pale and airy
- Add the egg and vanilla:
- Mix for another minute until everything is completely incorporated and the batter looks smooth and glossy
- Bring in the flour:
- Add the dry ingredients in three additions, mixing on low just until the flour streaks disappear, being careful not to overwork it
- Chill the dough:
- Divide in half, press into discs, wrap tightly, and refrigerate for at least 30 minutes or the cookies will spread into sad flat puddles
- Preheat and prepare:
- Heat your oven to 350°F and line two baking sheets with parchment paper so nothing sticks later
- Roll and cut:
- Roll one disc at a time to exactly ¼ inch thick, cutting rounds with a 2-inch cutter and placing them 1 inch apart on the sheets
- Bake to perfection:
- Bake for 8 to 10 minutes, watching for the slightest golden edge, then let them cool on the sheets for 2 minutes before moving them
- Make the buttercream base:
- Beat the butter until creamy, then slowly add the powdered sugar, milk, vanilla, and salt, beating for 3 minutes until fluffy and smooth
- Create your pastels:
- Divide the frosting into 4 to 5 small bowls and add a tiny toothpick amount of gel color to each, mixing until you reach soft, dreamy shades
- Assemble the sandwiches:
- Spread or pipe a generous layer of colored buttercream on the flat side of half the cookies, then top with the remaining halves
- Let them set:
- Wait 20 minutes before serving so the flavors meld and the buttercream firms up slightly
 Save
Save These became my go-to baby shower gift after that first batch. Something about pastel sandwich cookies feels celebratory without being too precious, and I love that they can be made a day ahead. My friends actually started requesting them for their own gatherings, which is basically the highest compliment a homemade treat can receive.
Making Your Colors Sing
The secret to those soft, ethereal pastels is starting with less gel coloring than you think you need. I dip a clean toothpick into the gel and add just a tiny amount at a time, mixing completely before deciding to add more. It is so much easier to deepen a color than to fix one that went too bold too fast.
The Perfect Cookie Thickness
I use two ¼ inch thick wooden dowels on either side of my dough as rolling guides, which guarantees every single cookie is the same thickness. This matters more than you would think, because uneven cookies mean some will burn while others are still underbaked. Plus, uniform thickness makes the sandwich cookies look professionally made.
Storage Secrets
These actually develop better flavor after sitting overnight, as the buttercream slightly softens the cookie inside. I store them in a single layer in an airtight container at room temperature, stacking only once the frosting is completely set. Never refrigerate them unless absolutely necessary, as cold cookies lose that tender melt in your mouth quality.
- Place a piece of parchment between layers if you must stack them
- Let them come to room temperature for 15 minutes if they have been refrigerated
- They freeze beautifully for up to a month if you need to get ahead
 Save
Save There is something impossibly satisfying about biting into a cookie sandwich, the way the buttercream squishes slightly against the soft cookie. These make any ordinary Tuesday feel like a tiny celebration.
Recipe FAQs
- → How long should I chill the cookie dough?
-
Refrigerate the dough for at least 30 minutes before rolling. This prevents sticking and helps maintain clean edges when cutting the cookie rounds.
- → Can I make the buttercream ahead of time?
-
Yes, prepare the buttercream up to 2 days in advance. Store in an airtight container at room temperature and give it a quick re-whip before filling the cookies.
- → What's the best way to achieve pastel colors?
-
Use gel food coloring rather than liquid—start with a tiny amount on a toothpick and gradually add more. Gel concentrates provide vibrant color without thinning the buttercream texture.
- → How do I prevent the cookies from spreading too much?
-
Ensure your dough is thoroughly chilled before baking, and avoid over-creaming the butter and sugar mixture. Measure flour accurately by spooning into measuring cups rather than scooping directly.
- → Can I freeze the assembled sandwiches?
-
Freezing works best if you freeze the unfilled baked cookies and buttercream separately. Thaw components at room temperature, then assemble when ready to serve for optimal texture.
- → What other flavors work well in the buttercream?
-
Try substituting almond, lemon, orange, or coconut extract for the vanilla. You can also fold in freeze-dried fruit powder for natural pastel coloring and flavor.
