 Save
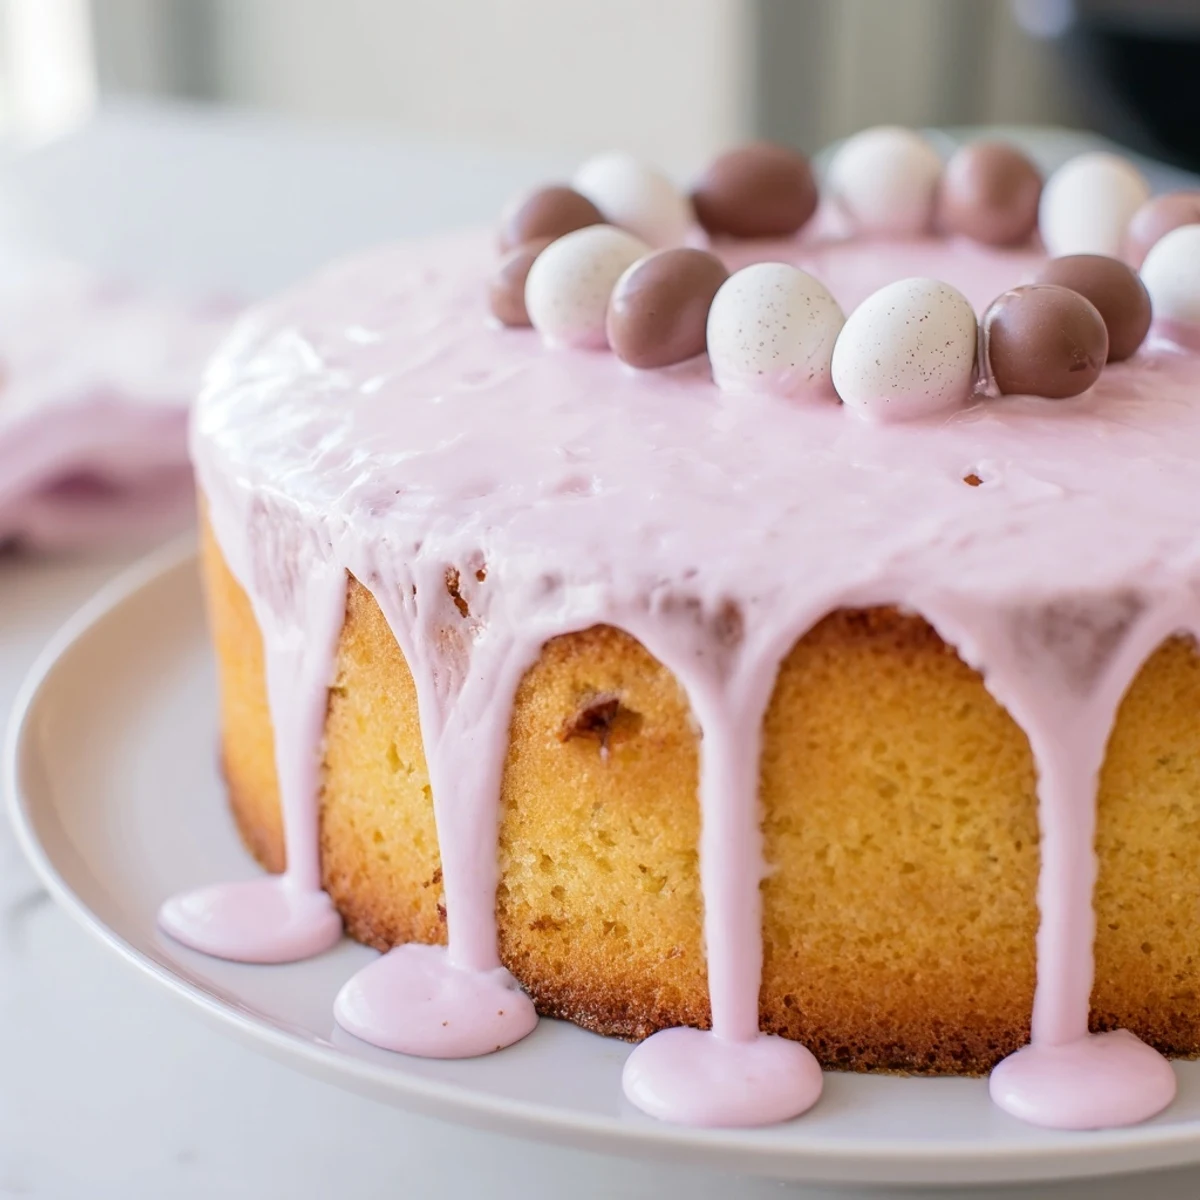
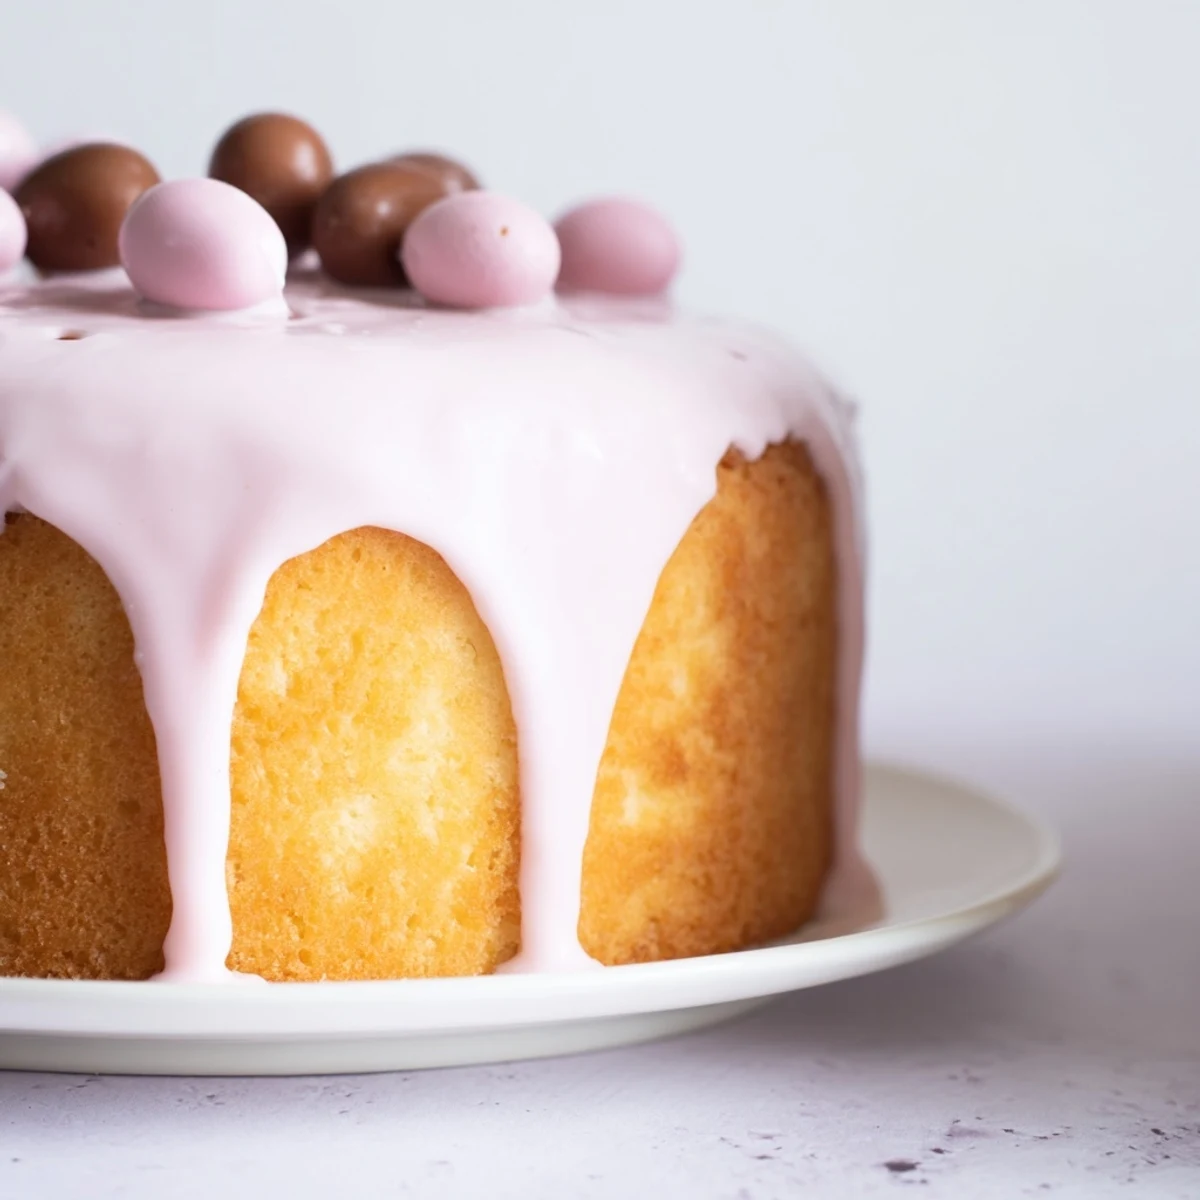
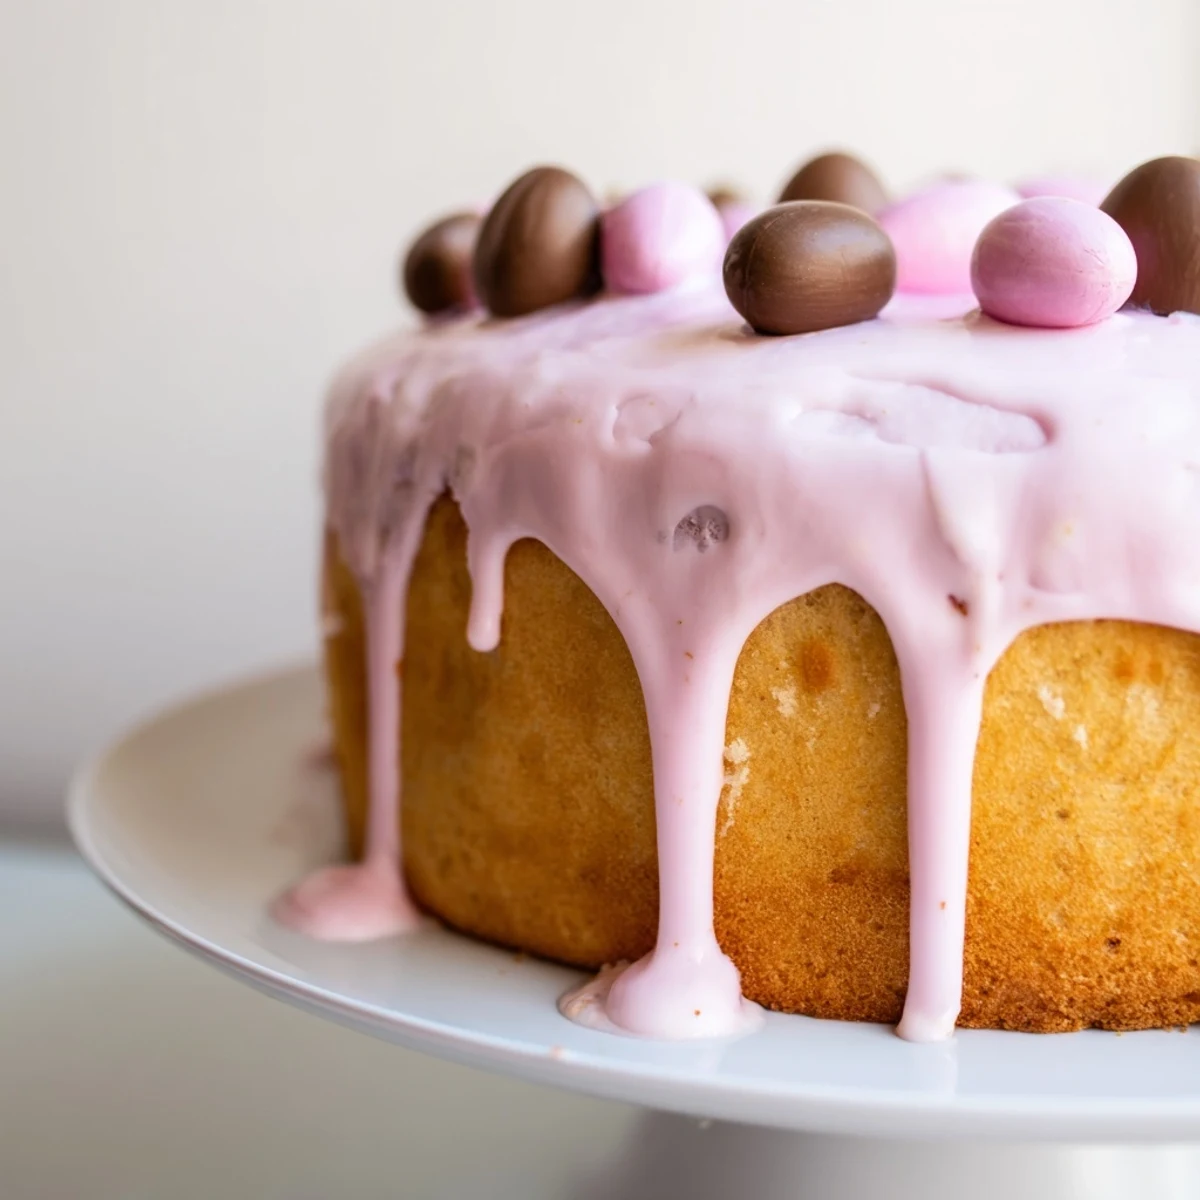
Save Create charming miniature sponge cakes adorned with delicate pastel frosting and cheerful Easter decorations. These delightful European-style treats feature a tender vanilla crumb, perfectly portioned for spring gatherings and holiday celebrations.
The preparation involves creaming butter with sugar until fluffy, incorporating eggs and vanilla, then folding in dry ingredients alternating with milk. After baking until golden, the cakes are topped with smooth pastel-hued icing and finished with chocolate eggs, edible flowers, or sprinkles for a festive presentation.
The kitchen counter looked like a pastel explosion had gone beautifully wrong. I'd gotten overenthusiastic with the food coloring while making these for my niece's Easter egg hunt, and suddenly I had three shades of pink and no yellow to speak of. She walked in, eyes wide, and declared them the most beautiful Easter cakes she'd ever seen. Sometimes mistakes turn into the best traditions.
Last spring I made twelve batches for a neighborhood gathering, and I learned something wonderful about people and tiny frosted things. Grown adults who claimed they weren't dessert people suddenly became very interested when they saw individual cakes with drippy colored icing. There's something about having your own perfectly portioned little cake that feels special, like it was made just for you.
Ingredients
- 1 cup all-purpose flour: The foundation of your sponge, scoop and level it gently so you don't pack too much in
- 1 tsp baking powder: This is what gives each mini cake its lift, make sure it's fresh
- 1/4 tsp salt: Just enough to balance the sweetness and wake up all the flavors
- 1/2 cup unsalted butter softened: Room temperature butter is non negotiable here, it needs to be soft enough to whip air into
- 2/3 cup granulated sugar: Cream this thoroughly with the butter, those air pockets are what make the cake tender
- 2 large eggs room temperature: Cold eggs can seize up your butter mixture, take them out thirty minutes before you start
- 1 tsp vanilla extract: Pure extract makes a difference you can taste
- 1/3 cup milk: Whole milk gives the best crumb but whatever you have in the fridge will work
- 1 1/2 cups powdered sugar sifted: Sifting prevents lumps in your icing that would mar those smooth pastel surfaces
- 2-3 tbsp milk: Add this gradually to the powdered sugar until you reach thick honey consistency
- Assorted food coloring pastel colors: Gel colors give you more control over those soft Easter shades
- Mini chocolate eggs or sugar decorations: The crowning glory that makes them unmistakably Easter
Instructions
- Getting Ready:
- Preheat your oven to 350°F and grease that 12 cup muffin tin or line it with pretty paper cases.
- Whisk the Dry Stuff:
- In a medium bowl whisk together flour baking powder and salt until well combined.
- Cream Butter and Sugar:
- Beat butter and sugar in a large bowl until it's pale fluffy and looks like clouds.
- Add the Eggs:
- Drop in eggs one at a time beating thoroughly after each one then mix in the vanilla.
- Combine Everything:
- Gently fold in half the flour mixture followed by the milk then the remaining flour just until no dry streaks remain.
- Fill and Bake:
- Divide batter among muffin cups about two thirds full and bake 18 to 20 minutes until a toothpick comes out clean.
- Cool Completely:
- Let them rest in the pan for 5 minutes then move to a wire rack to cool entirely before icing.
- Make Pastel Icing:
- Whisk powdered sugar with milk until smooth and thick then divide into bowls and tint each with pastel coloring.
- Decorate:
- Drizzle or spoon colored icing over each cake and top with mini eggs or sprinkles while it's still wet.
 Save
Save My daughter started helping with the decorating when she was three, and her cakes were always the most popular at the table. Something about the uneven drizzles and heavy handed sprinkling made people smile. I realized perfection isn't the point of Easter baking it's the joy.
Making Ahead and Storage
You can bake the mini cakes a day ahead and store them in an airtight container. Wait to ice them until the day you're serving because the moisture from the icing can make the cake tops soggy after about 24 hours.
Flavor Variations
Fold 1/2 teaspoon of lemon or orange zest into the batter for a bright citrus twist. You can also add a drop of almond extract alongside the vanilla for something more subtle and sophisticated that pairs beautifully with the sweet icing.
Decorating Ideas That Shine
Set up a decorating station with different bowls of colored icing and let everyone customize their own cake. It becomes an activity and a dessert all in one which is basically hosting magic.
- Use a teaspoon to drizzle icing back and forth for that artisanal drip effect
- Place decorations while the icing is wet so they stick without additional glue
- Let iced cakes set for at least 30 minutes before stacking or storing them
 Save
Save These little cakes have become the Easter tradition I look forward to most. Hope they bring some pastel joy to your table too.
Recipe FAQs
- → How long do these keep fresh?
-
Store in an airtight container at room temperature for up to 3 days, or refrigerate for up to 5 days. Bring to room temperature before serving for best texture and flavor.
- → Can I make these ahead of time?
-
Yes, bake the cakes up to 2 days ahead and store unfrosted. Frost and decorate the day of serving for the freshest appearance and optimal icing consistency.
- → What other decorations work well?
-
Consider using shredded coconut tinted green to resemble grass, marshmallow chicks, chocolate bunnies, candied petals, or crushed edible glitter for additional spring flair.
- → Can I freeze these mini cakes?
-
Freeze unfrosted cakes in a freezer-safe container for up to 3 months. Thaw overnight at room temperature before icing and decorating for best results.
- → How do I get the perfect pastel colors?
-
Add gel food coloring one drop at a time, mixing thoroughly between additions. Gel colors provide vibrant hues without thinning the frosting consistency like liquid coloring can.
