 Save
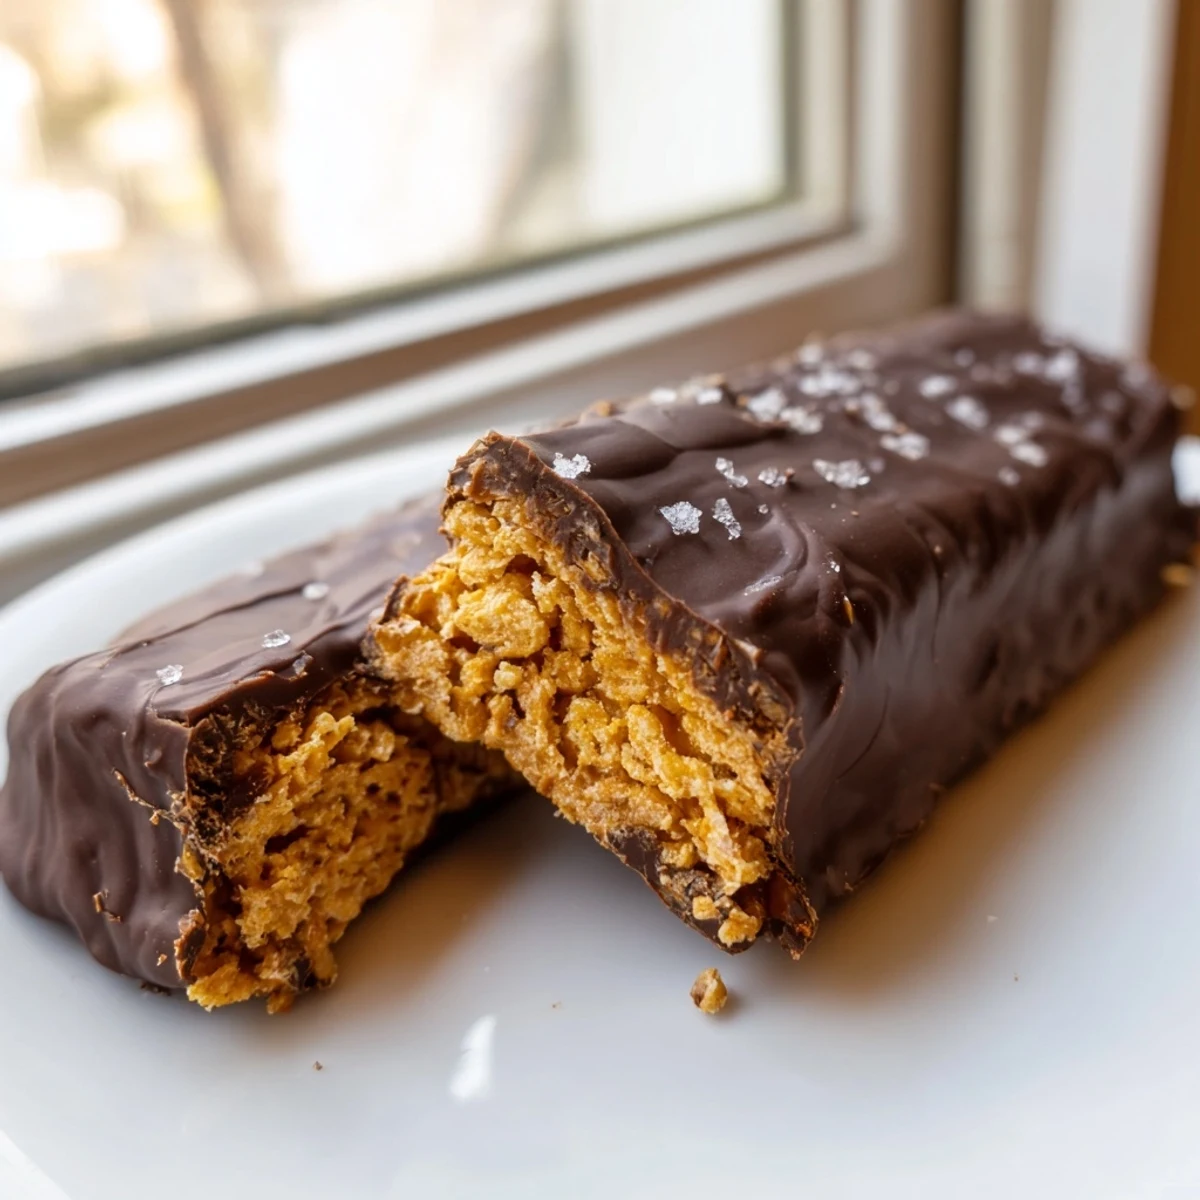
Save These homemade Butterfinger bars deliver all the crunchy, peanut buttery goodness of the classic candy without the processed ingredients. A simple mixture of creamy peanut butter, maple syrup, and crushed cornflakes creates that signature crisp texture.
Each bar gets fully coated in melted dark chocolate for a rich finish. The entire process takes about 30 minutes of hands-on time, plus chilling. They're naturally vegetarian and easily made vegan or gluten-free with simple ingredient swaps.
Store them in the fridge for up to two weeks or freeze for three months. With only 160 calories per bar, they're a lighter alternative to store-bought candy bars that still satisfies your sweet tooth.
The candy aisle at the grocery store always gets me. Those orange Butterfinger wrappers practically glow under the fluorescent lights, and for years I kept tossing them into my cart like it was some kind of reflex I had zero control over. One night, after polishing off an embarrassing number of fun size bars during a movie, I flipped the package over and realized I could not pronounce half the ingredients. That was the moment I decided my kitchen needed a homemade version, something with real peanut butter and actual chocolate that would not leave me with a chemistry exam after every bite.
I brought a batch of these to a friend's game night expecting them to disappear slowly over the course of the evening. Within twenty minutes someone had eaten five bars and was actively hiding the container behind the couch cushions so nobody else could find them. I took that as the highest compliment a homemade candy could receive.
Ingredients
- Natural creamy peanut butter (1 cup): Use the kind with just peanuts and salt on the label. The no stir varieties with added oils will make the mixture greasy instead of dense and chewy.
- Pure maple syrup or honey (1/2 cup): Maple syrup keeps the recipe vegan and adds a gentle caramel note that pairs beautifully with peanut butter. Honey works too if that is what you have on hand.
- Vanilla extract (1 teaspoon): Just a splash rounds out the sweetness and makes the whole thing taste like a finished candy rather than a work in progress.
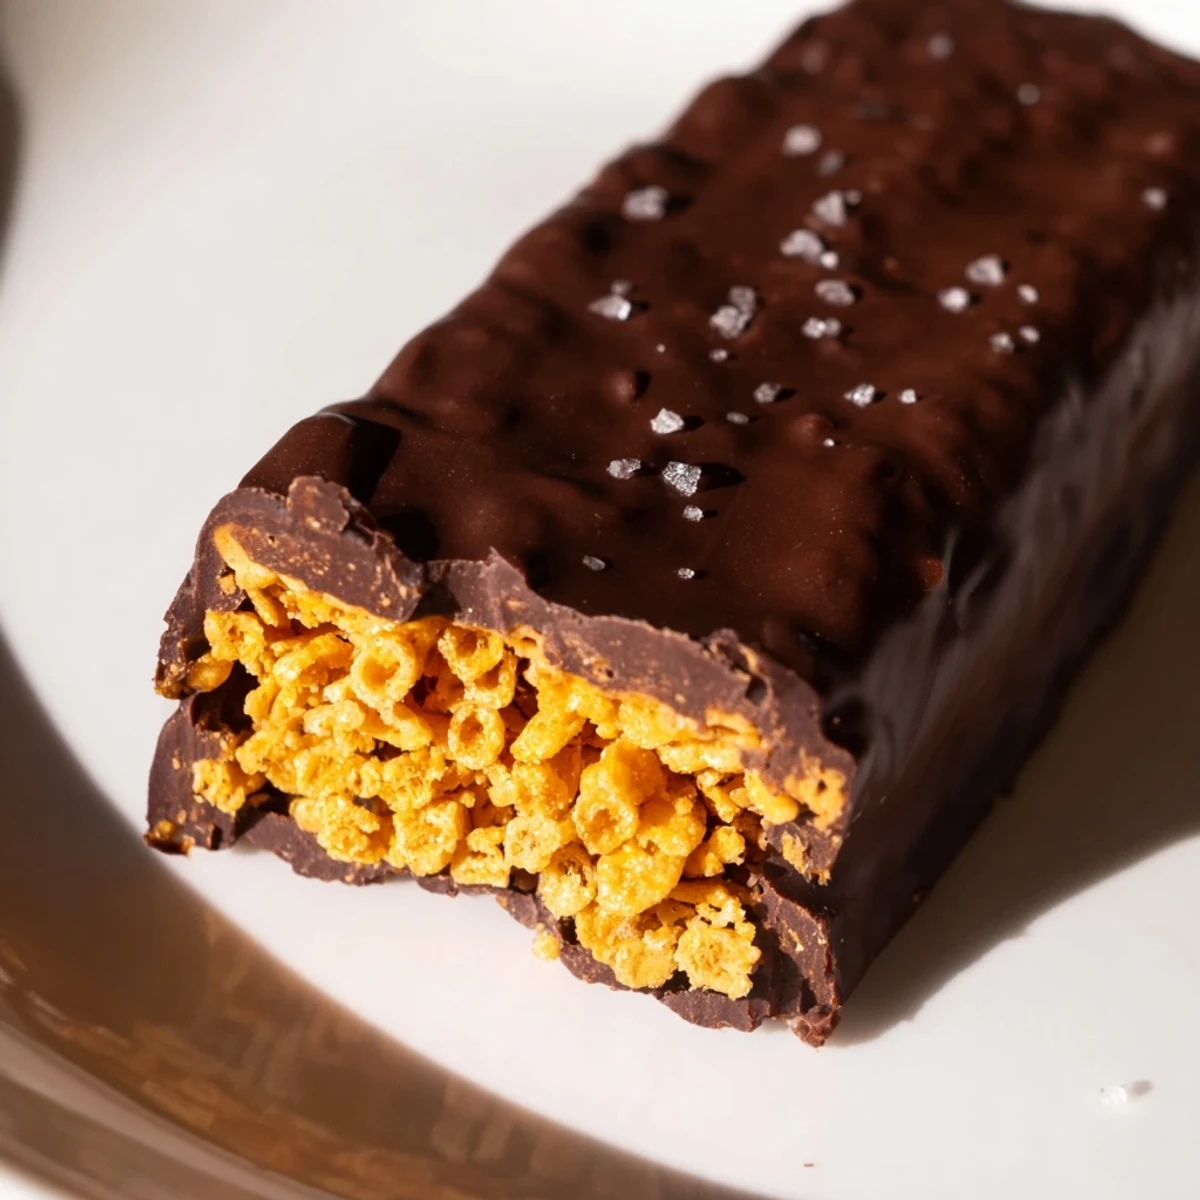
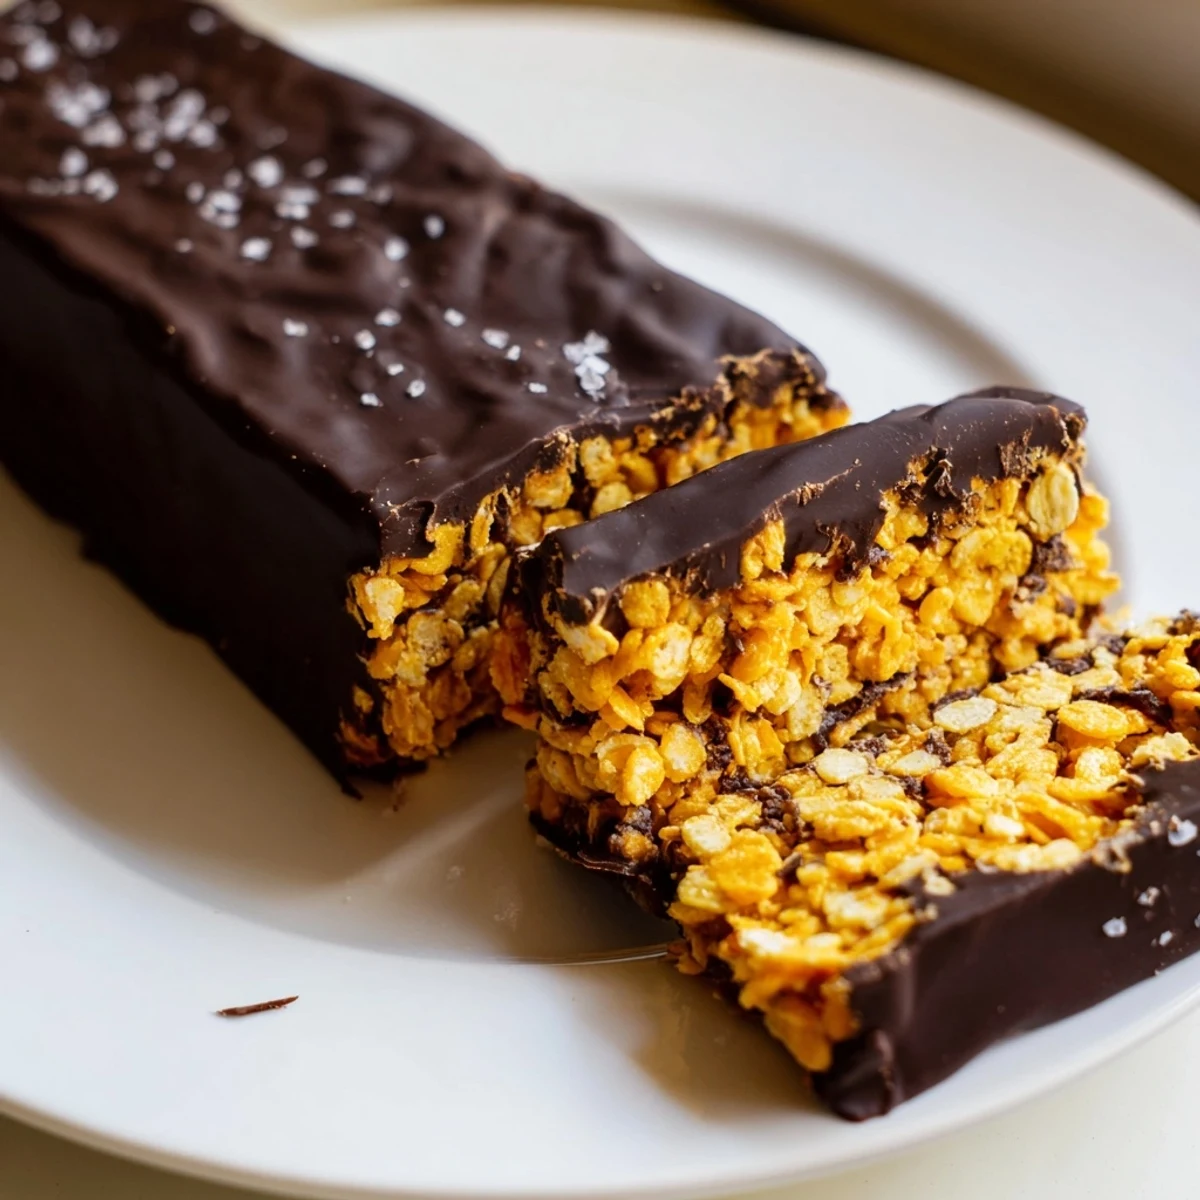
- Cornflakes (2 cups, lightly crushed): Do not pulverize them into dust. You want small irregular pieces that still have some structure because that is what creates the classic Butterfinger snap when you bite in.
- Sea salt (a pinch): A tiny amount in the base balances the sweetness and amplifies the peanut flavor without making it taste salty.
- Dark chocolate chips (1 1/2 cups): Dark chocolate cuts through the sweetness of the peanut butter layer in a way milk chocolate never quite manages. Use dairy free chips if you want to keep the whole batch vegan.
- Coconut oil (1 tablespoon): This thins the melted chocolate so it coats the bars in a thin even shell instead of clumping up thick and unruly.
Instructions
- Prep your pan:
- Line an 8 by 8 inch baking dish with parchment paper, leaving enough overhang on the sides to lift the whole block out later. Press the paper into the corners so it sits as flat as possible.
- Melt the base together:
- Combine the peanut butter and maple syrup in a saucepan over medium low heat, stirring gently until the mixture is completely smooth and warm to the touch. This only takes about two to three minutes, so do not walk away or the bottom will scorch before you notice.
- Season and stir:
- Take the pan off the heat and stir in the vanilla extract and the pinch of sea salt until evenly distributed. The kitchen will smell incredible at this point and you will be tempted to eat the warm peanut butter mixture straight from the spoon.
- Fold in the crunch:
- Gently fold the crushed cornflakes into the peanut butter mixture using a spatula, scooping from the bottom to make sure every flake gets coated without crushing them further. Work quickly but kindly so the flakes keep their shape.
- Press and freeze:
- Transfer the mixture into your lined pan and press it down firmly and evenly with your spatula or your hands. Slide the pan into the freezer for twenty to thirty minutes until the block is completely firm to the touch.
- Cut into bars:
- Lift the solid block out of the pan using the parchment overhang and set it on a cutting board. Use a sharp knife to slice it into sixteen even bars, wiping the blade clean between cuts for neater edges.
- Melt the chocolate:
- Combine the chocolate chips and coconut oil in a microwave safe bowl and heat in thirty second bursts, stirring between each one, until the chocolate is glossy and completely smooth. Alternatively you can use a double boiler if you prefer a gentler melt.
- Coat each bar:
- Dip each peanut butter bar into the melted chocolate, turning it with a fork to coat all sides, then tap the fork gently against the bowl to shake off the excess. Place each coated bar on a fresh sheet of parchment paper.
- Chill until set:
- Transfer the tray of coated bars to the fridge for fifteen to twenty minutes until the chocolate shell is firm and no longer tacky. Once set they are ready to eat immediately or store for later.
 Save
Save Somewhere between making my third batch in a single week and catching my roommate eating them straight from the freezer at midnight, I realized these bars had become a permanent fixture in my kitchen. They are the kind of treat that makes you feel clever for making something so good from such simple ingredients.
Vegan and Allergy Swaps
Keeping these bars vegan is straightforward as long as you choose maple syrup instead of honey and confirm your chocolate chips are dairy free. For a gluten free version, double check that your cornflakes are certified since many mainstream brands contain barley malt. If peanuts are an issue, sunflower seed butter works surprisingly well though the flavor will shift in a completely different and still delicious direction.
Storage That Actually Works
An airtight container in the refrigerator keeps these bars happy for about two weeks, though honestly they never last that long in my house. You can also freeze them layered between sheets of parchment for up to three months. Just pull out what you need about ten minutes before eating so the chocolate shell has time to lose its frosty bite.
Getting the Perfect Crunch
The texture of your crushed cornflakes is the single biggest factor in whether these bars taste like a homemade candy bar or a weird peanut butter granola square.
- Aim for pieces roughly the size of your pinky nail, not fine crumbs and not whole flakes either.
- Crush them inside a zip top bag with a rolling pin for the most even results.
- If you want extra flair, sprinkle flaky sea salt over the chocolate coating before it sets.
 Save
Save There is something deeply satisfying about cracking one of these bars in half and hearing that familiar crunch knowing you made it yourself with ingredients you can actually pronounce. They are proof that the best candy does not have to come from a factory.
Recipe FAQs
- → Can I use a different cereal instead of cornflakes?
-
Yes, rice cereal or crispy oat cereal work as substitutes. Avoid heavily sweetened cereals since the maple syrup already adds sweetness. Crush them lightly to maintain some crunch in the texture.
- → Why do my bars fall apart when dipping in chocolate?
-
The peanut butter layer needs sufficient freezing time to hold its shape. Freeze for at least 30 minutes, and work quickly when dipping. If your kitchen is warm, chill the bars between batches of dipping.
- → How should I store these chocolate-covered bars?
-
Keep them in an airtight container in the refrigerator for up to two weeks. For longer storage, freeze with parchment paper between layers for up to three months. Let frozen bars thaw in the fridge before serving.
- → Can I use milk chocolate instead of dark chocolate?
-
Absolutely. Milk chocolate creates a sweeter, more traditional candy bar flavor. Semi-sweet chocolate is another great middle-ground option. Adjust the coconut oil amount slightly if needed for a smooth coating consistency.
- → How do I crush the cornflakes properly?
-
Place cornflakes in a zip-top bag and gently crush with your hands or a rolling pin. You want small pieces, not fine crumbs. Some larger flakes help create the authentic Butterfinger crunch. Aim for pea-sized pieces.
- → Is there a nut-free alternative to peanut butter?
-
Sunflower seed butter or tahini can replace peanut butter for a nut-free version. The flavor profile changes slightly, but the texture and coating process remain the same. Sunflower seed butter provides the closest match in consistency.
