 Save
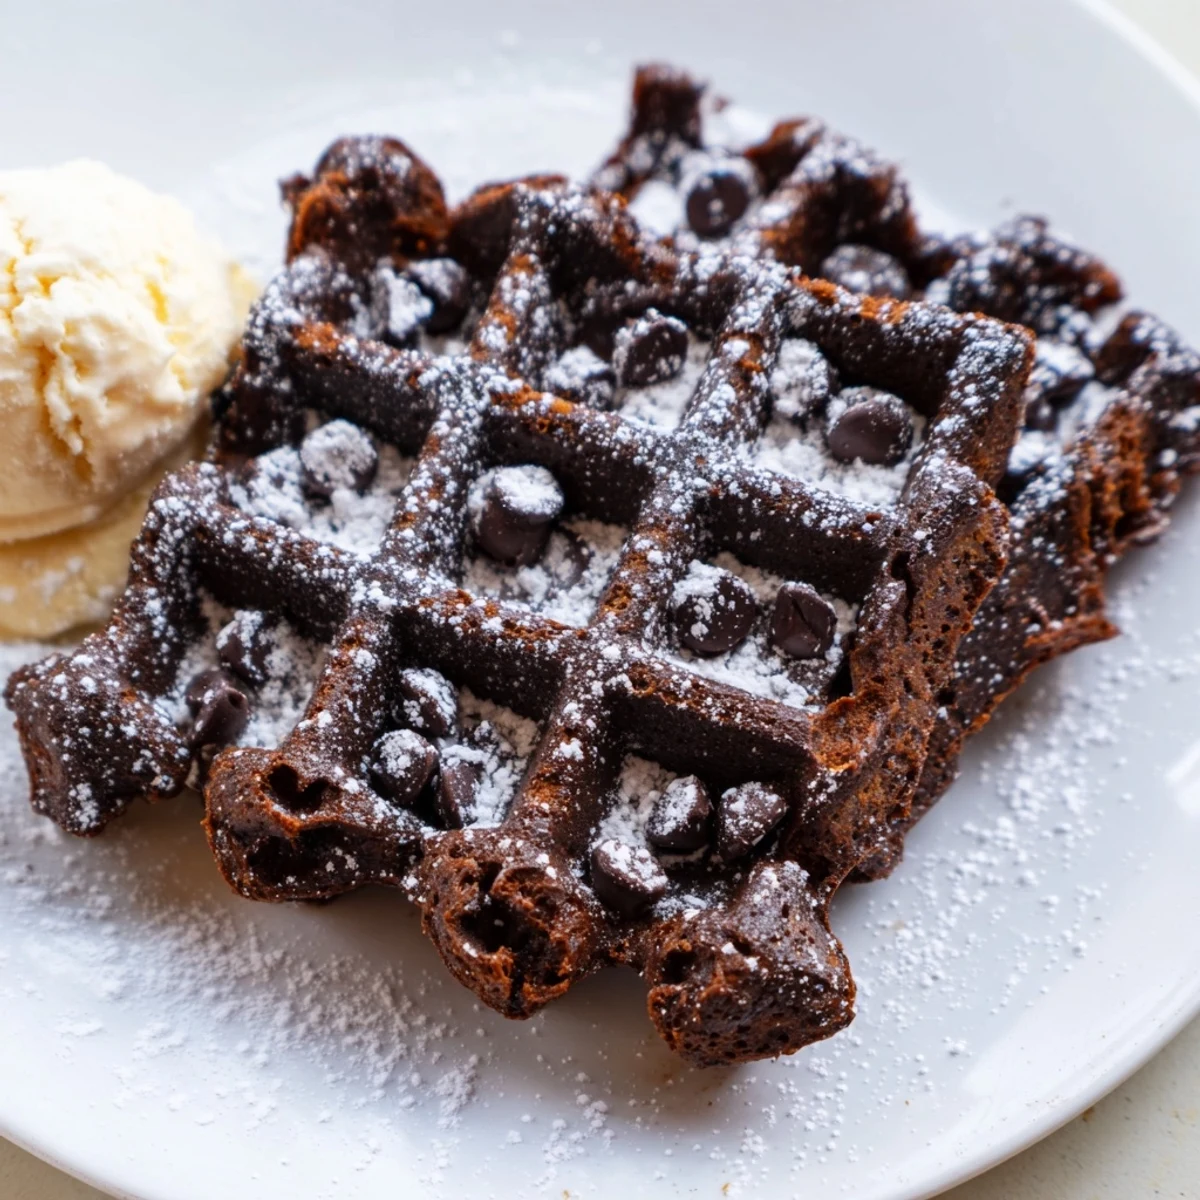
Save These fudgy brownie waffles bring together everything you love about a rich, chewy brownie with the irresistible crisp edges that only a waffle iron can create.
The batter comes together quickly with basic pantry staples—cocoa powder, melted butter, eggs, and a generous handful of chocolate chips folded in for extra indulgence.
In under 10 minutes of cooking time, you'll have four deeply chocolatey waffles with soft, gooey centers and perfectly crunchy exteriors. Serve them warm with a scoop of vanilla ice cream, fresh berries, or a simple dusting of powdered sugar.
My waffle iron sat dusty for two years until a rainy Saturday experiment changed everything: brownie batter, poured straight onto those hot grids, emerged with crisp edges and molten centers that no oven baked batch ever gave me.
I served these at a last minute gathering and watched three adults argue over the final waffle, forks hovering like weapons.
Ingredients
- All-purpose flour (90 g): Just enough to hold everything together without turning cakey, so measure carefully.
- Unsweetened cocoa powder (45 g): This is where the deep chocolate character lives, so use a quality brand you would eat by the spoonful.
- Granulated sugar (200 g): It seems like a lot but sugar creates that chewy fudgy texture and crisp edges you are after.
- Baking powder (half teaspoon): A tiny lift keeps them from turning into dense hockey pucks.
- Salt (quarter teaspoon): Salt is the quiet hero that makes chocolate taste like more of itself.
- Large eggs (2): Room temperature eggs blend more smoothly into the batter and give better structure.
- Unsalted butter, melted and slightly cooled (115 g): Cooling the butter prevents scrambling your eggs and keeps the batter thick and luxurious.
- Whole milk (60 ml): Whole milk adds richness that water or low fat milk cannot match here.
- Pure vanilla extract (1 teaspoon): Vanilla rounds out the chocolate and adds warmth to every bite.
- Semi-sweet chocolate chips (90 g): Folded in at the end, they create little pockets of melted chocolate throughout each waffle.
Instructions
- Fire up the iron:
- Preheat your waffle iron according to its instructions and give it a light brush of oil or spray if it tends to stick, then let it get fully hot while you mix.
- Combine the dry team:
- In a large bowl, whisk the flour, cocoa powder, sugar, baking powder, and salt together until the mixture looks uniform and no cocoa lumps remain hiding in the corners.
- Whisk the wet ingredients:
- In a separate bowl, beat the eggs, melted butter, milk, and vanilla until the mixture is silky smooth and smells like a bakery on a Sunday morning.
- Bring it all together:
- Pour the wet into the dry and stir gently with a spatula just until you stop seeing dry flour streaks, then fold in the chocolate chips without overworking the batter.
- onto the iron:
- Spoon roughly half a cup of the thick batter onto your hot waffle iron, spreading it slightly toward the edges if needed, and close the lid with gentle confidence.
- Cook until fudgy perfection:
- Cook for four to five minutes until the outside is crisp and the centers feel set but still soft when you press gently, then lift them out carefully with a fork or spatula.
- Serve with abandon:
- Stack them warm and add whatever makes you happy, whether that is a scoop of vanilla ice cream, a cloud of whipped cream, or a pile of fresh berries.
 Save
Save The night I realized these reheat beautifully in a toaster was the night they officially became a weekend staple in my kitchen.
Topping Ideas Worth Trying
A drizzle of warm peanut butter turns these into something dangerously close to a peanut butter cup, and a handful of toasted pecans adds a crunch that makes each bite more interesting.
Making Them Your Own
Swap in dark chocolate chips for a more intense flavor, or throw in a handful of white chocolate chips and dried cherries if you want to feel fancy with almost zero extra effort.
Storage and Reheating
Leftover waffles keep well in an airtight container in the fridge for up to three days and crisp back up beautifully in a toaster or oven.
- Freeze them in a single layer first, then stack with parchment paper between each one.
- A quick toast from frozen takes about two minutes and tastes almost as good as fresh.
- Do not microwave them unless you enjoy soggy disappointment.
 Save
Save Once you taste that first crispy edged, fudgy centered waffle straight off the iron, you will never look at your waffle maker the same way again.
Recipe FAQs
- → Can I make the batter ahead of time?
-
Yes, you can prepare the batter up to 24 hours in advance. Cover and refrigerate it, then let it sit at room temperature for about 15 minutes before cooking. The batter may thicken slightly, so add a splash of milk if needed.
- → What type of waffle iron works best?
-
A standard or Belgian waffle iron both work well. Belgian irons create deeper pockets which hold more toppings, while standard irons produce crispier results. Just follow your manufacturer's instructions and adjust cooking time as needed.
- → How do I store leftover brownie waffles?
-
Let them cool completely, then store in an airtight container at room temperature for up to 2 days. For longer storage, freeze them individually wrapped for up to 3 months. Reheat in a toaster or oven to restore crispness.
- → Can I make these dairy-free?
-
Absolutely. Substitute the butter with melted coconut oil or a plant-based butter alternative, and use any non-dairy milk such as almond or oat milk. Make sure your chocolate chips are also dairy-free.
- → Why are my waffles sticking to the iron?
-
Make sure your waffle iron is fully preheated before adding batter. Lightly grease the plates with cooking spray or melted butter between each waffle. The sugar content in this batter can cause sticking, so proper greasing is essential.
- → Can I double the batch?
-
Yes, this batter doubles easily. Simply multiply all ingredients by two and cook in batches. Keep finished waffles warm in a 200°F oven on a baking sheet while you cook the remaining batter.
