 Save
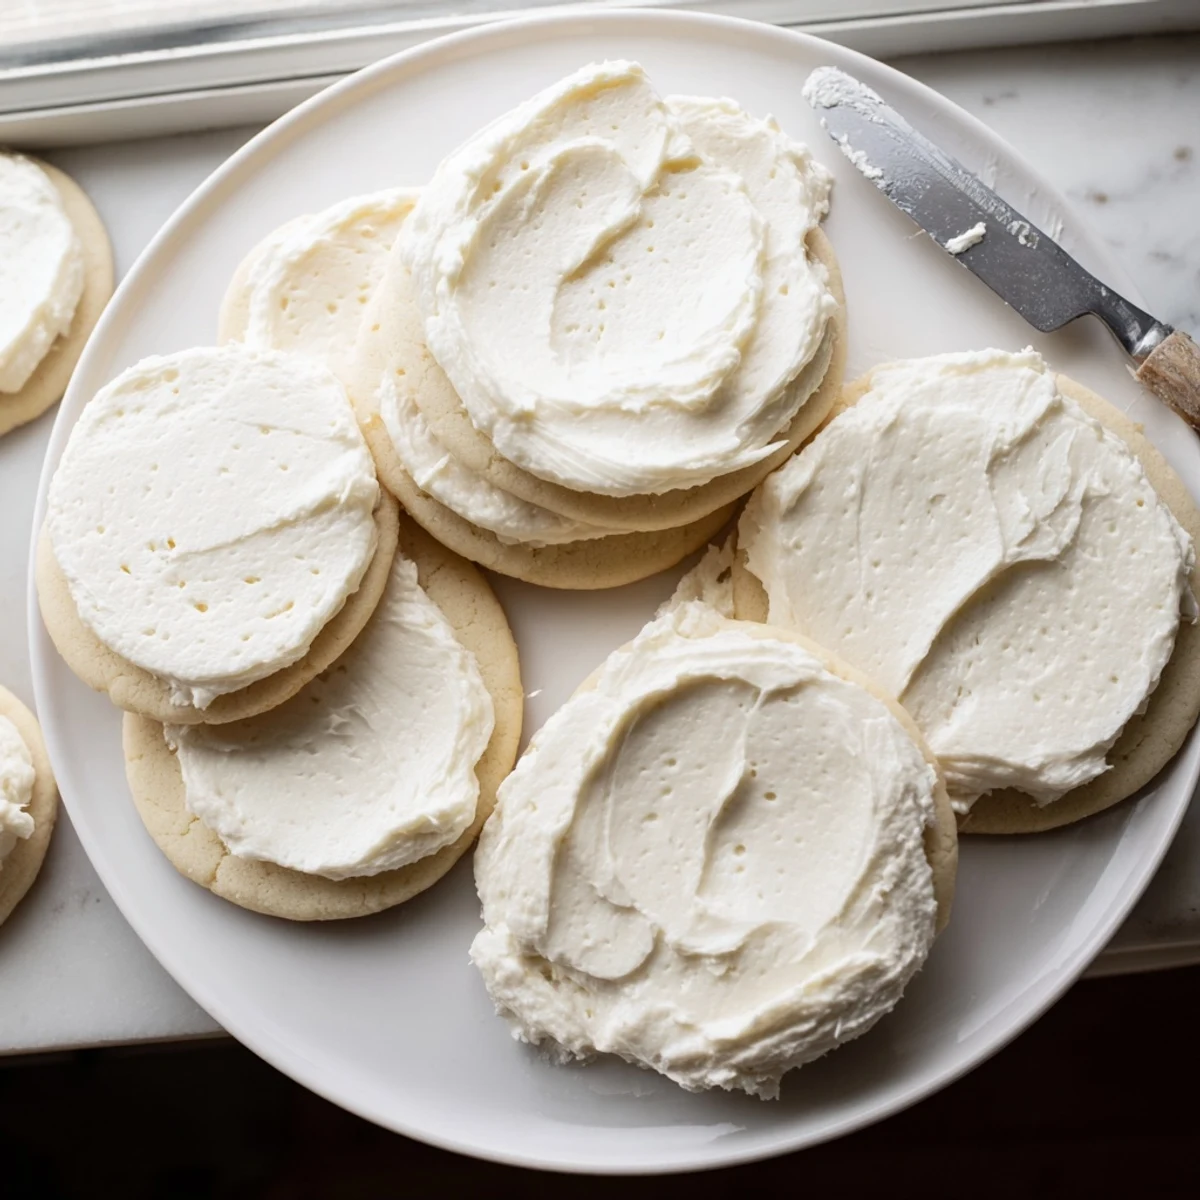
Save This simple vanilla buttercream comes together in just 10 minutes with basic pantry ingredients. The result is a silky, spreadable frosting that develops a light crust—ideal for detailed decorating work on sugar cookies.
Adjust the consistency easily with more milk for thinner spreading or additional powdered sugar for stiffer designs. The classic vanilla flavor complements any cookie decoration theme.
Last Christmas Eve, I found myself at midnight with three dozen undecorated sugar cookies and zero frosting. My husband was already asleep, the kitchen was covered in flour, and I was too stubborn to give up on my vision of a fully decorated cookie plate for morning.
My daughter woke up early that next morning and immediately started grabbing cookies with rainbow frosting before I could even arrange them properly on the platter. That mess of half-eaten cookies ended up being more beautiful than anything I could have planned.
Ingredients
- Unsalted butter: Room temperature is non negotiable here. Cold butter creates tiny lumps that never fully disappear, and melted butter turns your frosting into a glaze.
- Powdered sugar: Always sift it first. One time I skipped this step and spent twenty minutes trying to beat out stubborn sugar clumps that made my frosting look speckled.
- Whole milk: Start with two tablespoons and add more only if needed. Heavy cream makes it too thick, while water thins it out without maintaining the same creamy consistency.
- Pure vanilla extract: The real stuff matters. I once used imitation in a pinch and the artificial aftertaste was impossible to ignore.
- Salt: Just a pinch cuts through the sugar and makes the vanilla flavor pop. It seems counterintuitive but trust me on this one.
Instructions
- Whip the butter:
- Beat that softened butter like you mean it. About one minute on medium speed until it looks pale and almost glossy. The air you incorporate here is what makes the frosting feel light instead of dense.
- Add the sugar:
- Pour in the powdered sugar gradually while mixing on low. Your kitchen will look like it snowed, but this slow addition prevents the sugar from flying everywhere and ensures smooth incorporation.
- Bring it together:
- Add your milk, vanilla, and that crucial pinch of salt. Crank the mixer up to medium high and let it run for two to three full minutes. Watch the texture transform from stiff to silky.
- Find your consistency:
- This is where personal preference takes over. Add milk one teaspoon at a time if you want it thinner for flooding cookies, or toss in more sugar for stiff peaks that hold intricate piping designs.
- Frost and set:
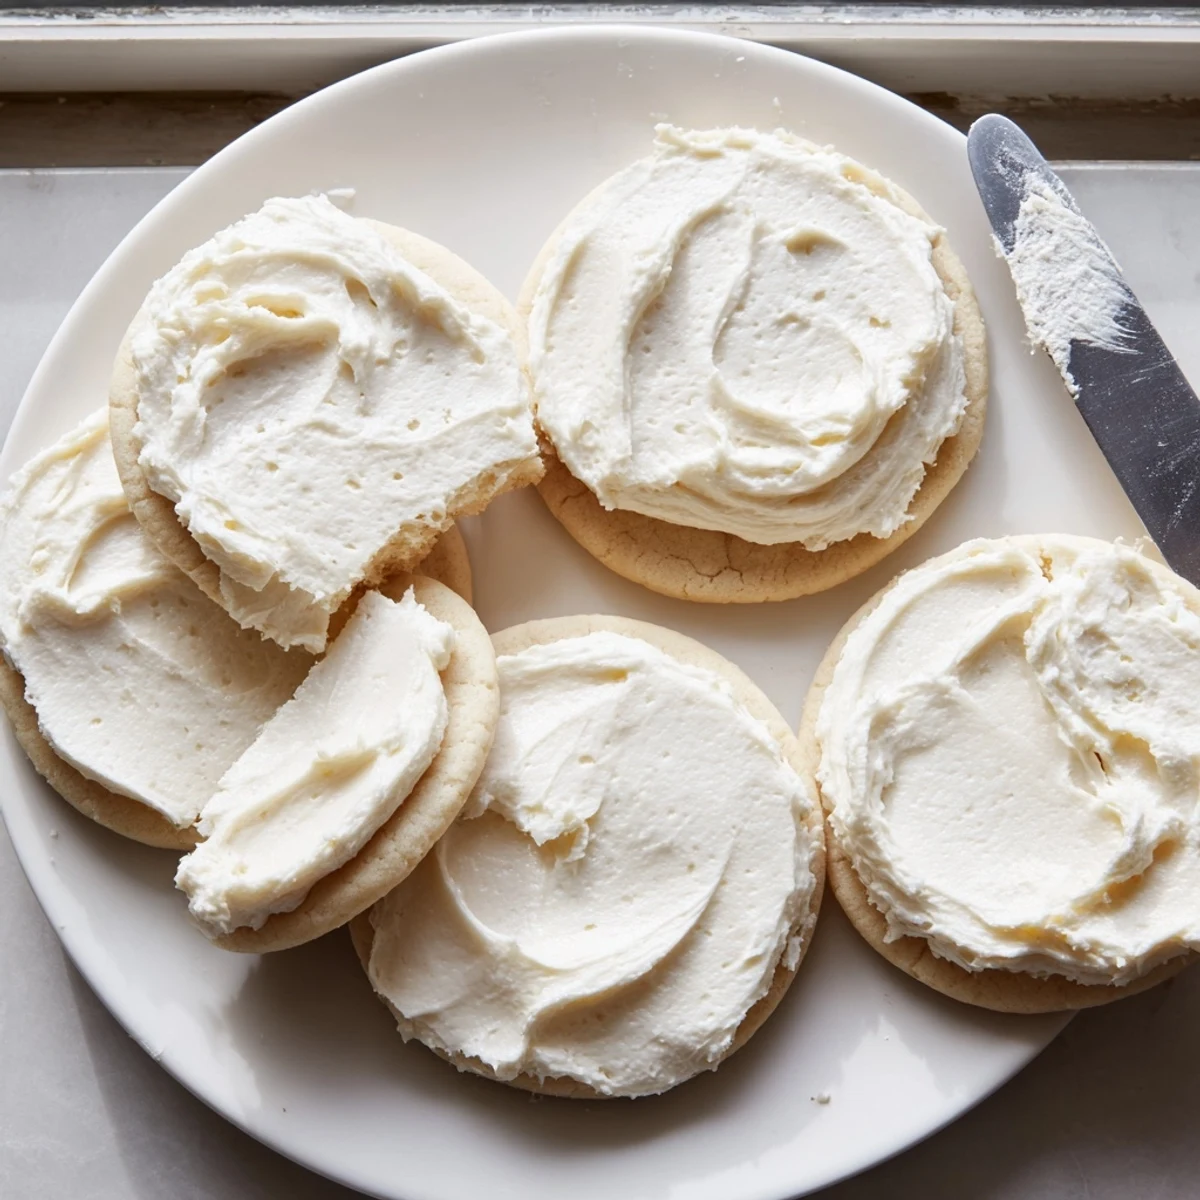
- Make absolutely sure your cookies are completely cool before frosting. Warm cookies turn buttercream into a melty mess, so walk away and let them set for an hour or two before stacking.
 Save
Save Now I keep a batch of this frosting in the refrigerator during cookie season. Last week my neighbor dropped by unexpectedly, and within minutes we were sitting at the table decorating cookies with her kids, letting them choose colors and sprinkles while coffee brewed.
Getting The Right Texture
Temperature affects everything about this frosting. On hot summer days, I stick my mixing bowl in the fridge for ten minutes halfway through. The cooler temperature helps the butter maintain structure, giving you those perfectly defined swirls that look professionally done.
Color Mixing Tips
Gel food coloring is superior to liquid drops for this recipe. Liquid can throw off your carefully achieved consistency, while gel delivers concentrated color with just a tiny amount. Always add less than you think you need. You can always add more, but you cannot take it back once the color is too deep.
Storage And Make Ahead
This frosting keeps beautifully in the refrigerator for up to a week. When you are ready to use it, let it come to completely room temperature before re whipping. The texture will return to its fluffy state, and no one will be able to tell it was not made fresh that day.
- Press plastic wrap directly onto the surface before refrigerating to prevent a skin from forming
- Freeze unfrosted cookies and make fresh frosting when you are ready to serve them
- Bring chilled frosting to room temperature for at least two hours before attempting to re whip
 Save
Save Some of the best moments in my kitchen have happened around a batch of these cookies, where the decorating becomes secondary to the conversation and the frosting ends up on as many faces as cookies.
Recipe FAQs
- → How do I make the frosting thicker for piping?
-
Add powdered sugar one tablespoon at a time until you reach your desired stiffness. Thicker frosting holds detailed piping shapes and tall decorations better.
- → Can I use salted butter instead?
-
Yes, simply omit the pinch of salt called for in the ingredients. The frosting consistency will remain the same.
- → How long does the frosting take to set?
-
Allow frosted cookies to sit at room temperature for 1-2 hours. A light crust will form, making them stackable for storage or gifting.
- → What type of food coloring works best?
-
Gel food coloring provides vibrant colors without thinning the consistency. Liquid coloring can make the frosting too soft for detailed work.
- → How should I store leftover frosting?
-
Keep in an airtight container in the refrigerator for up to one week. Bring to room temperature and re-whip before using again.
- → Can I make this frosting in advance?
-
Absolutely. Prepare it 1-2 days ahead, store refrigerated, then let it soften and re-whip before frosting your cookies.
