 Save
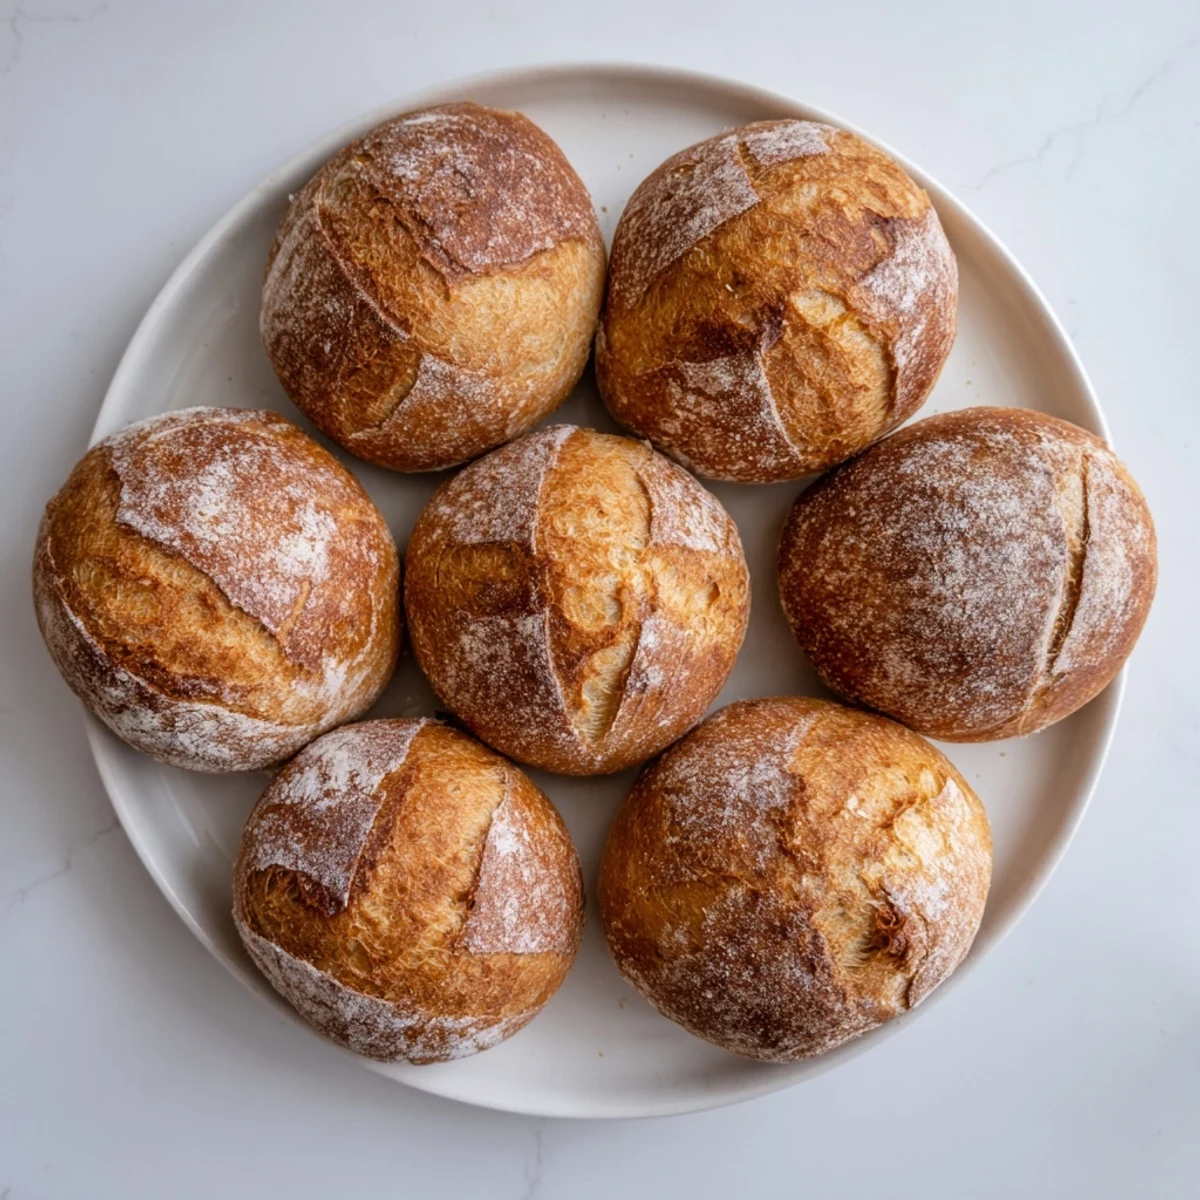
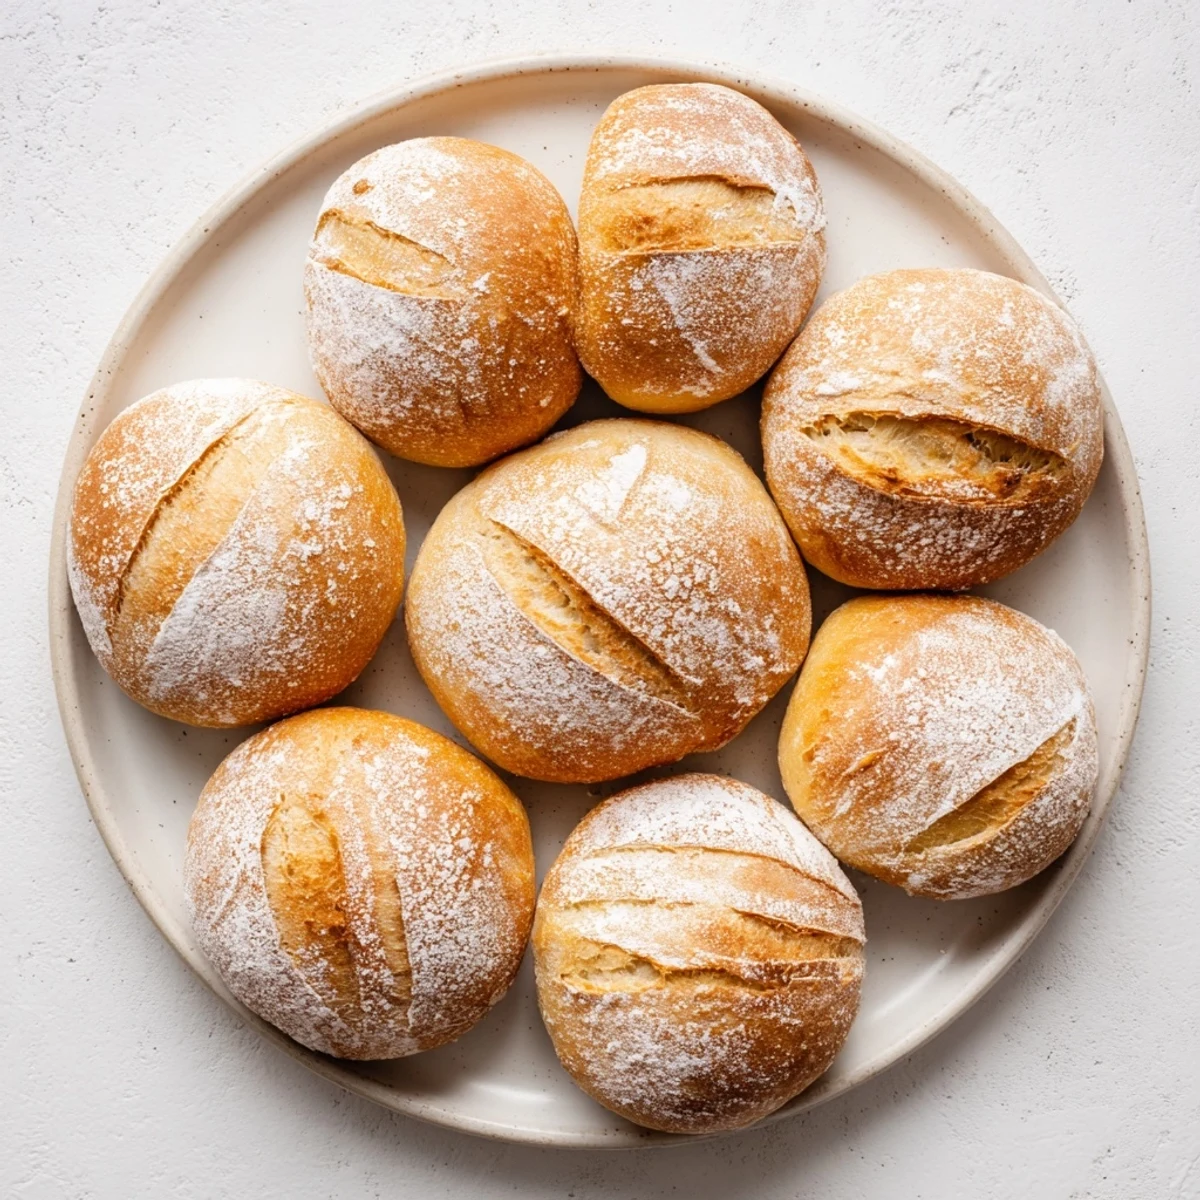
Save These classic French bread rolls feature a beautifully golden, crispy crust with a soft tender interior. Perfect for serving warm with butter, alongside hearty soups, fresh salads, or for making sandwiches.
The dough requires simple pantry staples and rises to create beautifully fluffy rolls with that signature bakery-style crunch. Steam in the oven helps achieve the authentic crusty exterior.
Ready in about 2 hours including rising time, these rolls deliver professional bakery results at home. The addition of seeds or milk offers easy variations for extra flavor.
There is something almost magical about the smell of bread baking that seems to stop time in my kitchen. I started making these French rolls on rainy Sunday afternoons when the kids were little and everyone needed something warm to hold onto. The way the crust crackles when you bite into it still feels like a small victory every single time.
My neighbor once asked what perfume I was wearing when she walked past my open kitchen window. It was just proof that nothing welcomes people home quite like the scent of bread in the oven.
Ingredients
- Bread flour: The higher protein content creates that perfect chewy texture and structure
- Lukewarm water: Activates the yeast without killing it, should feel like a comfortable baby bath
- Active dry yeast: This is your rising agent, give it time to get foamy before moving forward
- Salt: Do not skip this, it is what balances the flavor and controls the fermentation
- Sugar: Just enough to feed the yeast and help with browning
Instructions
- Wake up the yeast:
- Dissolve the sugar in lukewarm water then sprinkle in the yeast. Watch for tiny bubbles and a foamy layer that proves it is alive and ready to work.
- Build the dough:
- Stir in the flour and salt until it comes together in a shaggy mass. Turn it onto a clean surface and knead for the full eight minutes until it feels smooth and springs back when you poke it.
- First rise:
- Place the dough in an oiled bowl and cover it with a warm damp cloth. Find the coziest spot in your kitchen and let it double in size for about an hour.
- Shape the rolls:
- Gently deflate the dough then cut it into eight equal pieces. Form each into a tight ball by tucking the edges underneath, creating surface tension for that beautiful oven spring.
- Second rise:
- Arrange the rolls on parchment paper with space between them. Cover and let them puff up for another thirty to forty minutes until they look slightly puffy.
- Create steam:
- Preheat your oven to its highest setting and place a tray of water on the bottom rack. This moisture is what will give you that crackling professional crust.
- Bake to golden:
- Dust the tops with flour then make quick confident slashes with a sharp knife. Bake until they are deeply golden and sound hollow when tapped on the bottom.
 Save
Save These rolls became a weekend tradition in our house. Even now, nothing makes a simple soup feel like a feast quite like a basket of warm homemade bread.
Making Them Your Own
Once you have mastered the basic recipe you can start playing around with variations. Swap half the water for milk to create a softer, sweeter roll that kids absolutely adore.
Storage Secrets
Fresh bread is best the day it is made but these rolls freeze exceptionally well. Wrap cooled rolls individually and freeze for up to three months, then reheat in a hot oven for five minutes.
Serving Ideas
These rolls are incredibly versatile and can transform any meal into something special. Split them and use for sandwiches, serve alongside hearty soups, or simply tear into them while still warm.
- Add sesame or poppy seeds after slashing for extra crunch and visual appeal
- Brush with garlic butter right after baking for an irresistible savory finish
- Make larger versions for sub sandwiches or smaller ones for dinner rolls
 Save
Save There is pride in pulling a tray of golden rolls from your own oven. May your kitchen always smell like warmth and welcome.
Recipe FAQs
- → What makes these rolls crusty?
-
The high oven temperature and steam created by placing a water tray on the bottom rack helps develop a crispy, golden crust. This traditional French technique mimics professional bakery steam ovens for authentic results.
- → Can I make these rolls ahead of time?
-
Yes, you can prepare the dough and let it rise in the refrigerator overnight. The cold fermentation develops flavor. Shape and bake the next day, or freeze baked rolls and reheat in the oven to refresh the crust.
- → What can I serve with these bread rolls?
-
These versatile rolls pair wonderfully with soups, stews, and salads. Serve them warm with butter, use for sandwiches, or accompany cheese boards. They're also delicious dipped in olive oil or balsamic vinegar.
- → How do I know when the dough has risen enough?
-
The dough is ready when it has doubled in size. Gently press a finger into the dough - if the indentation remains, it's properly proofed. Over-proofed dough will collapse, while under-proofed won't have enough volume.
- → Can I use all-purpose flour instead of bread flour?
-
Bread flour works best due to its higher protein content, creating better gluten development for chewy texture. All-purpose flour will produce softer rolls but still yield tasty results. You may need slightly less water.
- → Why do I need to slash the tops before baking?
-
Slashing the dough with a sharp knife allows the rolls to expand properly while baking, creating that attractive split pattern. It also helps steam escape and prevents the crust from tearing unevenly during oven spring.
