 Save
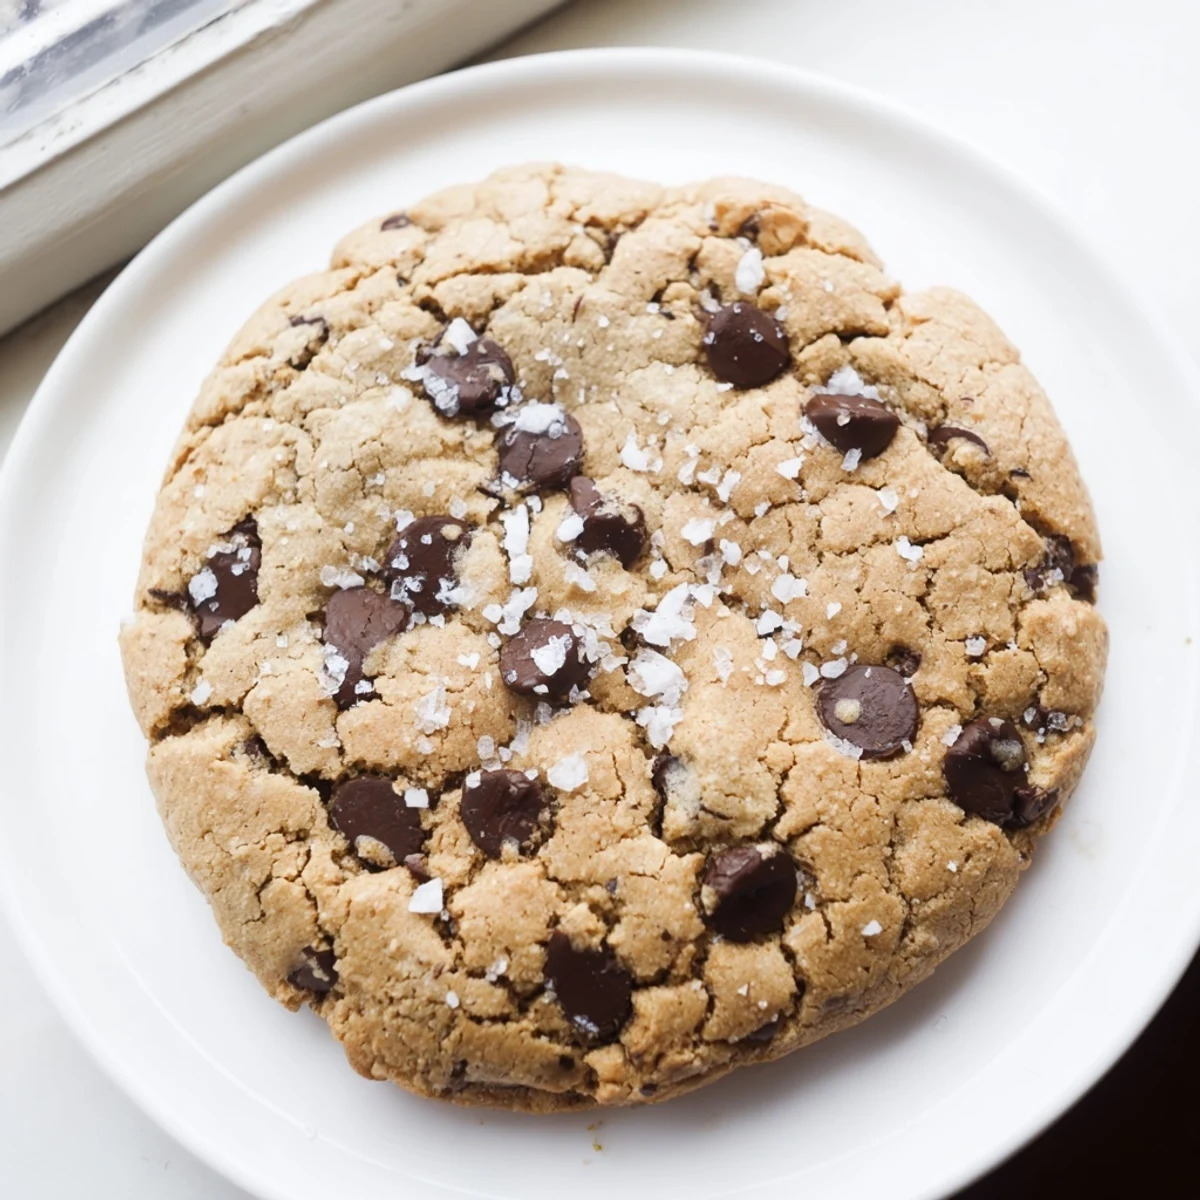
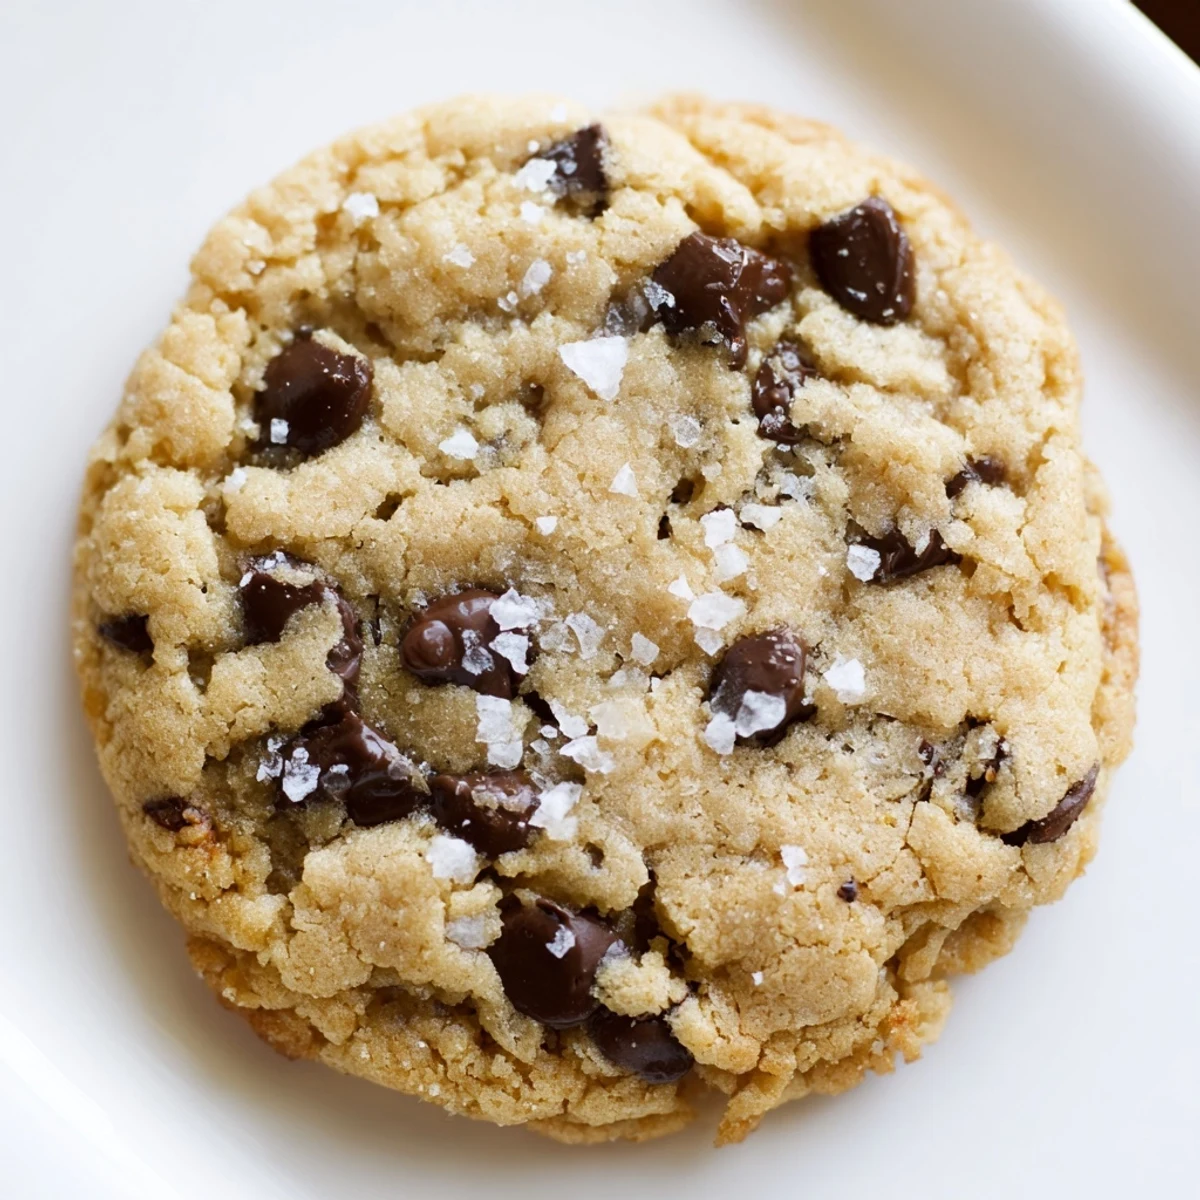
Save These classic chocolate chip cookies deliver the perfect contrast of crispy edges and chewy centers. Made with creamed butter and brown sugar, they're loaded with semi-sweet chocolate chips and finished with a sprinkle of flaky sea salt that brings out the chocolate's natural richness.
The dough comes together in minutes and bakes to golden perfection in just 12 minutes. For even better flavor, chill the dough overnight before baking. Serve warm with cold milk for an irresistible treat.
The gentle chaos of a rainstorm outside my kitchen window set the perfect backdrop for my first batch of sea salt chocolate chip cookies. I'd been collecting cookie recipes for months, but something about the contrast between sweet chocolate and flaky salt captivated my imagination. As thunder rolled, I realized this wasn't just another cookie experiment—it was the beginning of what would become my signature dessert.
Last Christmas, my brother-in-law—who claims to hate desserts—grabbed his fourth cookie from the plate while telling everyone he was just being polite. The room filled with laughter as crumbs fell onto his ugly holiday sweater, and he finally admitted these salted chocolate chip cookies had converted him. Sometimes the greatest kitchen victories come from the most reluctant critics.
Ingredients
- Butter: Use room temperature butter that gives slightly when pressed but doesn't collapse—too soft and your cookies will spread like pancakes, a lesson I learned the hard way during a summer baking session.
- Brown sugar: The higher moisture content creates that perfect chewy center, and I found dark brown works too if you want a more caramel-like undertone.
- Flaky sea salt: Splurge on Maldon or another quality flaky salt here—those delicate crystals dissolve differently than table salt and create little bursts of flavor that make these cookies memorable.
- Vanilla extract: The real stuff matters here, connecting all the other flavors together like a friendly mediator at a flavor party.
Instructions
- Prep your workspace:
- Preheat your oven to 350°F and line those baking sheets with parchment paper—trust me, this is no time to gamble with cookies sticking to the pan.
- Mix the dry team:
- Whisk your flour, baking soda, and fine sea salt in a bowl until they look evenly distributed. This quick step prevents those alarming pockets of baking soda that can ruin an otherwise perfect cookie.
- Create the foundation:
- Beat the butter and both sugars until the mixture lightens in color and looks fluffy—about two minutes of mixer time. Your patience here builds the structure that makes these cookies special.
- Add the binders:
- Beat in those eggs one at a time, letting each one fully incorporate before adding the next. Then swirl in that vanilla, filling your kitchen with a scent that probably should be bottled as perfume.
- Bring it all together:
- Add your dry ingredients to the wet mixture gradually, mixing just until no flour streaks remain. Overmixing here is the enemy of tenderness, so channel your gentle side.
- Add the star:
- Fold in those chocolate chips with a spatula, distributing them evenly throughout the dough. This is where cookie personality begins to take shape.
- Scoop with intention:
- Drop generous two-tablespoon portions onto your prepared sheets, giving them room to spread during baking. These cookies need their personal space, much like I do when baking.
- The finishing touch:
- Sprinkle each dough mound with a pinch of flaky sea salt—not too much, just enough to create that flavor contrast that makes people close their eyes when they take their first bite.
- The transformation:
- Bake for 11-13 minutes until the edges turn golden but the centers still look slightly underdone. They'll continue cooking from residual heat after you take them out.
- The cooling dance:
- Let them rest on the baking sheet for exactly 5 minutes—this is when they firm up enough to move without breaking. Then transfer to a wire rack where they'll develop that perfect texture balance between crisp and chewy.
 Save
Save One rainy afternoon, I brought these cookies to a neighborhood meeting that had been tense for months over a disputed fence line. As plates were passed and compliments exchanged, I watched two neighbors who hadn't spoken in weeks share cookie preferences and childhood baking stories. Sometimes the simple act of sharing something made with care creates space for connection that formal conversations never could.
The Chocolate Question
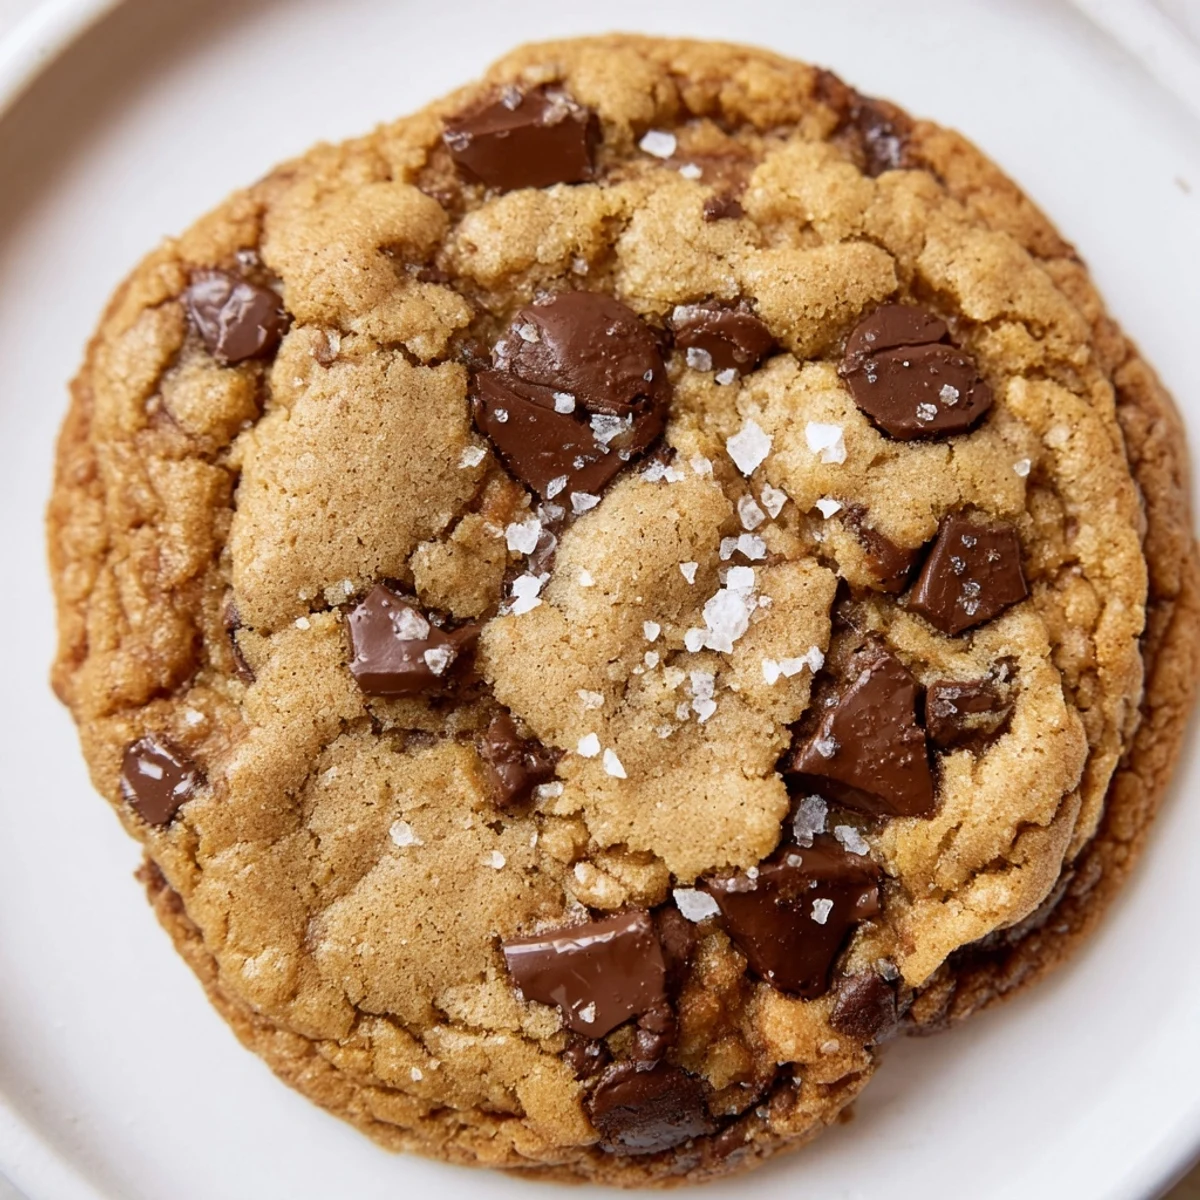
After years of cookie experimentation, I've found that mixing chocolate types creates depth that surprises people. Try using 1 cup semi-sweet chips and 1 cup chopped bittersweet chocolate bar—the different melting points create pockets of texture that keep each bite interesting. When my daughter asked why these cookies tasted more complex than her school bake sale ones, I realized how much those small chocolate choices matter.
The 24-Hour Secret
While these cookies are delicious baked immediately, something magical happens when you refrigerate the dough for 24 hours. The flour fully hydrates, the flavors meld together, and the resulting cookies develop a toffee-like quality that's impossible to achieve otherwise. On busy weekends, I make double batches of dough, baking half immediately and saving the rest for midweek treats when the dough has developed those deeper notes.
Serving Suggestions
These cookies reach their peak moment of perfection about 15 minutes after coming out of the oven, when they're still slightly warm but have developed their structural integrity. Serving them with cold milk creates a temperature contrast that heightens the entire experience.
- For dinner parties, try serving two warm cookies with a small scoop of vanilla ice cream sandwiched between them—the salt, chocolate, and cream create a dessert that outshines many restaurant offerings.
- When packaging these as gifts, alternate layers with parchment paper and include a note suggesting a 10-second microwave warmup before eating.
- If serving to chocolate purists who question the salt addition, hold back the salt on a few cookies as a control group—the comparison usually converts even the most traditional cookie lovers.
 Save
Save Every time I make these cookies, I'm reminded that some of the most meaningful kitchen victories come from small, thoughtful adjustments to familiar classics. These sea-salted chocolate chip cookies aren't just a recipe in my collection—they're a reminder that balance is everything, in cookies and in life.
Recipe FAQs
- → Why do my cookies spread too much?
-
Ensure your butter is softened but not melted, and chill the dough for at least 30 minutes before baking. Spreading can also indicate your oven temperature is too low, so use an oven thermometer to verify accuracy.
- → Can I use salted butter instead of unsalted?
-
You can, but reduce the fine sea salt in the dry ingredients to 1/4 teaspoon to avoid over-salting. Unsalted butter gives you better control over the salt content and final flavor balance.
- → How should I store these cookies?
-
Store cooled cookies in an airtight container at room temperature for up to 5 days. For longer storage, freeze them for up to 3 months. You can also freeze the dough and bake fresh cookies whenever desired.
- → What's the purpose of chilling the dough?
-
Chilling allows the flavors to meld and prevents excessive spreading during baking. A 24-hour chill develops deeper flavor complexity and creates cookies with better texture—thicker centers with crispier edges.
- → Can I substitute the chocolate chips?
-
Absolutely. Try dark chocolate chips, milk chocolate, or a combination. Chocolate chunks work wonderfully too. You can also add chopped nuts, dried fruit, or use flavored chocolate varieties for creative variations.
- → Why use both granulated and brown sugar?
-
Granulated sugar creates crispness and spread, while brown sugar adds moisture and chewiness. Together they create the ideal balance of texture with crispy edges and soft, chewy centers.
