 Save
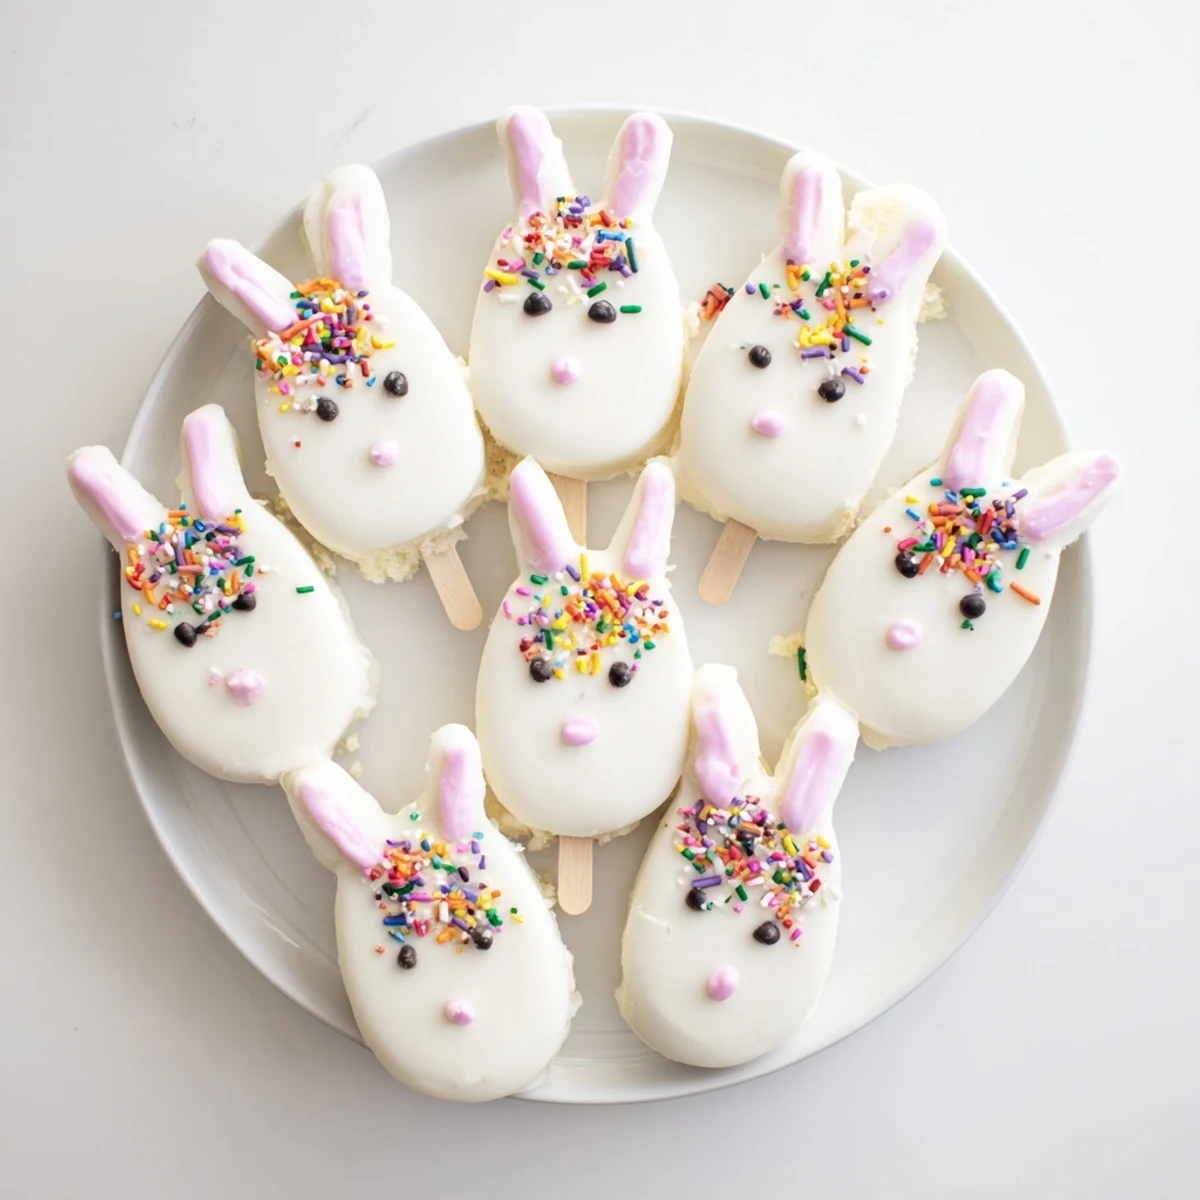
Save These charming handheld treats combine moist vanilla cake crumbs with cream cheese and butter for a rich, doughy base. Shape into bunny faces, insert sticks, and coat in melted white chocolate for a festive presentation. Decorate with candy eyes, sprinkles, or fondant ears to create unique edible bunnies that capture the spirit of spring.
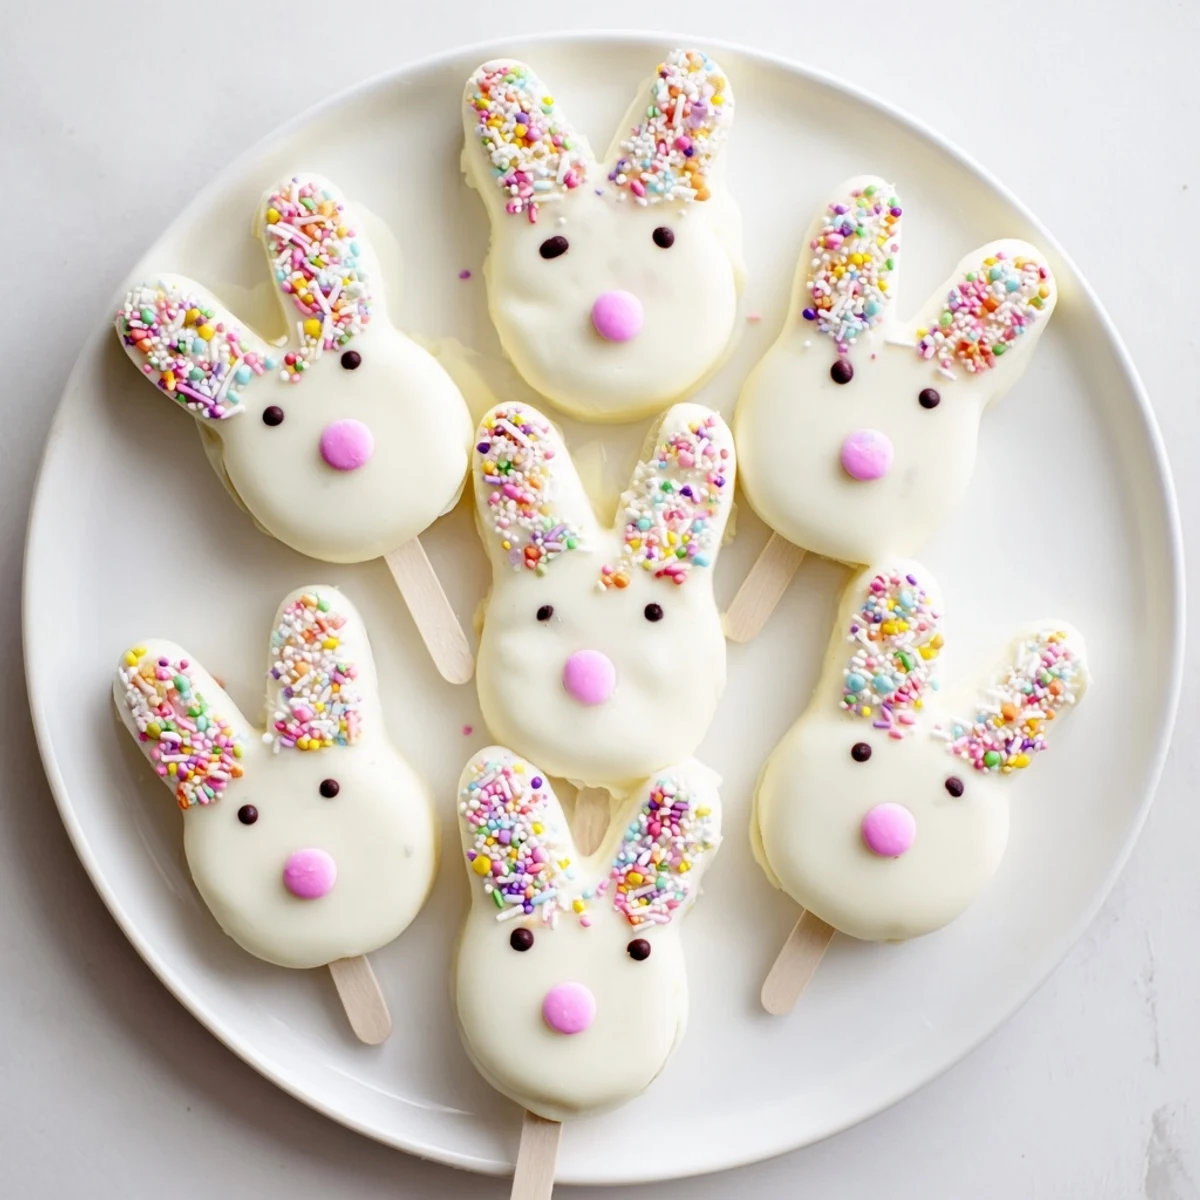
The kitchen was already covered in pastel sprinkles when my daughter announced she had a brilliant idea for Easter treats. These bunny cakesicles became our weekend project, and honestly, watching her carefully place each candy eye on the white chocolate faces was the highlight of my spring.
I made these for a neighborhood egg hunt last year, and the kids actually stopped hunting to eat them. The parents were just as excited, reaching for these adorable bunny faces before anyone else could grab them.
Ingredients
- Vanilla cake crumbs: Using day old cake or cupcakes works beautifully here, giving you that perfect moist texture without any drying out
- Cream cheese and butter: This duo binds everything together into a dough that holds its shape beautifully, so do not skip either one
- White chocolate melts: I have learned the hard way that proper candy melts coat more smoothly than regular chocolate chips, which tend to seize up
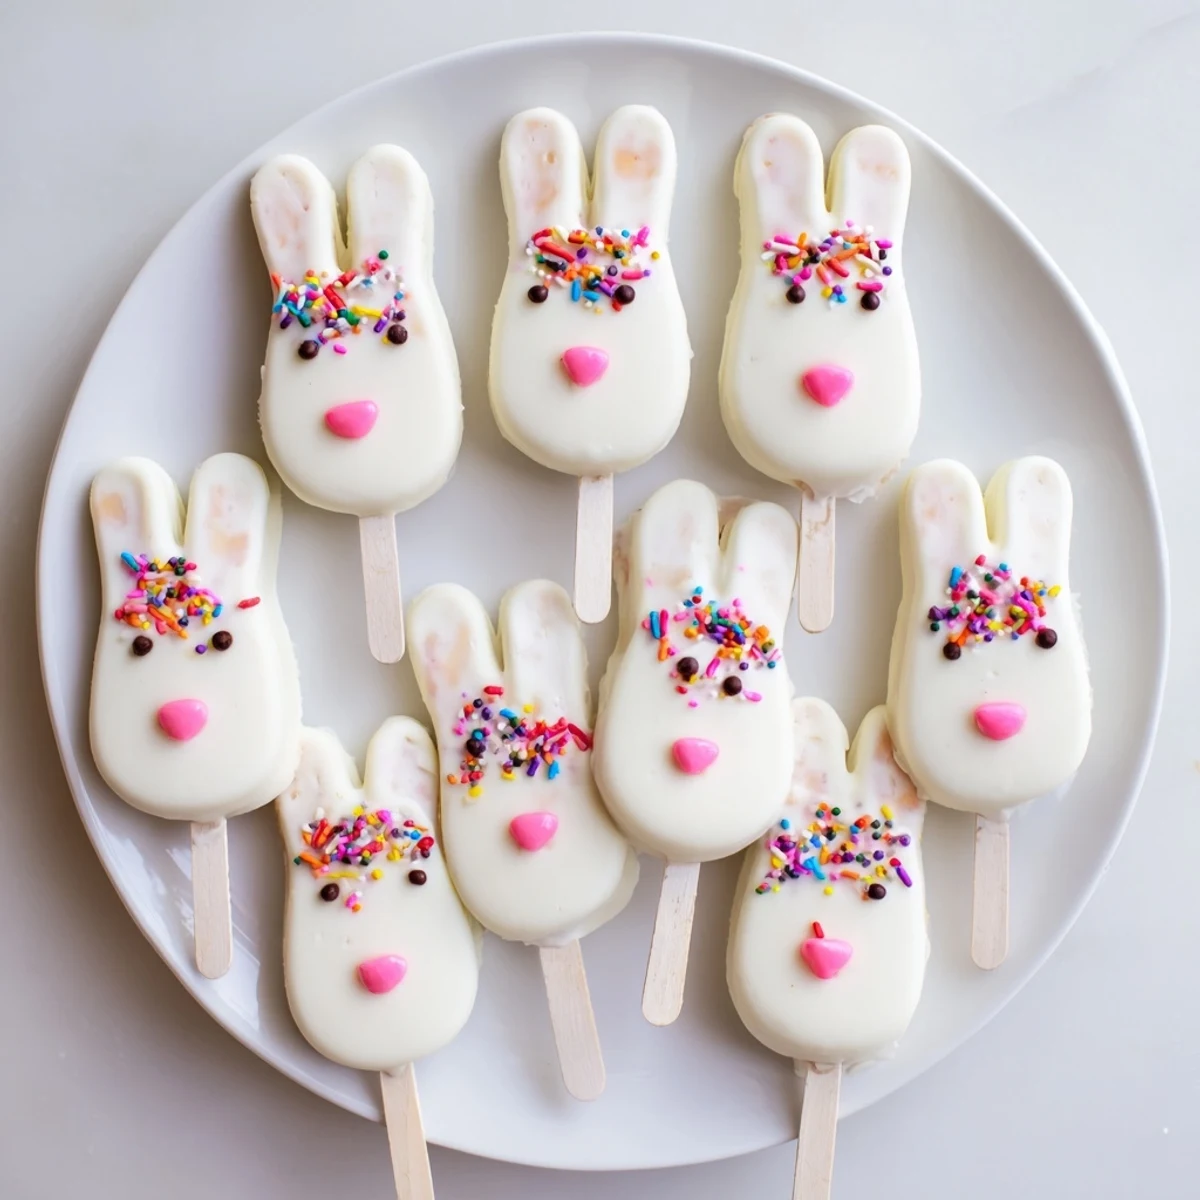
- Cakesicle sticks: Insert these before chilling, or the cake pop might crack when you try later
Instructions
- Mix your dough:
- Combine cake crumbs, cream cheese, butter, powdered sugar, and vanilla until the mixture holds together when squeezed
- Shape the bunnies:
- Divide into 8 portions and form each into a flattened oval with slightly pointed ears at the top
- Chill thoroughly:
- Insert sticks into the bottom of each bunny and refrigerate for at least 20 minutes, because cold cake pops coat much more cleanly
- Melt the coating:
- Heat white chocolate in 30 second bursts, stirring between each interval until completely smooth and pourable
- Dip and decorate:
- Submerge each bunny in chocolate, tap off the excess, then immediately add candy eyes and fondant ears before the coating sets
 Save
Save These little bunnies have become my go to Easter contribution because they travel so well and never fail to make people smile. Last year I found my husband sneaking one from the fridge at midnight.
Making Them Ahead
You can prepare the cake mixture and shape the bunnies up to two days in advance. Keep them refrigerated, then dip and decorate the day of your event for the freshest appearance.
Decoration Ideas
Beyond the classic candy eyes, try using pink sprinkles for noses or tiny heart confetti for cheeks. I have even used edible glitter to give some bunnies extra sparkle for the most ambitious decorators.
Storage Solutions
These treats keep beautifully in the refrigerator for three days when stored in an airtight container. Just be sure to place wax paper between layers so they do not stick together.
- Let them come to room temperature for 10 minutes before serving for the best texture
- Avoid freezing them as the white chocolate can develop odd spots when thawed
- If giving as gifts, wrap each individually in clear treat bags tied with pastel ribbon
 Save
Save There is something magical about bite sized treats that look this impressive but come together so easily. Happy Easter baking, and may your bunnies be adorable and your chocolate smooth.
Recipe FAQs
- → How long do these treats stay fresh?
-
Store in an airtight container in the refrigerator for up to 3 days. The coating remains glossy and the interior stays moist when properly chilled.
- → Can I make these ahead of time?
-
Yes, prepare the shapes and refrigerate up to 24 hours before coating. Dip in chocolate and decorate the day of serving for best results and fresh appearance.
- → What other cake flavors work well?
-
Chocolate, lemon, red velvet, or funfetti cake crumbs create delicious variations. Each brings unique character while maintaining the creamy, sweet base.
- → Do I need a special mold?
-
A molds helps with uniform shapes, but hand-forming works perfectly. Simply press portions into flattened ovals and gently mold edges for bunny face contours.
- → Can I use candy melts instead of real chocolate?
-
Absolutely. White candy melts melt smoothly and set quickly, making them ideal for coating. They also come in various colors for creative decorating options.
