 Save
Save Melt chocolate and coat silicone molds twice, chilling between layers to form sturdy egg shells. Macerate diced strawberries with sugar, whip cold cream with powdered sugar and vanilla to stiff peaks, then fold in crushed shortcake and berries. Fill one half-shell, seal with the matching half using melted chocolate, chill until set, and decorate as desired. Store chilled and serve cold.
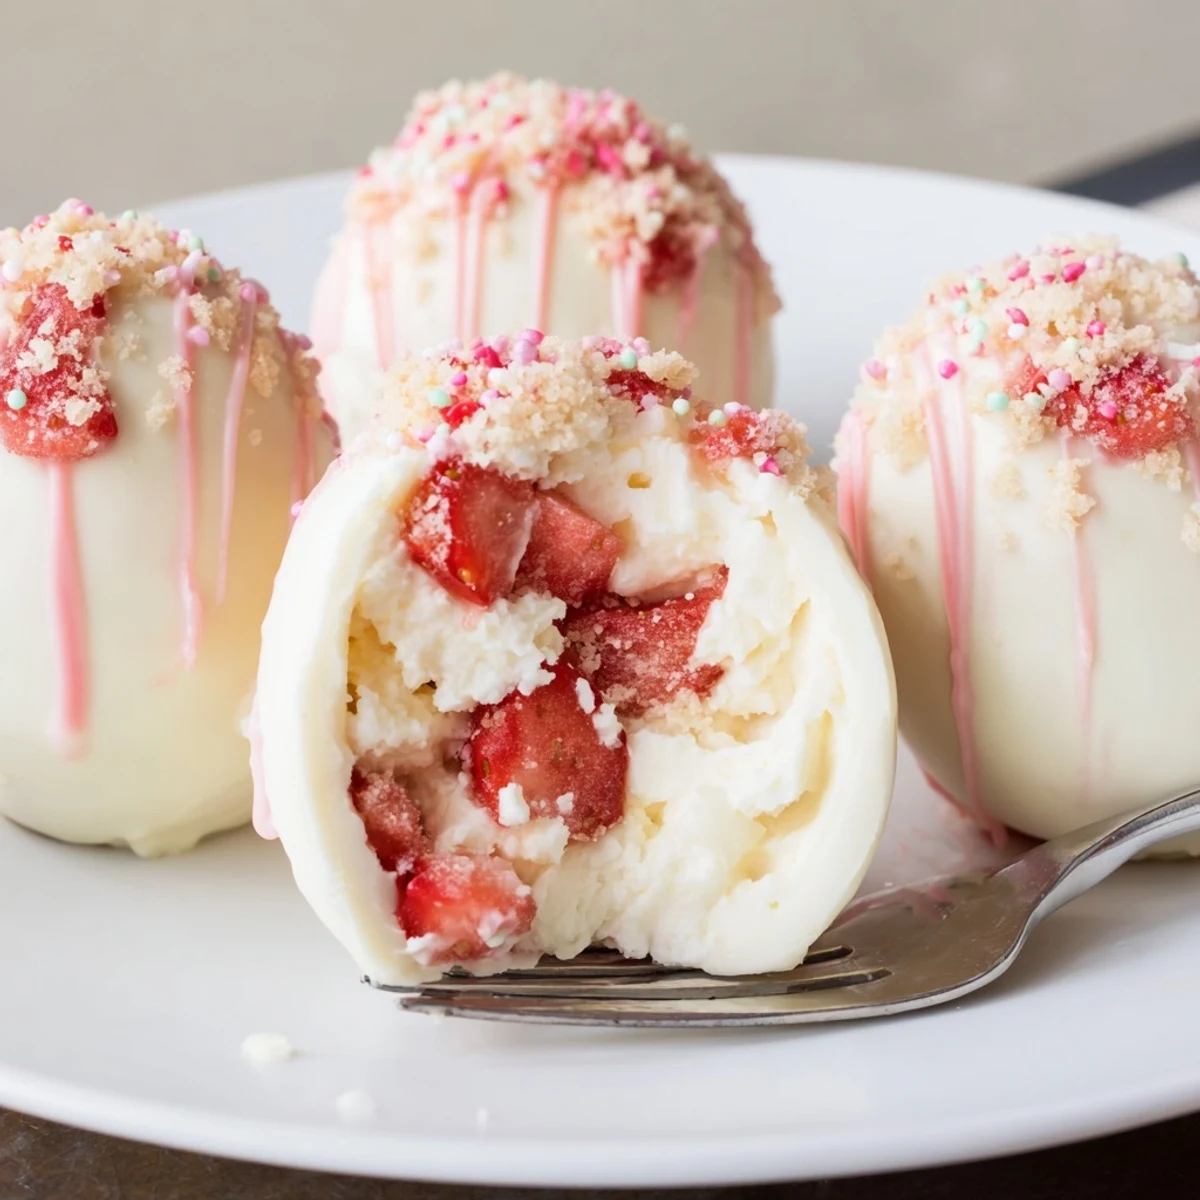
The idea for these Strawberry Shortcake Easter Egg Bombs popped into my head on a rainy April afternoon, when I needed a spring pick-me-up. As the kitchen filled with the sweet scent of melting chocolate, I found myself grinning at the memory of childhood Easter hunts and the thrill of cracking open chocolate eggs for hidden treats. There's something irresistibly joyful about hiding a dessert inside another dessert, especially when you get to surprise friends around the table. Making these feels like a little celebration, no matter the weather outside.
One Sunday, my niece and nephew hovered impatiently as I unmolded the chocolate eggs, each whispering guesses about what could be hidden inside. Their laughter when the first bomb cracked open—showering a trail of sprinkles across the table—still makes me smile. It’s a dessert that turns grown-ups into kids again, if only for a moment.
Ingredients
- White or Milk Chocolate (250 g): Smoother chocolate yields prettier shells; I learned a second coating helps prevent accidental cracks.
- Fresh Strawberries (200 g): Ripe, fragrant ones make for juicier, brighter filling—don’t skimp here!
- Granulated Sugar (2 tbsp): Just enough to coax the strawberries into becoming their juiciest selves.
- Heavy Whipping Cream (200 ml): Chill your bowl and beaters first for extra fluffy peaks.
- Powdered Sugar (2 tbsp): Sifts easily into the cream, giving it a subtle sweetness without any grit.
- Vanilla Extract (1 tsp): Lends warmth and ties the filling together; sometimes I splash in a bit more just because.
- Shortcake Biscuits (100 g, crushed): I crumble them by hand for bigger, more satisfying bites in the filling.
- Sprinkles, Edible Glitter, Colored Icing: Have fun here—little hands always want to help with decorating.
Instructions
- Melt and Mold Chocolate:
- Slowly melt the chocolate over gently simmering water—the scent will chase away any lingering winter blues. Using a spoon, swirl chocolate around the molds for an even coat, and give them a little tap to remove air bubbles before chilling.
- Build the Shells:
- Add a second layer of chocolate to strengthen your eggs; trust me, this extra step means fewer heartbreaks later. Chill again until solid, and listen for the tiny snap as you remove each gleaming shell.
- Prep the Strawberries:
- Toss the strawberries with sugar and let them rest; soon, they’ll glisten and syrup will pool at the bottom, begging to be spooned up. This step transforms the berries from tart to candy-sweet.
- Whip the Cream:
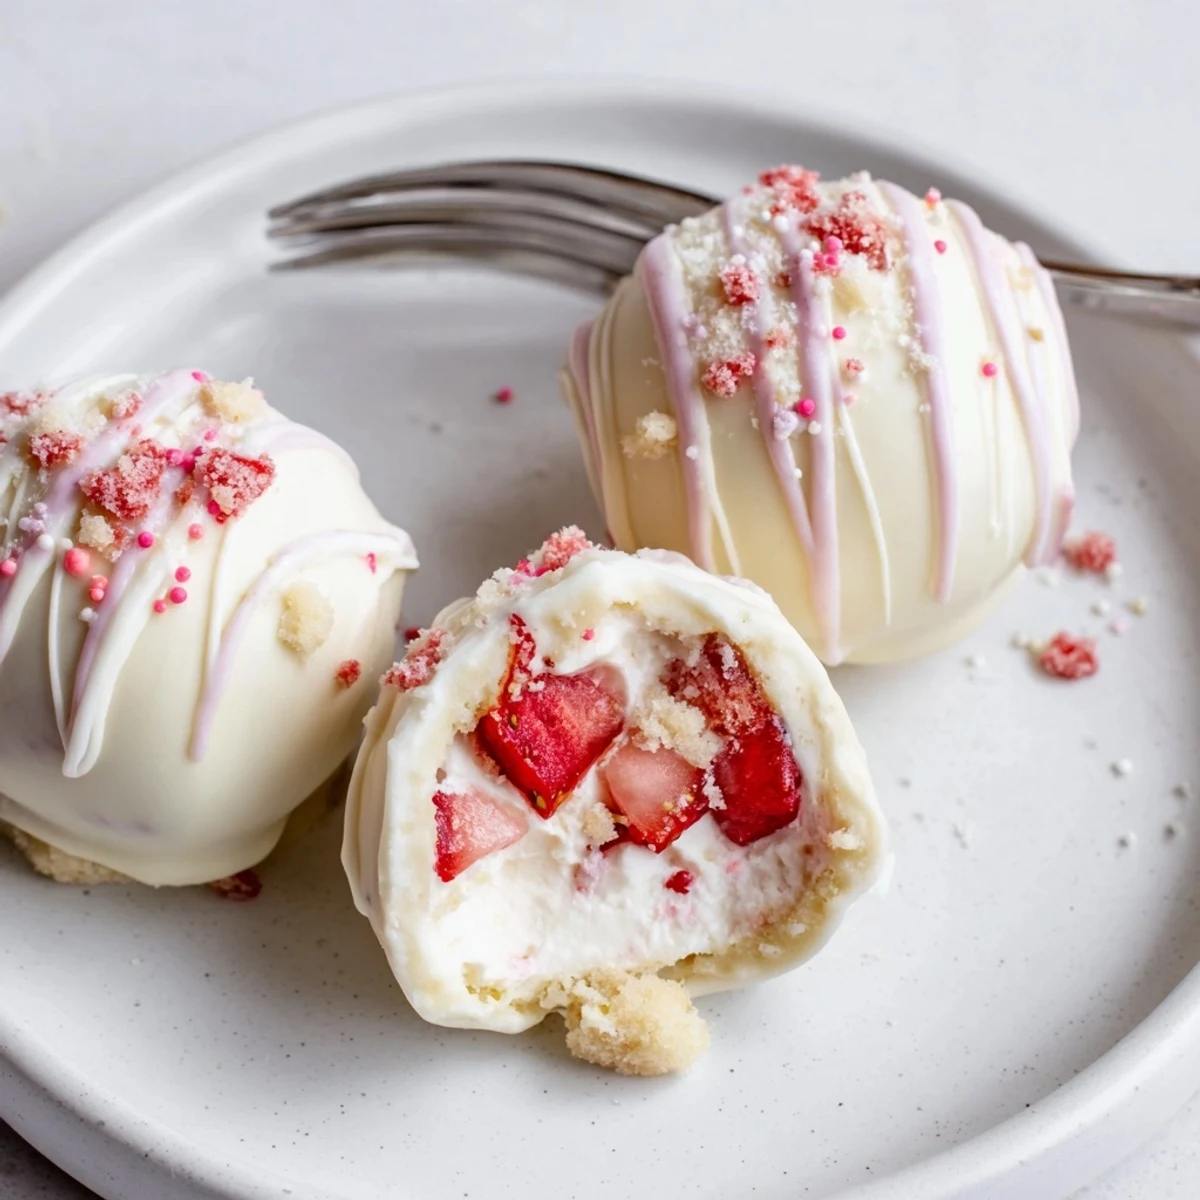
- Beat cold cream with powdered sugar and vanilla until soft peaks form—watch for ribbons that hold their shape but still look luscious. Gently fold in crushed biscuits and those jewel-like strawberries until just combined.
- Assemble the Egg Bombs:
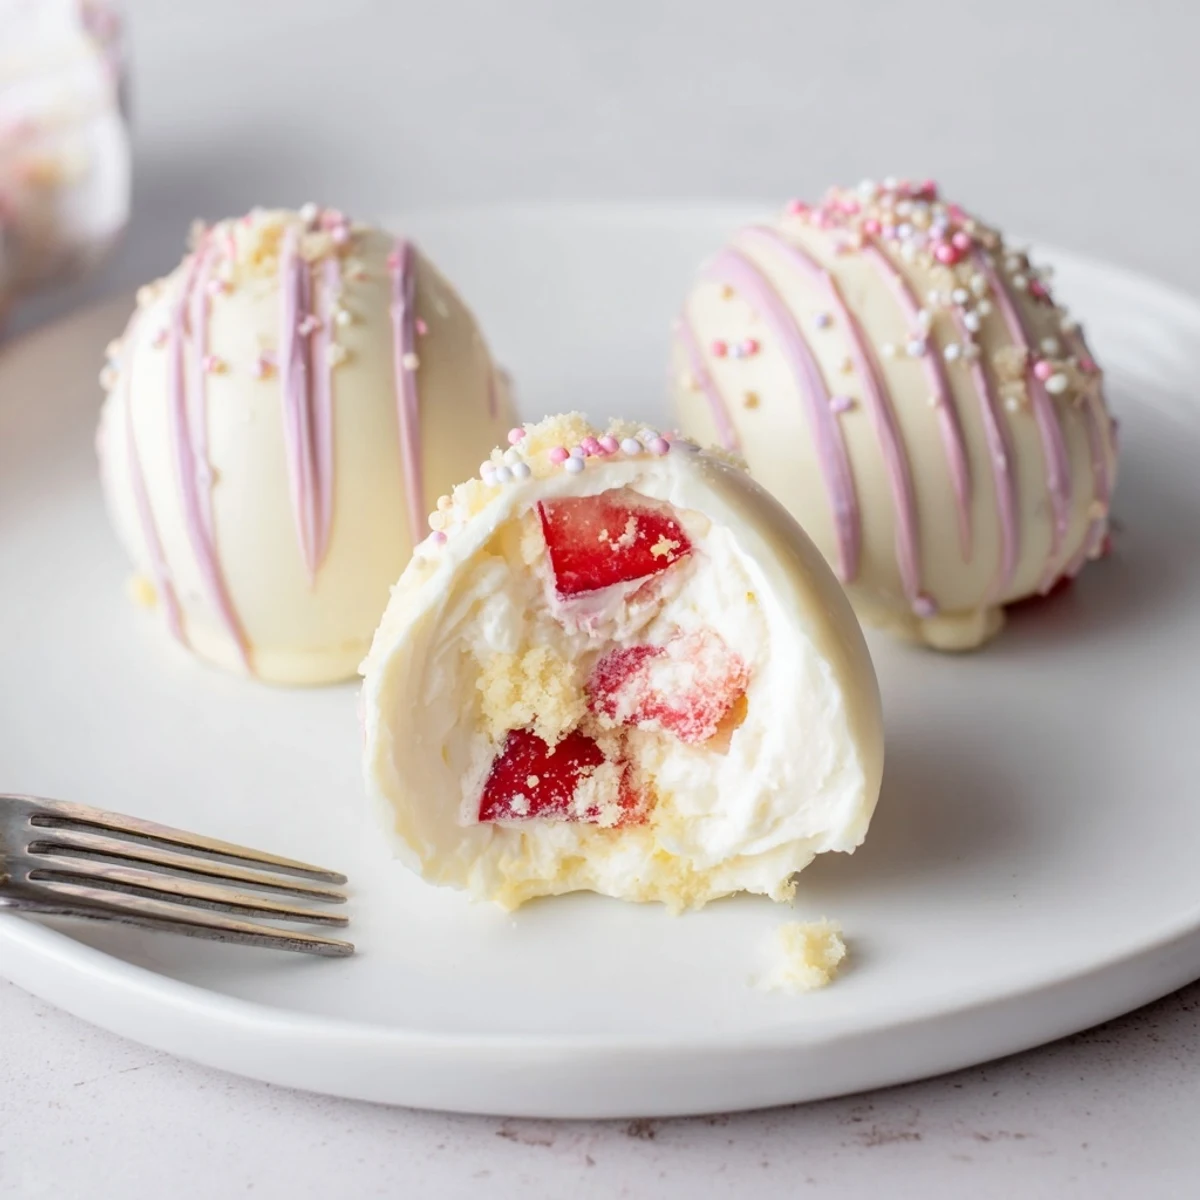
- Carefully release chocolate halves from the molds—a deep breath helps here. Spoon filling into one half, then sandwich with its partner, sealing with a dab of melted chocolate if necessary.
- Decorate:
- Drizzle more chocolate on top or let everyone loose with sprinkles and icing—there’s no such thing as overdecorating. Chill until ready to serve, and admire your colorful creations.
 Save
Save The first time I brought a tray of these to a family brunch, everyone gasped—thinking I’d simply bought fancy chocolate eggs. The surprise on their faces when the creamy, berry-laden filling tumbled out was worth every minute spent in the kitchen.
How to Handle Chocolate Like a Pro
Working with chocolate taught me to be patient—rushing the melting process or skipping the cooling time always ended in disaster. Let the chocolate cool slightly before pouring, and be generous with the second layer for extra stability.
Customizing Your Easter Bombs
No two holiday tables are alike, so don’t be afraid to swap in dark or ruby chocolate shells, or use gluten-free biscuits if needed. Little tweaks make these uniquely yours—sometimes we even add a splash of orange liqueur to the filling for the adults.
Decorating With Kids (Or Letting Adults Join In)
Some of the most joyful disasters in my kitchen have come from bowlfuls of sprinkles in the hands of determined decorators. Don’t stress about symmetry—smudged icing or a wonky drizzle just adds to their charm.
- If using edible glitter, let the assembled bombs sit for a few minutes before dusting—it sticks better.
- Lay out newspaper for easy cleanup after a decorating flurry.
- Remind everyone: patience while chilling means nicer surprises later on.
 Save
Save Sharing these egg bombs has become a tiny new tradition for us, and I hope they’ll bring both delight and a hint of spring to your celebrations, too. Happy cracking!
Recipe FAQs
- → How can I keep chocolate shells from cracking?
-
Apply two thin coats of melted chocolate, chilling between layers for strength. Tempering the chocolate creates a firmer shell and better snap. Avoid rapid temperature changes when unmolding to reduce cracking.
- → What's the best way to stabilize the whipped cream filling?
-
Use very cold heavy cream and a chilled bowl, and beat to stiff peaks with powdered sugar and vanilla. For extra hold, fold in a spoonful of mascarpone or a small amount of dissolved gelatin.
- → Can I prepare these ahead and how should I store them?
-
Assemble and store in a single layer in an airtight container in the fridge for up to 48 hours. Avoid stacking to prevent damage. For longer storage, freeze assembled bombs on a tray then transfer to a sealed container, but texture may change slightly on thawing.
- → What kind of chocolate works best for the shells?
-
White, milk, or dark chocolate all work; couverture yields the best shine and snap if tempered. Ruby chocolate offers a fruity contrast to the strawberries. If not tempering, use gentle melting and cool molds to help set the chocolate.
- → How can I make a gluten-free version?
-
Replace shortcake biscuits with certified gluten-free cookies or biscuits and check chocolate labels for traces of gluten. Ensure all other ingredients are certified gluten-free to avoid cross-contamination.
- → Any tips for neat decorating?
-
Use a small piping bag or spoon for controlled chocolate drizzles, add sprinkles while the drizzle is still tacky, and chill briefly to set decorations. Work on parchment to catch excess for easy cleanup.
