 Save
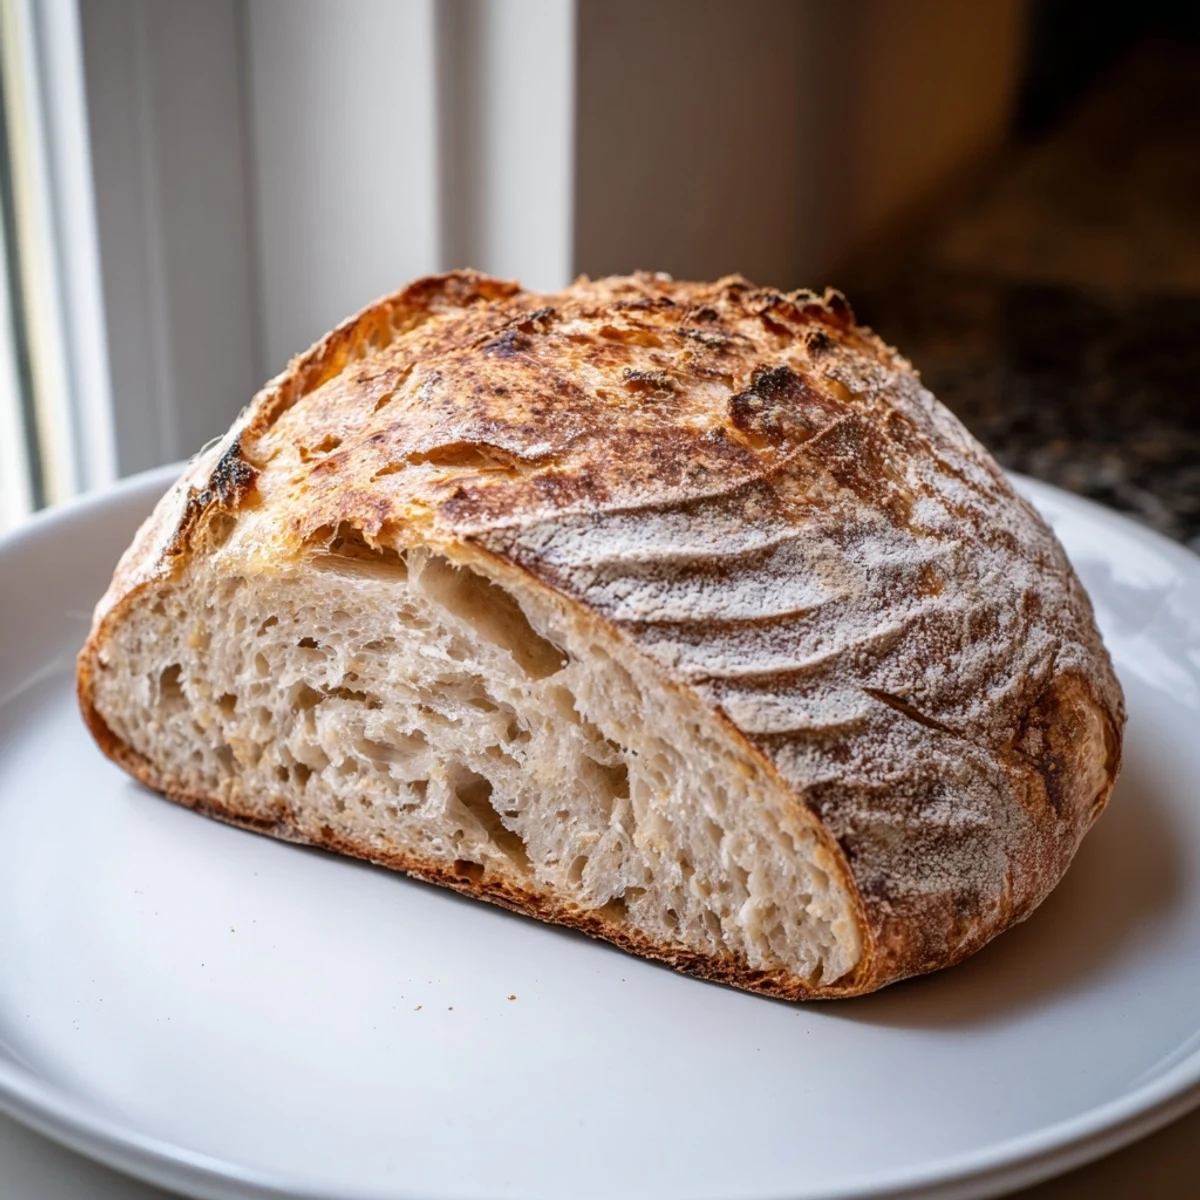
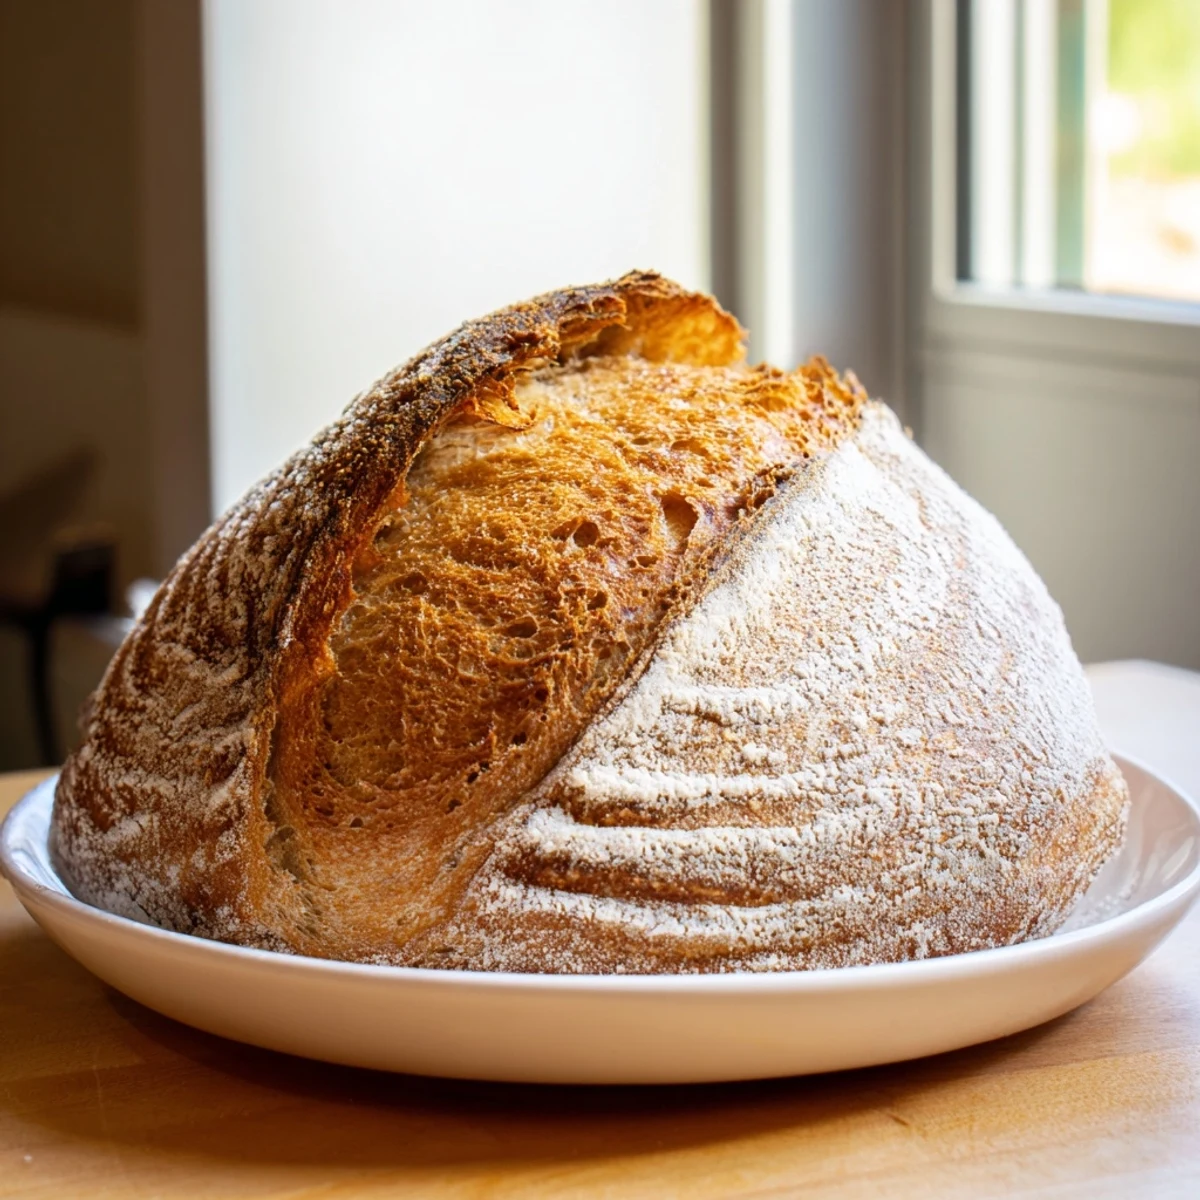
Save Craft an authentic sourdough loaf using natural wild yeast fermentation. This traditional method develops deep tangy flavor and exceptional aroma through an extended 12-18 hour resting period. The result features a beautifully crackling golden crust surrounding an open, airy crumb with perfect chew.
The process begins with mixing flour and water, followed by incorporating your active starter and salt. Through strategic stretch-and-fold techniques, the dough develops strength and structure. A cold fermentation in the refrigerator enhances complexity while making scheduling flexible.
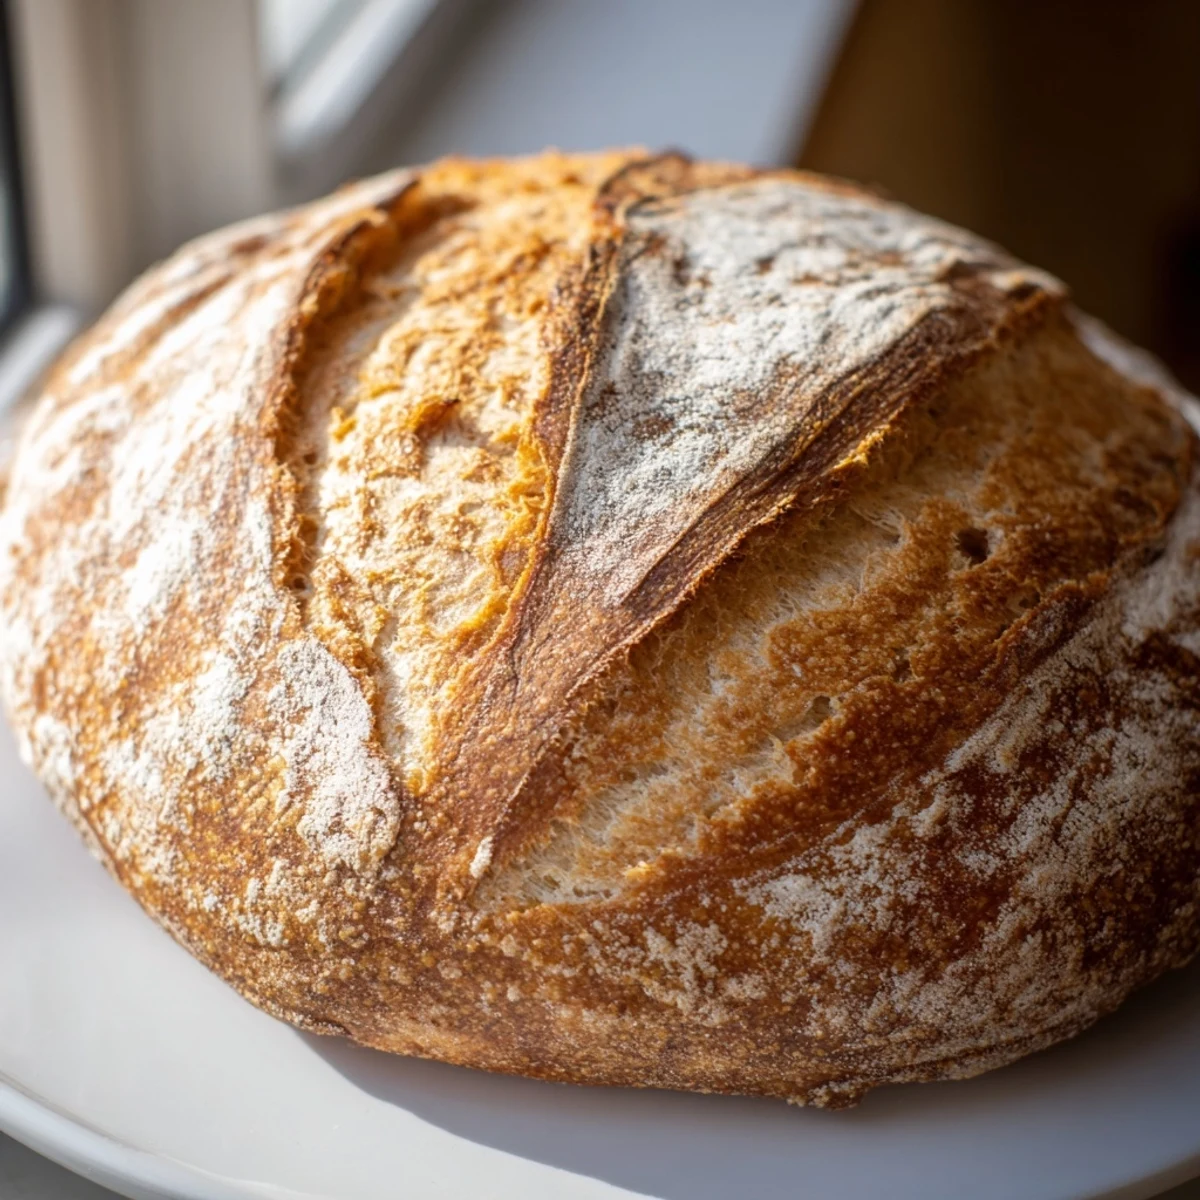
Baking in a preheated Dutch oven creates steam for that coveted professional-style crust. The high initial heat seals the exterior, while the covered environment allows proper oven spring. Removing the lid for the final stage produces the deep golden color and crisp texture that makes artisan sourdough irresistible.
The morning I finally cracked sourdough baking, my entire apartment smelled like a bakery and I stood over the cooling rack, practically vibrating with impatience. My starter, affectionately named Betty, had finally become predictable enough that I felt brave enough to attempt an overnight proof. That first slice, still warm with butter melting into the crumb, taught me why people get obsessed with baking their own bread.
I served this bread at a dinner party where everyone sat around the table tearing off pieces by hand, passing butter, and ignoring the actual main course. My friend Sarah, whos skeptical about anything that takes longer than thirty minutes, asked for the recipe immediately. Theres something universally primal about breaking bread together that makes even casual dinners feel special.
Ingredients
- Bread flour: Higher protein content than all purpose gives you that professional bakery structure and chewy crumb everyone loves
- Water at room temperature: Cold water can shock your starter and slow fermentation, while warm water might make things develop too fast
- Active sourdough starter: Feed it 4 to 8 hours before mixing, it should be bubbly, doubled in size, and pass the float test
- Fine sea salt: Coarse salt wont dissolve properly and creates salty spots in your finished loaf
Instructions
- Mix and autolyse:
- Combine flour and water in a large bowl until no dry flour remains, then cover and let it rest for one hour to hydrate properly
- Incorporate starter and salt:
- Add your starter and salt, then mix by hand or with a dough scraper until everything feels cohesive and smooth
- Stretch and fold:
- Perform four sets of stretches and folds every thirty minutes, grabbing one edge of dough and pulling it up over the center
- Bulk fermentation:
- Cover the bowl and let it rise at room temperature until noticeably puffy and about doubled in size
- Shape the loaf:
- Turn dough onto a lightly floured surface and gently shape it into a tight round or oval, creating surface tension
- Cold proof overnight:
- Place shaped dough seam side up in a floured proofing basket, cover, and refrigerate for eight to twelve hours
- Preheat your oven:
- Heat to 230°C with a Dutch oven inside so its screaming hot when you transfer the dough
- Score and bake:
- Invert dough onto parchment, cut a pattern on top, then bake covered for twenty minutes and uncovered for twenty more
- Cool completely:
- Let the loaf rest on a wire rack for at least one hour so the interior finishes cooking properly
 Save
Save This recipe became my weekend ritual during a particularly stressful winter, the rhythm of mixing and folding somehow calming my anxious mind. Now the smell of baking sourdough triggers a sense of peace and accomplishment that store bought bread simply cannot provide.
Understanding Your Starter
A healthy starter should smell pleasantly tangy and have bubbles throughout after feeding. If it smells like alcohol or has dark liquid on top, its hungry and needs more regular feedings to get back to peak baking condition.
Getting the Best Crust
The Dutch oven method essentially mimics professional steam injection ovens. That trapped moisture in the first twenty minutes of baking is what creates the dramatic oven spring and crackly crust that makes sourdough so irresistible.
When to Slice Your Bread
Cutting into warm bread is tempting but releases steam and can make the crumb gummy. The cooling period is actually when the starches finish setting and the interior texture develops properly.
- Resist the urge to slice for at least one hour, though ninety minutes is even better
- If you must eat it warm, tear pieces off instead of cutting through the loaf
- Store cut side down on a cutting board, wrapped in a cloth, never in plastic
 Save
Save There is something deeply satisfying about creating something so beautiful from just flour and water. May your kitchen always smell like a bakery and your starter stay happily active.
Recipe FAQs
- → What makes sourdough different from regular bread?
-
Sourdough relies on wild yeast and beneficial bacteria naturally present in flour rather than commercial yeast. This fermentation process creates characteristic tangy flavor, improves digestibility, and develops a distinctive chewy texture with superior keeping qualities.
- → Why does sourdough take so long to make?
-
Wild yeast ferments more slowly than commercial yeast, requiring extended fermentation times. This slow process develops complex flavors, breaks down gluten for easier digestion, and creates the open crumb structure prized in artisan loaves. The extended timeline is essential for authentic character.
- → Can I skip the cold fermentation in the refrigerator?
-
While you can proof at room temperature for 4-6 hours and bake immediately, cold fermentation significantly enhances flavor development and makes the dough easier to handle. The chilled dough firms up, creating better shape definition and a more complex, tangy taste profile.
- → What if I don't have a Dutch oven?
-
Create steam by placing a metal pan on the bottom oven rack while preheating. Pour ice water into the hot pan immediately after loading the dough. Alternatively, bake the loaf on a preheated baking stone or steel, covering with a large metal bowl for the first 20 minutes.
- → How do I know when my starter is active enough?
-
A healthy starter should bubble actively within 4-8 hours of feeding at room temperature. It will have doubled in volume, show numerous surface bubbles, and display a pleasant, slightly tangy aroma. The texture should be light and fluffy, not dense or watery.
- → Why is scoring the dough necessary?
-
Scoring controls where the crust breaks during oven spring, preventing random tearing. The slashes allow the dough to expand rapidly in the initial high-heat phase, creating the characteristic ear or grigne. Proper scoring ensures even expansion and an attractive finished appearance.
