 Save
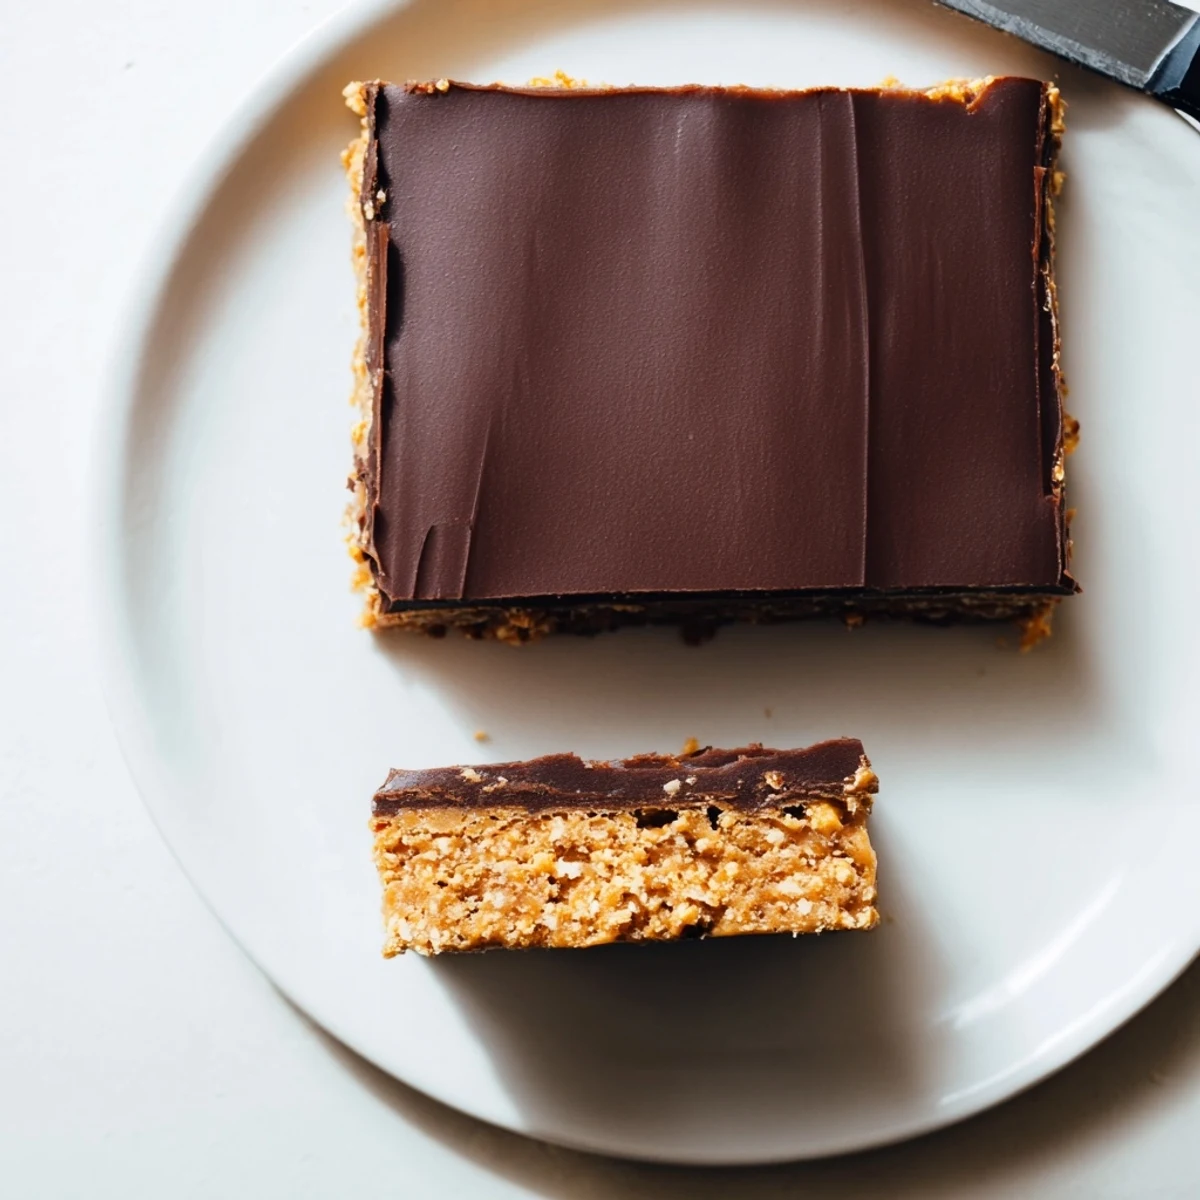
Save These chewy bars feature a creamy peanut butter base made with graham cracker crumbs and powdered sugar, topped with a luscious layer of melted chocolate and peanut butter. The entire assembly requires just 15 minutes of active preparation before chilling to set. Each bite delivers the perfect balance of sweet, salty peanut butter and smooth chocolate.
The summer I turned fourteen, my mother started keeping a jar of peanut butter specifically for baking, hidden behind the canned beans where my brothers would never look. Those jars never lasted long enough, and her peanut butter bars disappeared even faster, usually before they had fully set in the fridge. I still think the best ones are the ones stolen slightly warm, when the chocolate has not quite hardened all the way through.
I brought a pan of these to a potluck once and watched a woman eat three bars in under five minutes, then ask me for the recipe with complete sincerity as if nothing unusual had happened.
Ingredients
- Creamy peanut butter (1 cup, 240 g): Use the standard commercial kind here, not the natural stir kind, because the stabilizers help the bars hold together with a sliceable chew.
- Unsalted butter, melted (1/2 cup, 115 g): Melting the butter first ensures it blends seamlessly into the peanut butter without leaving greasy pockets.
- Graham cracker crumbs (2 cups, 200 g): These crumbs are the quiet hero, giving the bars structure while staying tender, and you can crush them in a zip top bag if you do not have a food processor.
- Powdered sugar (2 cups, 240 g): Sift it if it has been sitting in the pantry a while, because lumps will leave white streaks in your base.
- Semi sweet chocolate chips (1 1/2 cups, 270 g): Semi sweet strikes the right balance against the salty peanut butter, but milk chocolate works if you prefer a sweeter top.
- Creamy peanut butter for topping (1/4 cup, 60 g): This small addition stirred into the melted chocolate keeps the topping from cracking when you cut the bars.
Instructions
- Line the pan:
- Tear a sheet of parchment paper long enough to overhang the sides of your 9x13 inch dish, pressing it into the corners so it cooperates.
- Blend the base:
- Stir the peanut butter and melted butter together until glossy and smooth, scraping the bowl once to catch any stubborn butter pooling at the bottom.
- Add dry ingredients:
- Pour in the graham cracker crumbs and powdered sugar, then mix with a sturdy spatula until every crumb is coated and the mixture looks like thick, moldable dough.
- Press into the dish:
- Transfer the mixture and press it down firmly with your palms or the back of a measuring cup, working from the center outward to get an even, flat layer.
- Melt the topping:
- Combine the chocolate chips and remaining peanut butter in a microwave safe bowl, heating in 30 second bursts and stirring between each until the mixture is silky and lump free.
- Spread and chill:
- Pour the chocolate over the base and use a spatula to nudge it to the edges, then refrigerate for at least two hours until the top is firmly set.
- Cut and serve:
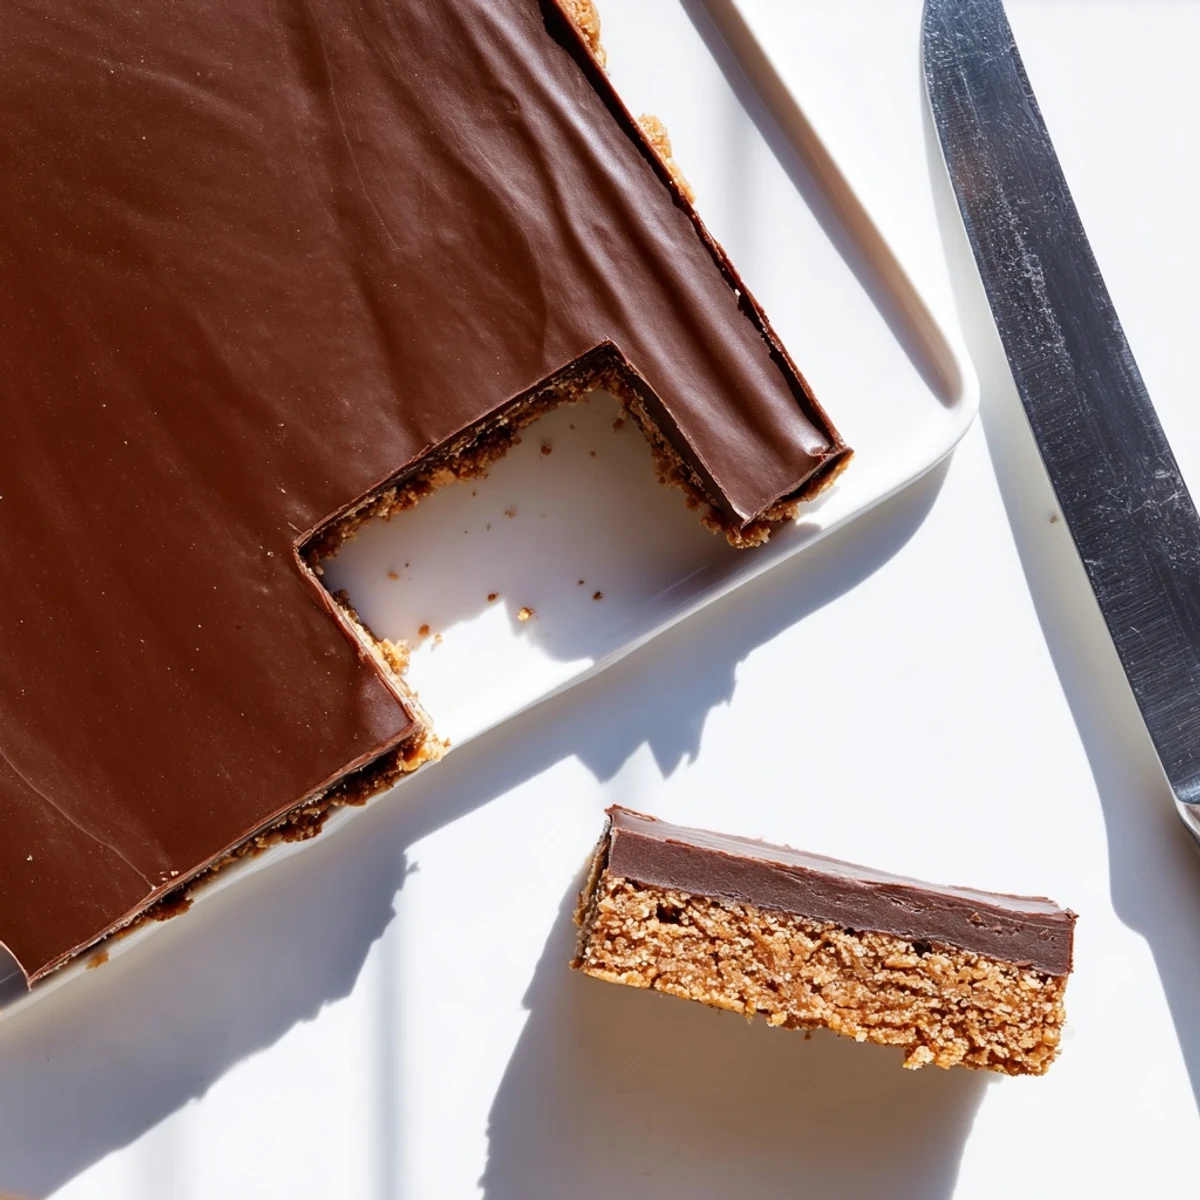
- Lift the slab out using the parchment overhang, set it on a cutting board, and slice into sixteen squares with a sharp knife dipped in hot water for cleaner edges.
 Save
Save One December, my nephew helped me make these and pressed the base so enthusiastically that his small handprints were visible through the chocolate layer, which he considered a signature touch.
Storing Your Bars
Keep them in an airtight container in the refrigerator and they stay perfectly fudgy for up to a week, though they rarely survive that long in my house.
Making Them Your Own
Fold half a cup of chopped roasted peanuts into the base if you want crunch, or swap the graham crackers for digestive biscuits when you want a slightly more biscuity depth.
A Few Last Thoughts
These bars freeze beautifully layered between sheets of parchment, so you can stash a batch and forget about it until a desperate Wednesday afternoon calls for something sweet.
- Always check chocolate chip labels if soy is a concern for anyone eating these.
- A light sprinkle of flaky sea salt on the wet chocolate topping takes these from great to dangerous.
- Remember that no bake does not mean no patience, because the chilling step is what turns a soft mess into a clean, beautiful bar.
 Save
Save Some recipes earn a permanent spot in your rotation not because they are impressive, but because they show up for you every single time without fuss, and these bars do exactly that.
Recipe FAQs
- → Do I need to bake these bars?
-
No baking is required for these bars. Simply press the base mixture into your pan, add the chocolate topping, and refrigerate for at least 2 hours until fully set.
- → Can I use natural peanut butter?
-
Natural peanut butter can work, but creamy commercial peanut butter provides the best texture and consistency. Natural varieties may result in a slightly softer base.
- → How long do these bars last?
-
Store your bars in the refrigerator for up to one week. For longer storage, wrap tightly and freeze for up to three months. Thaw in the refrigerator before serving.
- → Can I make these without graham crackers?
-
Digestive biscuits make an excellent substitute for graham crackers. Crush them finely before mixing with the peanut butter and butter for similar results.
- → Why add peanut butter to the chocolate topping?
-
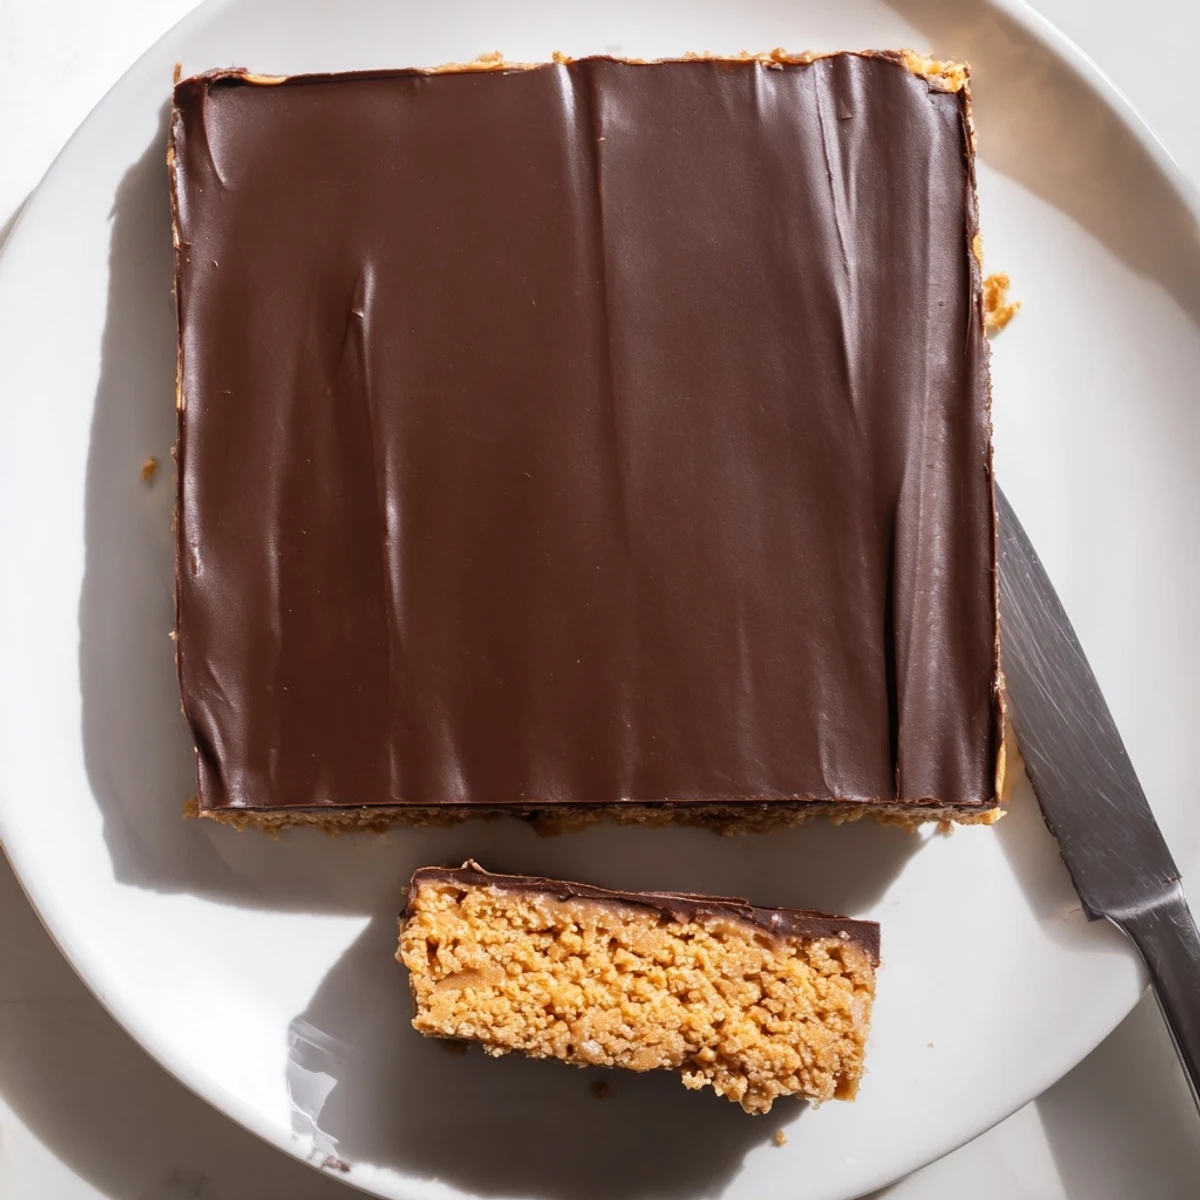
Adding peanut butter to the melted chocolate creates a softer, more fudge-like topping that cuts cleanly and complements the peanut butter base beautifully.
