 Save
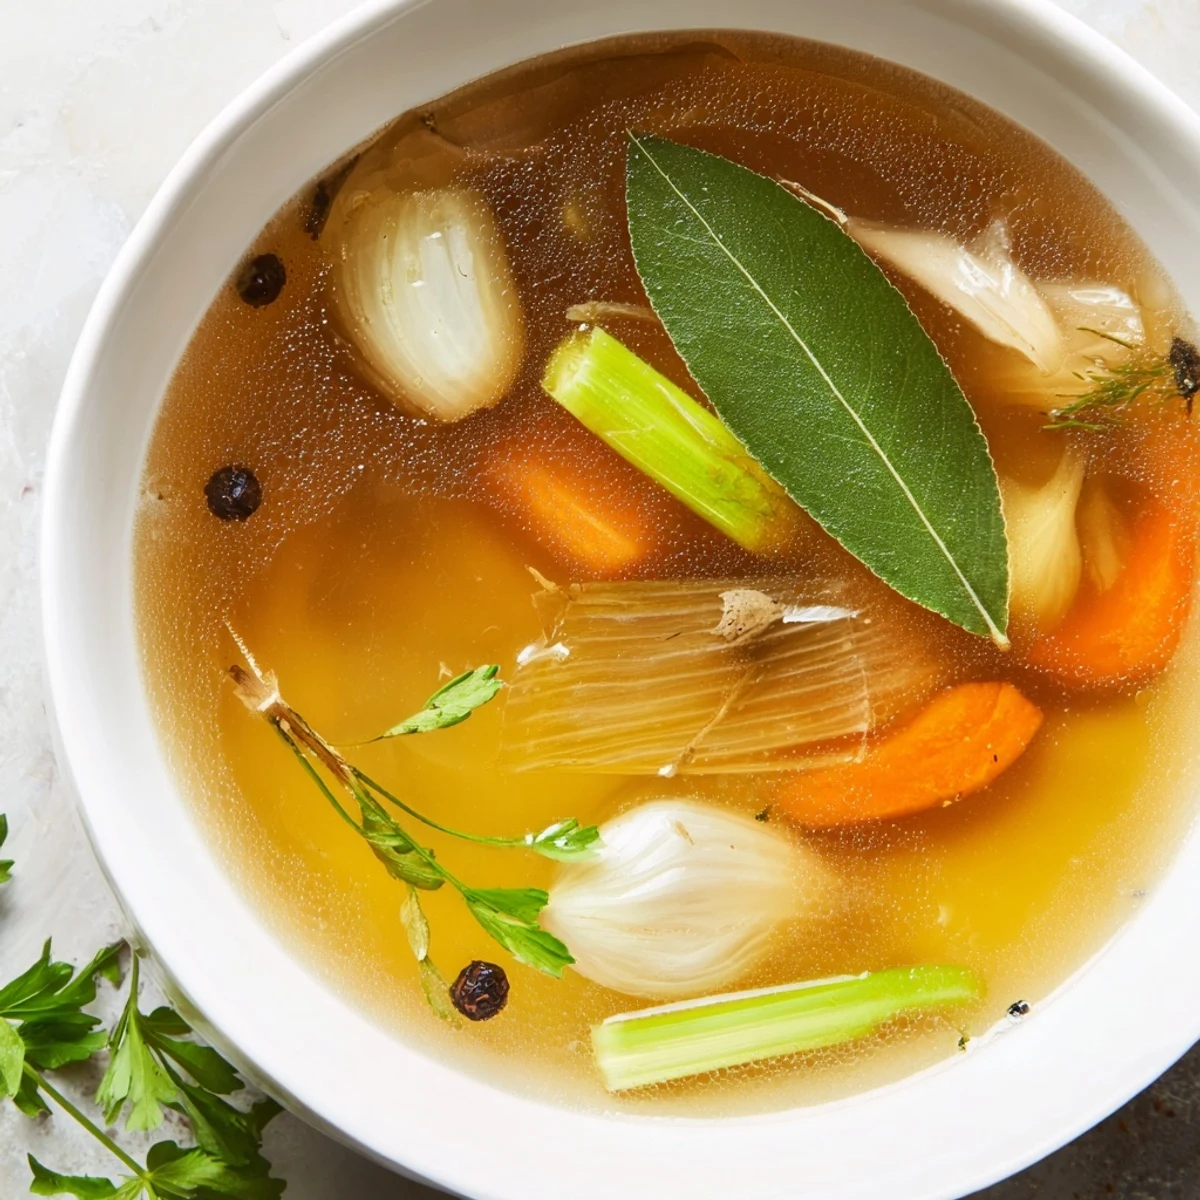
Save This rich and flavorful broth is created using leftover vegetable scraps such as onion peels, carrot ends, and herb stems. It’s simmered gently with bay leaves, peppercorns, and thyme to extract deep, savory notes. Perfect as a base for soups, risottos, and sauces, it enhances dishes naturally while reducing food waste. The broth is strained through a fine mesh and stored chilled, offering an easy, nourishing liquid element for various culinary uses.
I stumbled into broth-making by accident, really—one evening while chopping vegetables for dinner, I realized I'd filled a container with scraps that seemed too good to throw away. My grandmother's voice echoed in my head about waste, so I tossed them in a pot with some water and herbs out of curiosity. Three hours later, my kitchen smelled like a French bistro, and I'd created something golden and alive that transformed every soup I made afterward.
Last winter, I invited friends over for a risotto dinner and mentioned I'd made my own broth that morning. One friend watched the first spoonful travel from bowl to mouth, then asked what restaurant I'd bought it from—that moment made all the scraps I'd been collecting worthwhile.
Ingredients
- Mixed Vegetable Scraps (4–5 cups): Onion peels, carrot ends, celery leaves, mushroom stems, parsley stems, and leek tops are your best friends here—they're the foundation of a clean, bright broth.
- Bay Leaves (2): These add a subtle earthiness that anchors everything together without overpowering.
- Black Peppercorns (6–8): Whole peppercorns release their spice gradually, giving the broth warmth without harshness.
- Fresh Thyme (2 sprigs): Thyme brings an herbaceous depth that makes the broth taste intentional and finished.
- Fresh Parsley Stems (1 handful, optional): Don't waste those tough stems—they're flavor powerhouses and deserve to be simmered.
- Garlic (2 cloves, smashed): Adds a gentle savory note if you're not already getting it from your scraps.
- Salt (1 tsp): Start here and taste as you go—you're building a foundation, not the final dish.
- Cold Water (2.5 liters): Cold water extracts flavors slowly and cleanly, giving you a clearer broth than hot water would.
Instructions
- Gather Your Scraps:
- Rinse and inspect everything—you want clean pieces free from dirt or mold, but don't peel away the good stuff. This is your chance to be a little purposeful about what you've been collecting.
- Build Your Base:
- Pile all the scraps into a large stockpot, then scatter your aromatics on top like you're building layers of flavor. This simple arrangement matters more than you'd think.
- Add Water and Seasonings:
- Pour in cold water until everything is just covered, add salt and peppercorns, then give it a gentle stir. You're not making soup yet—you're making a promise to yourself about what's coming.
- Bring to a Boil:
- Turn the heat to medium-high and let it come to a rolling boil—you'll see foam rise to the surface as impurities release. This is normal and exactly what you want to see.
- Lower the Heat and Simmer:
- Once boiling, reduce heat to medium-low and settle in for a gentle, steady simmer that barely bubbles. Watch for that first wisp of steam rising from the pot—that's when you know the broth is really working.
- Skim and Wait:
- Every 15 minutes or so, use a ladle to skim away any foam that's accumulated on the surface, dropping it in a small bowl. After an hour, you'll have clear, golden liquid that smells like comfort.
- Cool and Strain:
- Let everything cool just enough to handle safely, then pour the broth through a fine mesh sieve or cheesecloth into a clean container. The solids will stay behind, and you'll be left with pure, clear broth.
- Taste and Adjust:
- Once it's cooled completely, taste a spoonful and add more salt if needed. Trust your palate—you know what you like.
- Store with Care:
- Pour into airtight containers and refrigerate for up to 5 days or freeze for up to 3 months. I like to freeze broth in ice cube trays first, then transfer the cubes to freezer bags—instant portions for later.
 Save
Save What surprised me most about making broth wasn't the taste—it was the ritual. Standing at the stove, watching the pot bubble gently, knowing I was using something I almost threw away, made me feel connected to my food in a way buying cartons never had.
Beyond the Basics
Once you've mastered the simple version, you can start experimenting with extras. A handful of dried mushrooms adds serious umami—suddenly your broth isn't just good anymore, it's a secret weapon for elevating whatever you make with it. A piece of kombu seaweed does something similar, adding depth that makes you wonder why restaurants guard their broth recipes so carefully.
Collecting Your Scraps
The real trick to making this happen is getting comfortable with keeping a container in your freezer dedicated to vegetable scraps. At first it felt wasteful to save something I'd normally toss, but now it feels strategic—like I'm hoarding tiny flavor treasures. When the container fills up, you've got everything you need for a batch.
Uses That Will Change Your Cooking
This broth shines in risotto, where it transforms each stir into a moment of silky richness that boxed broth simply can't match. It's the invisible hero in soups, the reason your grains taste intentional, and honestly, the reason my cooking leveled up once I started using homemade broth as my standard baseline.
- Use it as your liquid for risotto, polenta, or any grain that needs gentle coaxing into creaminess.
- Start a soup or stew with it instead of water and taste the difference immediately.
- Freeze it in ice cube trays for those moments when a recipe calls for just a little broth—no waste, perfect portions.
 Save
Save Making broth from scraps isn't just cooking—it's a small act of respect for the ingredients that fed you. Once you taste what you've created, you'll understand why.
Recipe FAQs
- → What vegetable scraps work best for the broth?
-
Use scraps like onion peels, carrot ends, celery leaves, mushroom stems, and herb stems. Avoid strong-flavored scraps such as broccoli or potato peels to prevent bitterness.
- → How long should I simmer the broth?
-
Simmer the mixture uncovered for about 1 hour to extract maximum flavor without cloudiness.
- → Can I freeze the broth for later use?
-
Yes, freeze the broth in airtight containers for up to 3 months while refrigerated broth lasts about 5 days.
- → What seasonings enhance the broth's flavor?
-
Bay leaves, black peppercorns, fresh thyme, parsley stems, smashed garlic, and salt provide depth and aromatic notes.
- → How should leftovers be stored?
-
Store the broth in airtight containers in the refrigerator or freezer to maintain freshness and flavor.
- → Can I use dried mushrooms or kombu in the broth?
-
Yes, adding dried mushrooms or kombu boosts umami and enriches the broth’s complexity.
