 Save
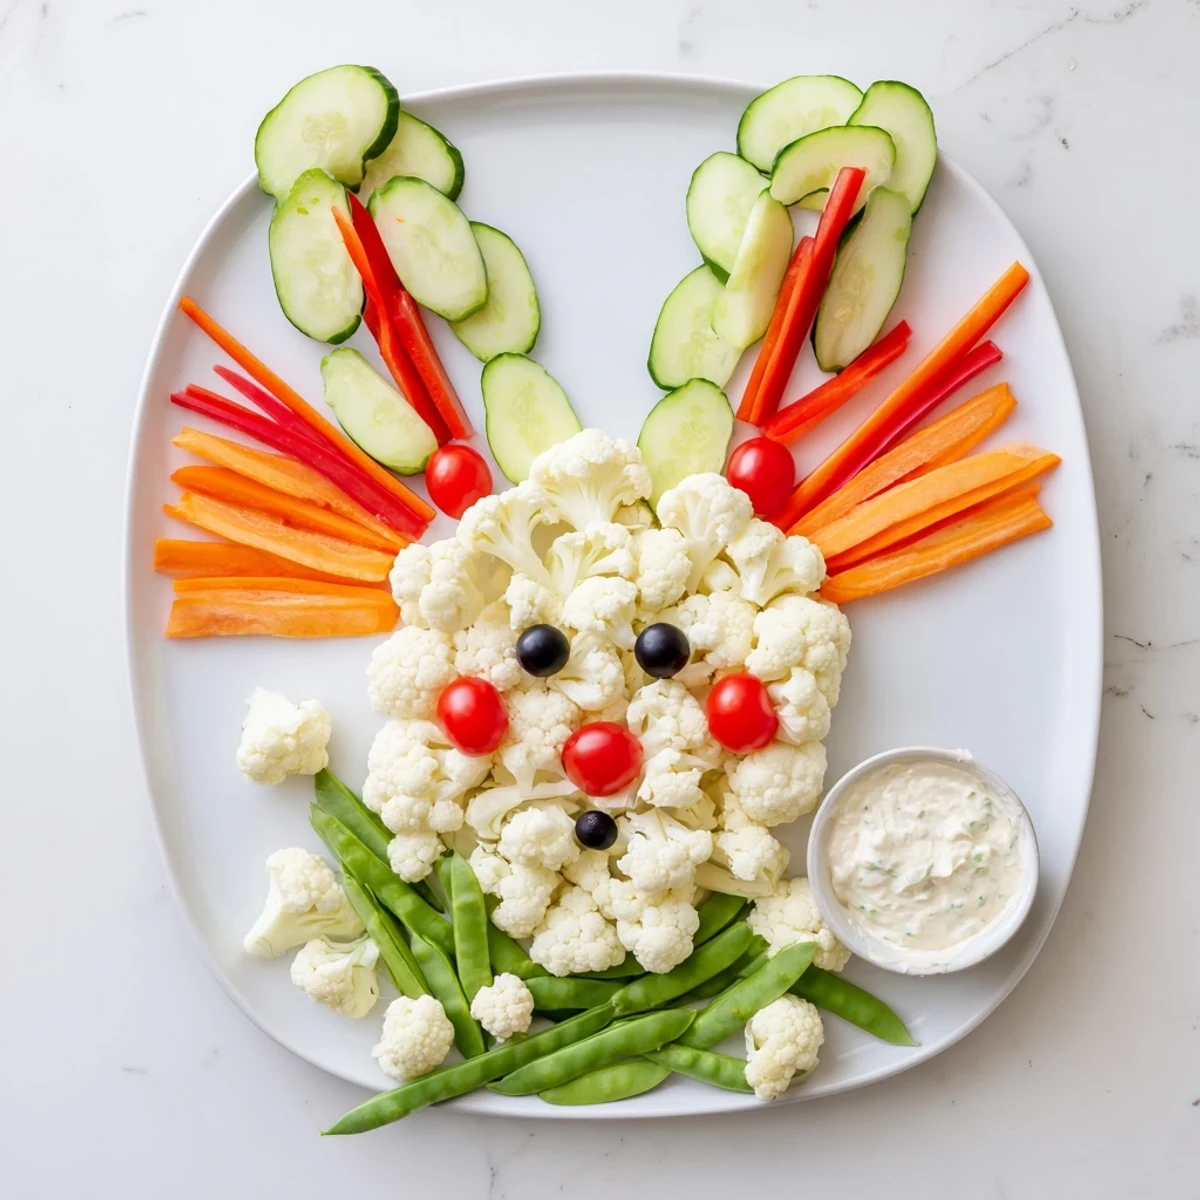
Save Transform fresh vegetables into an adorable Easter bunny platter that will delight guests at your spring celebration. This creative arrangement features cauliflower for the face, cucumbers for ears, cherry tomatoes for rosy cheeks, and crunchy vegetables for whiskers and accents. Perfect for Easter brunch, potlucks, or family gatherings, this no-cook appetizer comes together in just 30 minutes and serves eight people generously.
The year my daughter turned three, she refused to eat anything that wasn't shaped like an animal. I'd made vegetable platters a hundred times before, but suddenly carrots were just boring orange sticks until I arranged them into whiskers. Now every Easter gathering demands the bunny veggie tray, and honestly, watching kids excitedly eat cauliflower has become my favorite holiday tradition.
Last spring I brought this to a potluck and watched it disappear in ten minutes flat. What surprised me wasn't that the children loved it, but that my uncle, who typically survives on meat and potatoes, kept going back for more cauliflower. Something about eating with your eyes first makes vegetables feel like celebration food instead of something you should eat.
Ingredients
- 1 large head cauliflower: This creates the fluffy white face and tail, and florets hold their shape beautifully for hours
- 2 large cucumbers: English or Persian cucumbers work best for ears since they have fewer seeds and stay crisp longer
- 1 pint cherry tomatoes: The pop of red makes the bunny come alive, and grape tomatoes work just as well if you prefer smaller fruit
- 1 large red bell pepper: Provides vibrant contrast for inner ears and the nose that photographs beautifully
- 2 large carrots: Look for thick carrots at the store since skinny ones snap too easily when cut into whisker thin strips
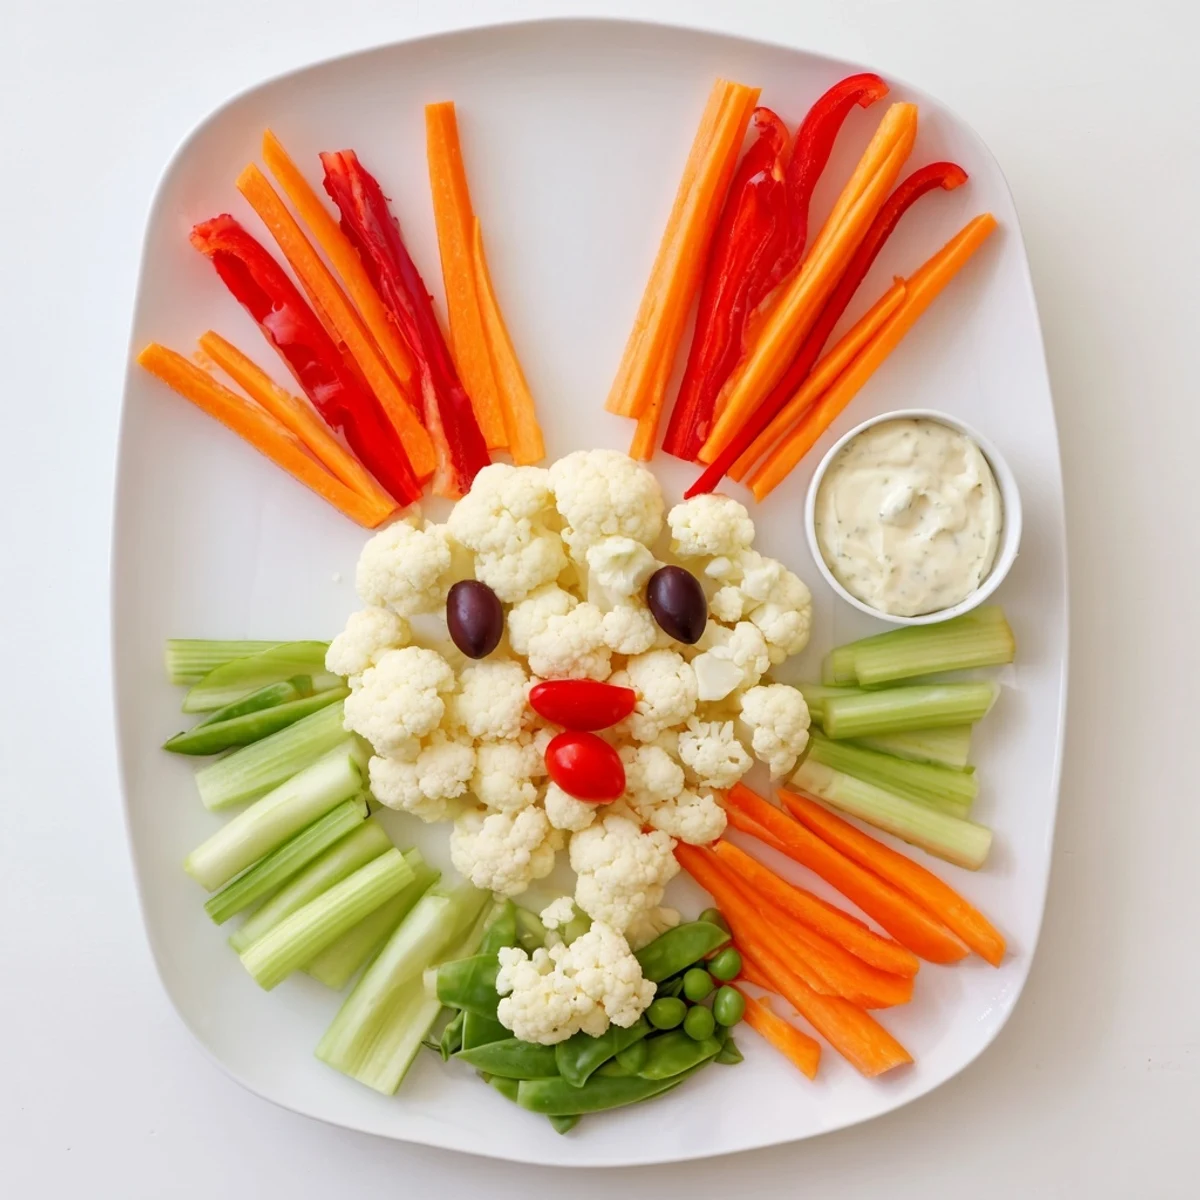
- 1 bunch celery: The curved ribs naturally frame the bunny face and add necessary structure to your design
- 1 cup sugar snap peas: These add a fresh spring green color and satisfying crunch that guests always mention
- 2 black olives: Make sure to buy pitted olives so you can simply slice and place without any prep work
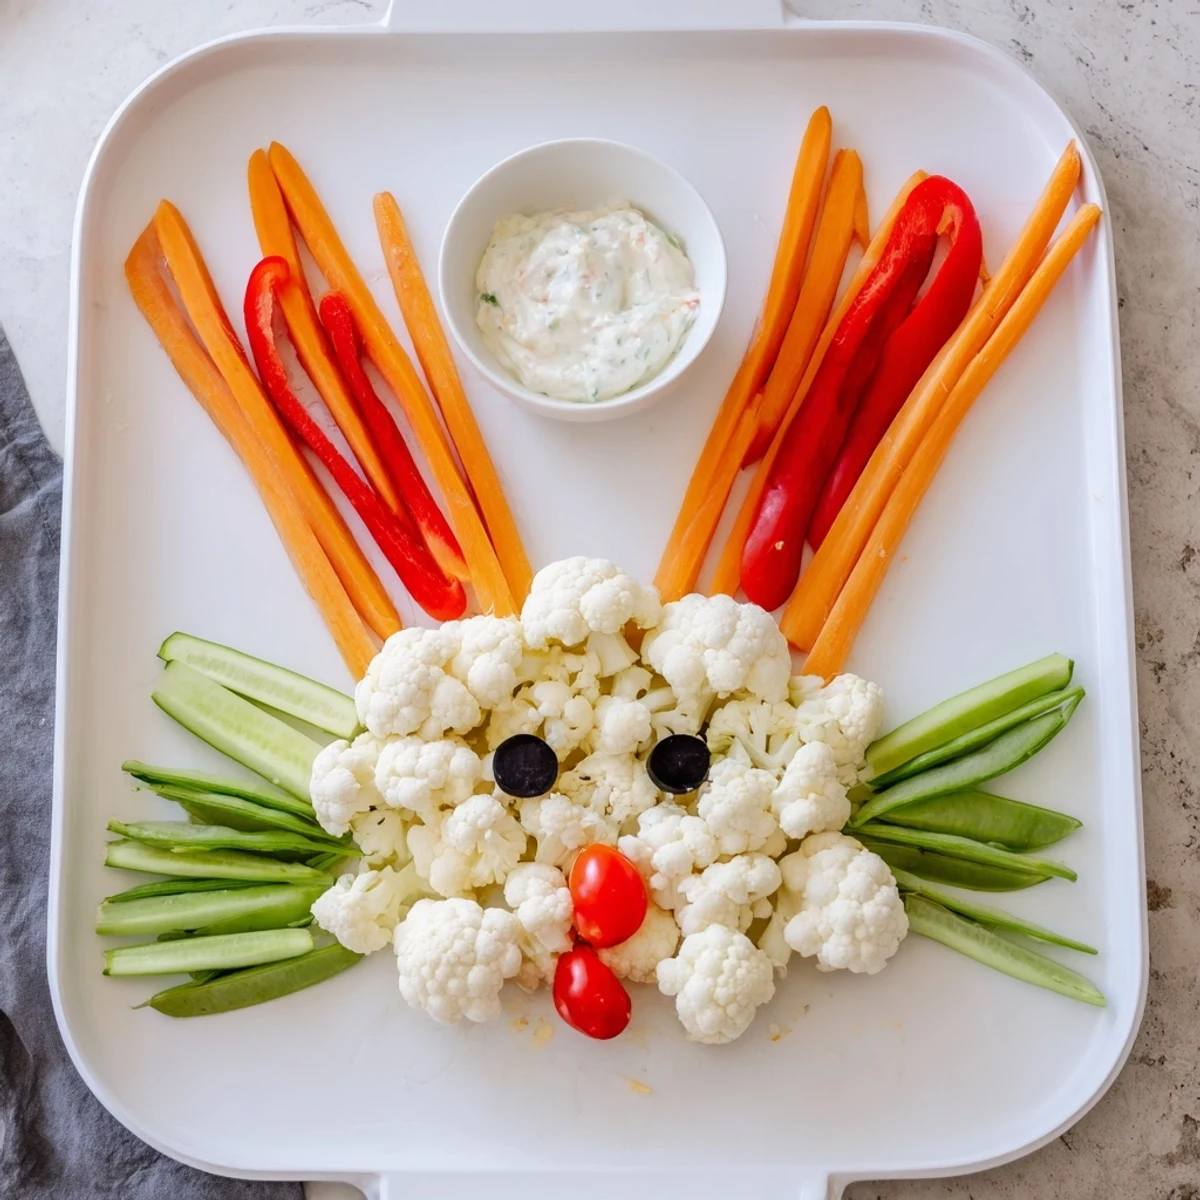
- 1 cup ranch or hummus dip: Position the dip bowl strategically near the face as it becomes part of the presentation
Instructions
- Prep your vegetables:
- Wash everything thoroughly and peel carrots, then cut all vegetables into bite sized pieces or thin strips while keeping cauliflower florets intact
- Build the bunny face:
- Arrange cauliflower florets in a large oval shape on your serving tray and create a small separate cluster for the fluffy tail
- Form the ears:
- Slice cucumbers lengthwise into long oval planks and position them above the face, then fill each ear with red bell pepper strips for dimension
- Add facial features:
- Place cherry tomatoes as rosy cheeks low on the face and position black olive slices as eyes with a small triangle of red pepper for the nose
- Create whiskers:
- Cut carrots into very thin sticks and arrange three or four on each side of the face, fanning them slightly outward
- Fill in the details:
- Use celery ribs and snap peas to outline the bunny and fill any empty spaces around the platter with colorful vegetables
- Finish with dip:
- Nestle a small bowl of ranch or hummus near the bunny, almost like it's resting beside your creation
 Save
Save My mom started calling me the vegetable artist after seeing photos of our Easter tables. The thing is, arranging food this way changed how my family thinks about vegetables. They're not the healthy obligation anymore, they're the centerpiece.
Making It Your Own
I've made this tray so many times I've learned that rigid rules about exact vegetables don't matter. Sometimes I use broccoli instead of cauliflower for a green bunny, or radishes for extra color pops. The magic happens when you work with what looks beautiful at the market that week.
Timing Your Assembly
Through trial and error I've discovered that cutting everything the night before works perfectly, but assembly should happen the day of serving. Once I tried building the bunny at midnight and woke up to sad wilted cucumbers that had lost their structural integrity. Now I prep all components in separate containers and treat the final arrangement like a fun morning puzzle.
Serving Strategies
The dip placement matters more than you might expect. I used to tuck it in the corner, but guests would reach across the bunny face and accidentally demolish the design. Now the bowl goes slightly below or beside the tray, maintaining the bunny's integrity while keeping dipping convenient.
- Set out small serving tongs so guests don't feel awkward about touching the food art
- Refill individual vegetable sections rather than rearranging the whole platter
- Consider making two smaller bunnies instead of one large tray for easier serving
 Save
Save This bunny tray has become more than appetizers to me. It's proof that presentation transforms perception, and sometimes a little creativity makes healthy eating feel like celebration.
Recipe FAQs
- → How far in advance can I make this veggie tray?
-
Prepare and cut all vegetables up to 24 hours ahead, storing them in separate airtight containers in the refrigerator. Assemble the bunny shape on the serving tray 2-4 hours before serving to maintain freshness and crisp texture. Cover loosely with plastic wrap until ready to display.
- → What other vegetables work well for this arrangement?
-
Broccoli florets can substitute or complement cauliflower for the face. Baby carrots work wonderfully for whiskers and decoration. Radishes, bell pepper strips, snap peas, and baby corn all add vibrant colors and textures. Consider incorporating seasonal vegetables available in your area for the freshest presentation.
- → Can I make this platter vegan-friendly?
-
Absolutely. Simply serve with plant-based dips like hummus, guacamole, or dairy-free ranch instead of traditional ranch containing dairy. All vegetables used are naturally vegan, making this an excellent option for gatherings with mixed dietary preferences.
- → What size serving tray do I need?
-
A large rectangular platter approximately 16-20 inches long works best to accommodate the full bunny shape with space for vegetables around the perimeter. Round serving trays can also work if you arrange the bunny more compactly in the center with surrounding vegetables.
- → How do I transport this vegetable platter to a party?
-
Assemble the bunny shape on a sturdy, portable serving tray with raised edges. Cover carefully with plastic wrap, using toothpicks if needed to keep the covering from touching the vegetables. Transport flat and keep chilled with ice packs if traveling more than 30 minutes. Place dip in a separate container and add upon arrival.
