 Save
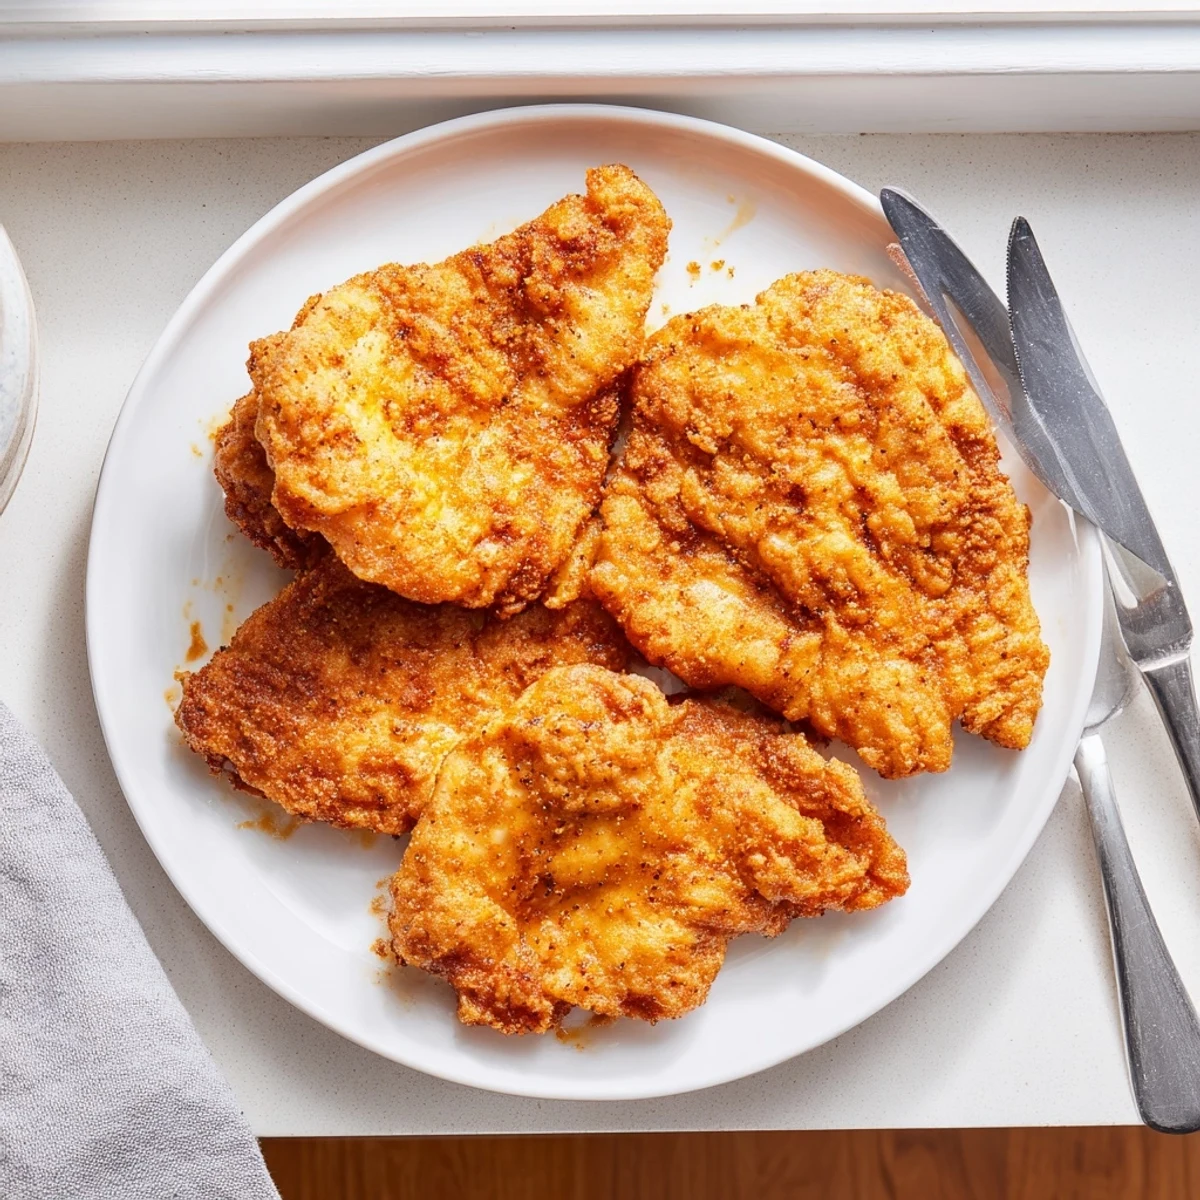
Save Create perfectly crispy fried chicken breasts with a golden exterior and juicy interior. The buttermilk marinade ensures tender, flavorful meat while the flour-cornstarch coating creates that satisfying crunch everyone loves.
Ready in just 30 minutes, this American classic serves four and works beautifully alongside mashed potatoes, coleslaw, or nestled in a sandwich bun for an upgraded lunch experience.
The sound of oil popping in a cast iron skillet on a Sunday afternoon is enough to make anyone drift toward the kitchen. My neighbor once knocked on my door just to ask what I was cooking because the smell had wafted through the shared hallway. Fried chicken breast has that kind of power. It turns an ordinary day into something worth sitting down for.
I once made a double batch of this for a friends potluck and watched people skip past three other mains to get to it. The platter was empty before the potato salad even got touched. There is something deeply satisfying about frying chicken yourself, the way the crust sets and turns golden while the kitchen fills with a smell no takeout box can replicate.
Ingredients
- 4 boneless, skinless chicken breasts: Pounding them even means they cook uniformly and stay juicy throughout.
- 1 cup buttermilk: The acidity tenderizes the meat and helps the coating cling beautifully.
- 1 teaspoon salt plus 1/2 teaspoon black pepper for brine: Seasoning the marinade itself layers flavor from the inside out.
- 1 cup all-purpose flour: The base of the coating, giving it structure and a familiar savory crust.
- 1/2 cup cornstarch: This is what makes the coating light and crackly rather than dense or bready.
- 1 teaspoon paprika: Adds warm color and a gentle smokiness without overwhelming the dish.
- 1 teaspoon garlic powder: It bakes into the crust and gives a savory depth that everyone recognizes but cannot quite name.
- 1/2 teaspoon cayenne pepper, optional: A small amount brings warmth without true heat, so do not skip it unless you must.
- 1 teaspoon salt plus 1/2 teaspoon ground black pepper for coating: Underseasoned breading is the most common mistake people make at home.
- Vegetable oil, about 2 cups for frying: Use enough to come halfway up the chicken so it fries evenly without flipping struggles.
Instructions
- Pound the chicken flat:
- Place each breast between two sheets of plastic wrap and use a mallet or rolling pin to pound them to about half an inch thick. You will feel the tension release as the meat evens out, and that is exactly what you want.
- Make the buttermilk brine:
- Stir together the buttermilk, a teaspoon of salt, and half a teaspoon of pepper in a bowl wide enough to hold all four breasts. Submerge the chicken completely, cover it, and let it rest in the fridge for at least thirty minutes or up to four hours if you have the time.
- Mix the coating:
- In a separate wide bowl, whisk the flour, cornstarch, paprika, garlic powder, cayenne, remaining salt, and pepper until evenly blended. Run your fingers through it to check for lumps and break them up gently.
- Dredge each piece:
- Pull the chicken from the buttermilk, let the excess drip off for a second, then press it firmly into the flour mixture on both sides. Really press the coating in with your palms so it sticks in a thick, even layer.
- Heat the oil:
- Pour oil into a large skillet or deep pan until it is about half an inch deep, then set it over medium heat until it reaches 350 degrees Fahrenheit. You can test it by dropping in a pinch of flour and watching for an immediate sizzle.
- Fry in batches:
- Lay the chicken in carefully without crowding the pan, frying each piece six to seven minutes per side until the crust is deep golden and the internal temperature hits 165 degrees Fahrenheit. The second side always seems to brown faster, so keep an eye on it.
- Rest and serve:
- Transfer each finished piece to a paper towel lined plate and let it rest for two to three minutes. This brief pause locks the juices in and keeps the crust crisp.
 Save
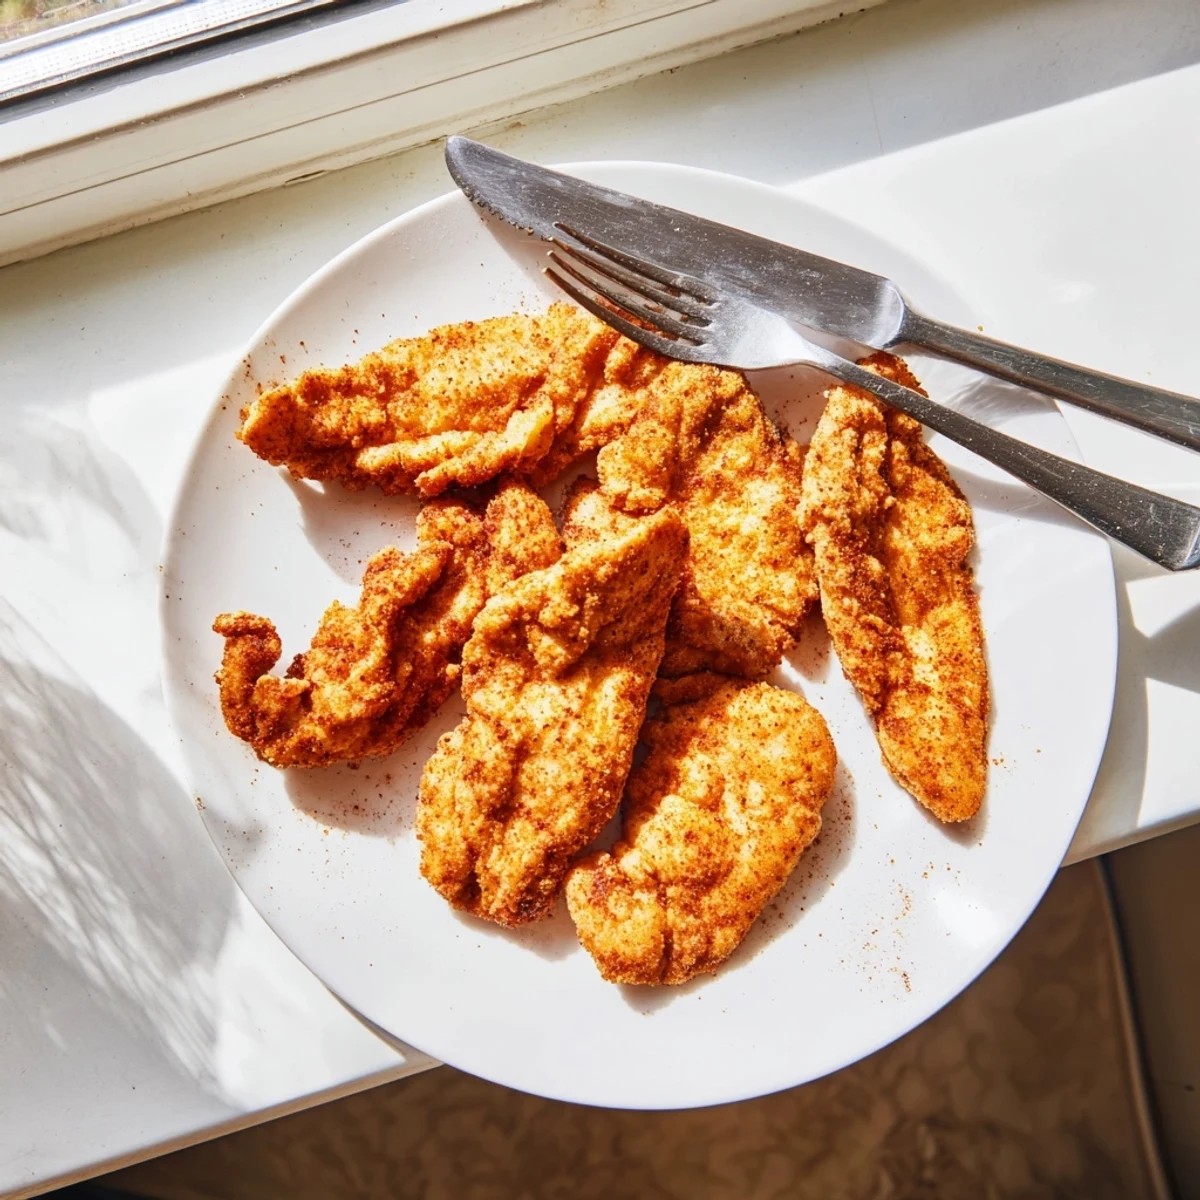
Save One summer evening I set a plate of this fried chicken on the patio table with nothing but lemonade and a pile of napkins, and nobody moved from their chairs for an hour. It was the kind of meal that makes people linger.
Serving Ideas Worth Trying
This chicken is brilliant on a toasted brioche bun with pickles and a smear of honey mustard, but it also holds its own next to buttery mashed potatoes and a tangy coleslaw. I have even chopped leftovers cold over a salad the next day and the crunch somehow survives the refrigerator overnight.
Making It Your Own
Sometimes I swap the paprika for smoked paprika when I want a deeper campfire note, or I add a tablespoon of hot sauce to the buttermilk for a marinade with more personality. A friend of mine doubles the garlic powder and adds onion powder too, and her version tastes like something from a roadside diner in the best way.
A Few Final Thoughts
Fried chicken is forgiving as long as you respect the oil temperature and do not rush the rest. Trust your instincts, use your hands, and let the crust tell you when it is ready.
- Always let the chicken rest after frying so the juices redistribute and do not run out when you slice it.
- Gluten free flour blends work well here, though the crust may be slightly more delicate.
- If you are cooking for a crowd, keep finished pieces warm in a 200 degree Fahrenheit oven on a wire rack.
 Save
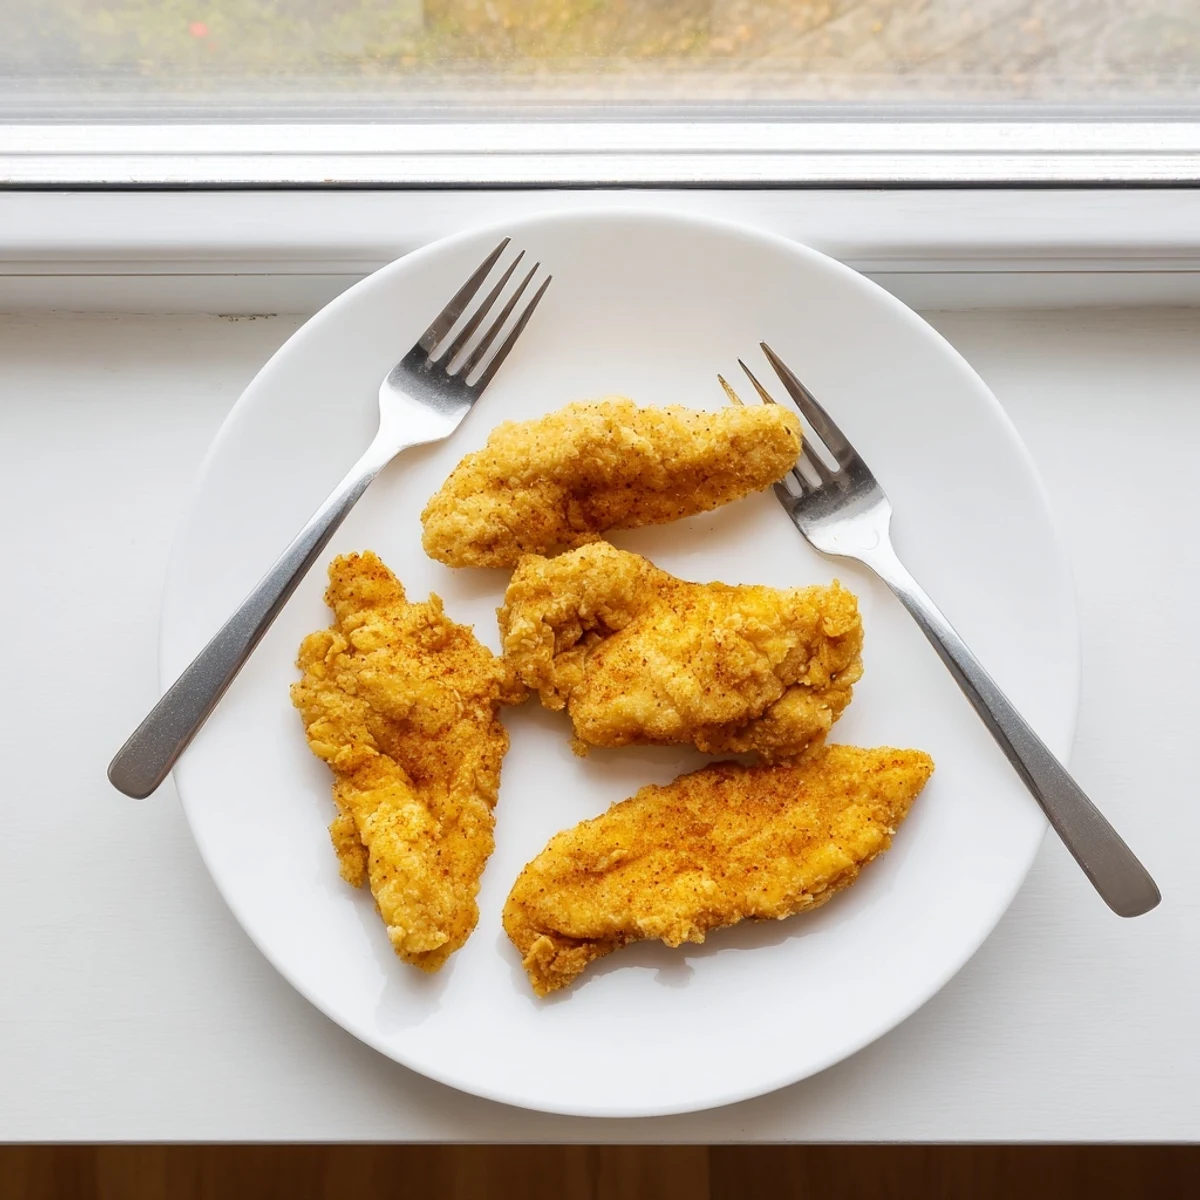
Save Once you nail this recipe, you will find yourself reaching for it on rainy weekends and busy weeknights alike. It is honest, satisfying cooking that never asks for more than it gives back.
Recipe FAQs
- → How long should I marinate the chicken?
-
Marinate for at least 30 minutes, but up to 4 hours in the refrigerator yields more tender results. For maximum juiciness, you can even marinate overnight.
- → What oil temperature is best for frying?
-
Heat your oil to 350°F (175°C). A kitchen thermometer is recommended to maintain consistent heat throughout cooking.
- → Can I make this gluten-free?
-
Yes, substitute the all-purpose flour with a gluten-free flour blend. Ensure your other ingredients, including the frying oil, are certified gluten-free.
- → How do I know when the chicken is done?
-
The chicken should be golden brown on both sides and reach an internal temperature of 165°F (74°C). This typically takes 6-7 minutes per side.
- → What should I serve with fried chicken breast?
-
Classic sides include mashed potatoes and coleslaw, or place the cooked breast on a sandwich roll with lettuce and pickles for a delicious sandwich variation.
