 Save
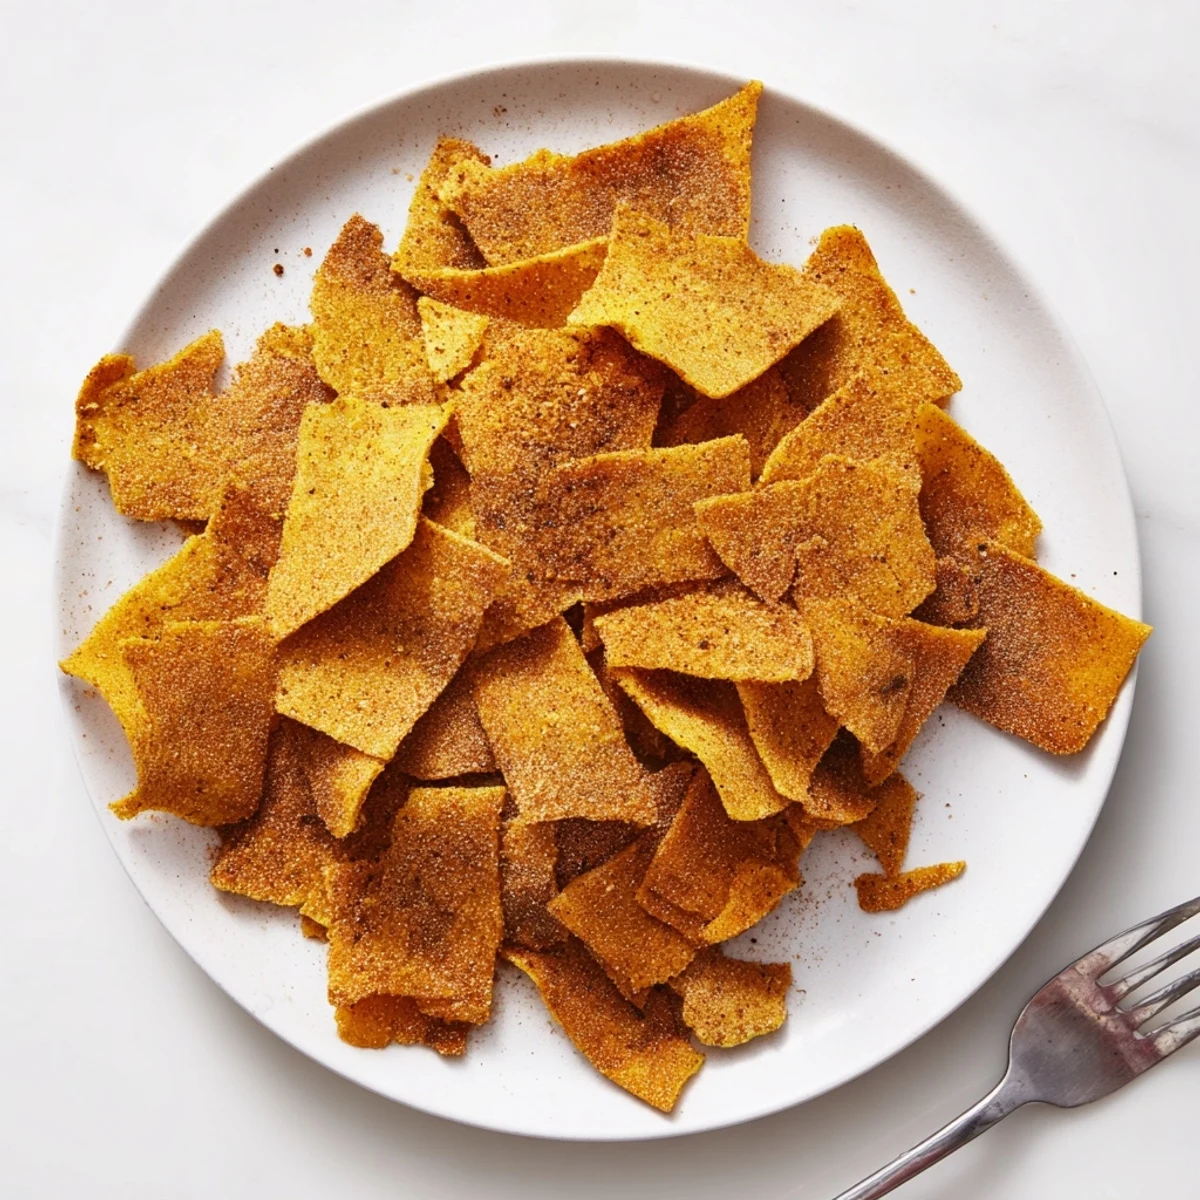
Save Create wholesome crispy snacks using chickpea flour blended with smoked paprika, garlic powder, and cumin. Simply whisk dry ingredients with water and olive oil, spread thin on parchment, and bake until golden and crunchy at the edges.
These protein-packed alternatives deliver satisfying crunch while remaining entirely plant-based and gluten-free. Perfect for pairing with hummus, guacamole, or enjoying on their own as a nutritious nibble between meals.
The afternoon sun was doing that thing where it makes everything in the kitchen look like a still life painting, and I was staring into my pantry at a bag of chickpea flour that had been sitting there since who knows when. I had promised myself no more grocery runs this week, so chips were off the table, or so I thought. Forty minutes later I was biting into something so shatteringly crisp and warmly spiced that I almost forgot they came from a bag of flour I had nearly thrown out. These chickpea chips have since become my favorite excuse to skip the snack aisle entirely.
My neighbor David stopped by unannounced one evening right as a batch was cooling on the counter, and he ate half the sheet standing there in the doorway before even saying hello. We ended up sitting on the kitchen floor with the remaining chips and a tub of hummus, talking for two hours about nothing important at all.
Ingredients
- Chickpea flour (1 cup): This is the star, also called gram flour or besan, and it gives the chips their nutty backbone and satisfying protein kick.
- Salt (1/2 tsp): Just enough to wake everything up without overpowering the spices.
- Smoked paprika (1/2 tsp): This is what makes people close their eyes and ask what that flavor is, so do not skip it.
- Garlic powder (1/4 tsp): A quiet layer of savory depth that works behind the scenes.
- Ground cumin (1/4 tsp): Adds an earthy warmth that ties the whole spice profile together beautifully.
- Black pepper (1/4 tsp): A gentle heat that lingers at the edges of each bite.
- Water (1/2 cup): Brings the batter together, and the consistency here is everything.
- Olive oil (2 tbsp plus extra for brushing): Helps crisp the edges and carries the flavors across every inch of the chip.
Instructions
- Set the stage:
- Preheat your oven to 180 degrees Celsius (350 degrees Fahrenheit) and line a baking sheet with parchment paper so nothing sticks later.
- Blend the dry crew:
- In a mixing bowl, whisk together the chickpea flour, salt, smoked paprika, garlic powder, cumin, and black pepper until evenly combined and fragrant.
- Bring in the wet:
- Pour in the water and 2 tablespoons of olive oil, then stir until you have a smooth, thick batter with no lumps hiding in the corners.
- Spread it thin:
- Pour the batter onto your prepared sheet and use a spatula to spread it into an even layer about 2 to 3 millimeters thick, getting it as uniform as you can.
- Brush with oil:
- Lightly brush the surface with a bit more olive oil, which helps achieve that golden, blistered finish.
- Bake until golden:
- Slide the sheet into the oven and bake for 20 to 25 minutes until the edges are deeply golden and the center feels firm and dry.
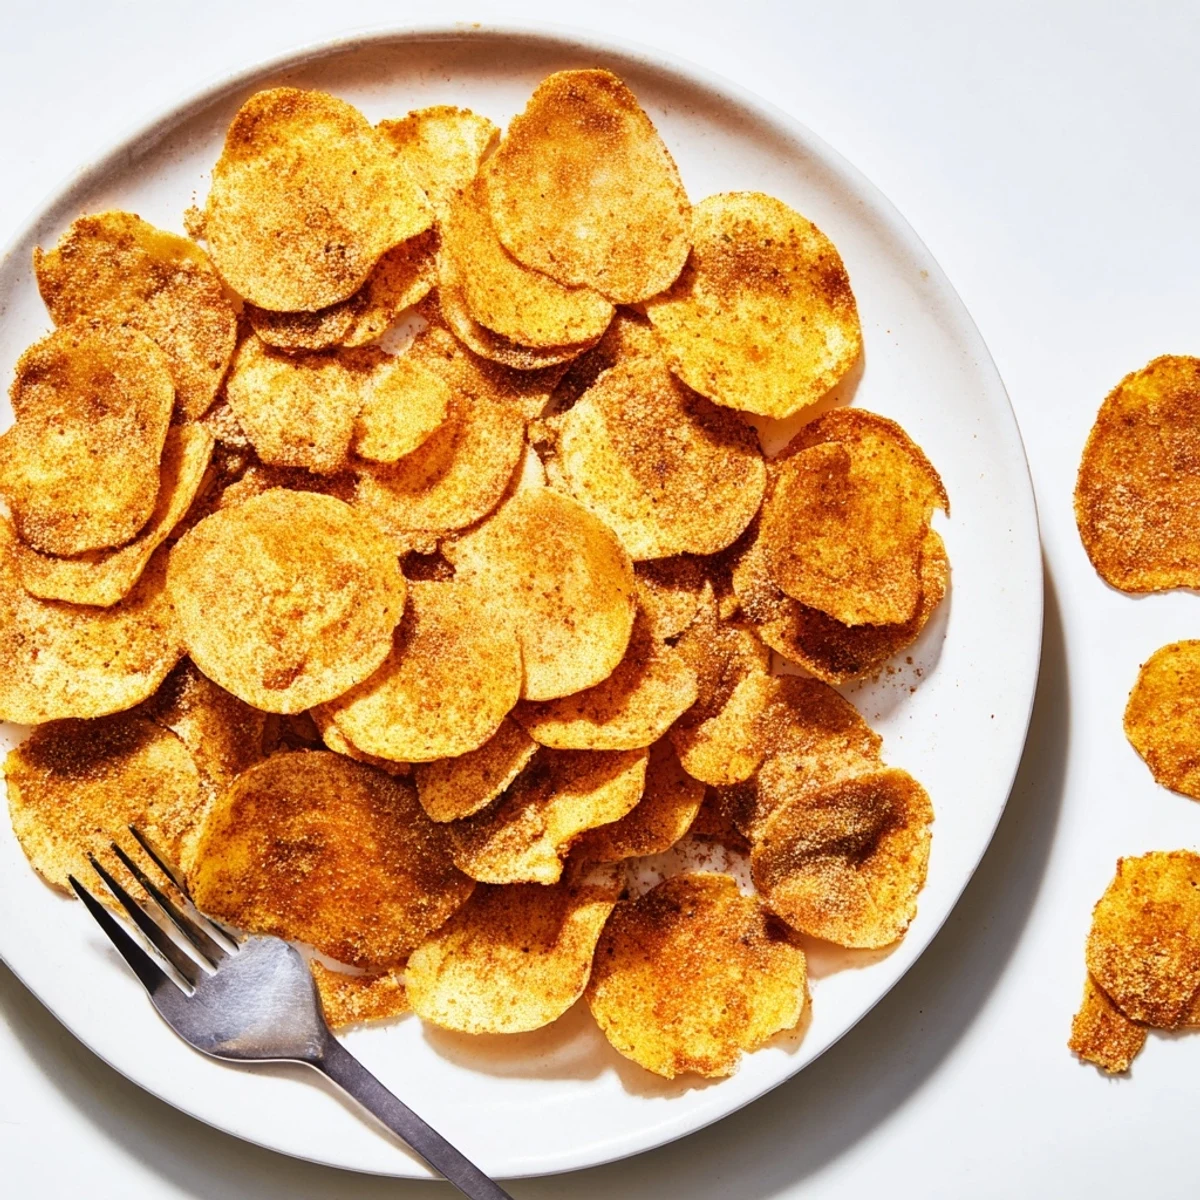
- Cool and break:
- Let it cool for a few minutes on the sheet, then snap it into rustic chip sized pieces by hand or cut with a knife for cleaner edges.
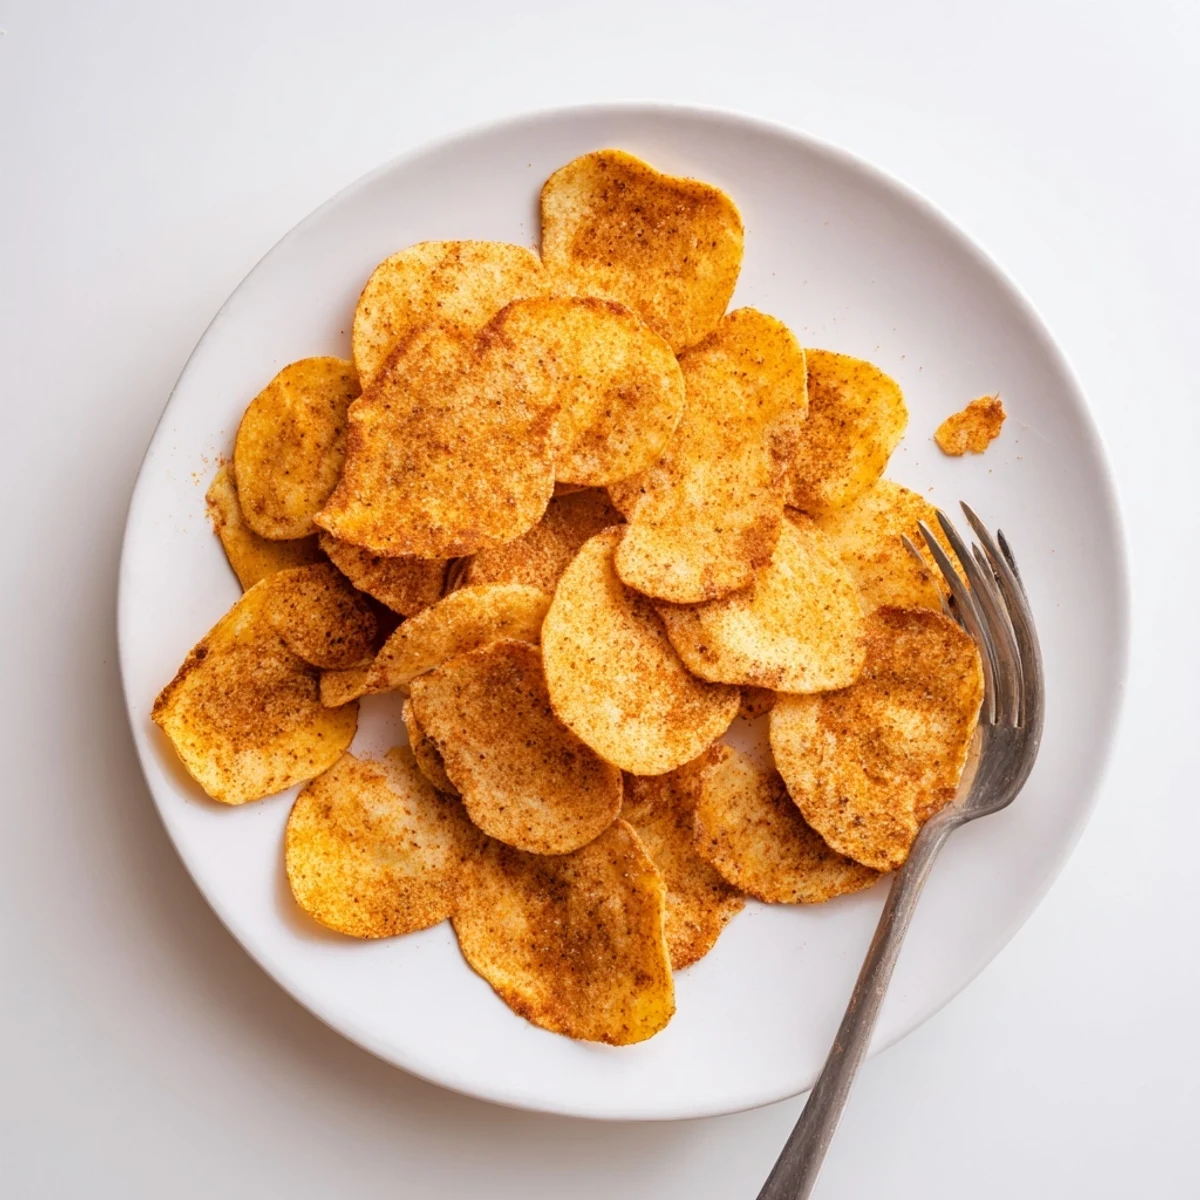
- Serve and share:
- Arrange on a plate and serve warm with hummus, guacamole, or salsa, though honestly they disappear fast even without a dip.
 Save
Save There is something quietly magical about transforming humble pantry staples into something people genuinely crave.
Storing Your Leftovers (If Any Last)
These chips keep surprisingly well in an airtight container at room temperature for up to three days, though in my house they rarely survive past the first evening. If they soften overnight, a quick five minute toast in the oven brings back all the snap.
Making It Your Own
The spice blend here is a starting point, not a rule. I have tossed in crushed rosemary when I wanted something herbaceous, and once added a pinch of cayenne when company was coming and I wanted to watch their eyes light up. Let whatever is in your spice drawer guide you.
A Few Things Worth Remembering
After making these dozens of times, the small details are what separate a good batch from a great one. Trust your instincts, watch the oven, and enjoy the process.
- Aim for a batter thickness similar to pancake batter, not a dough.
- Always check your chickpea flour for freshness, as old flour can taste flat and bitter.
- The chips crisp further as they cool, so pull them just before you think they look perfect.
 Save
Save Keep a bag of chickpea flour around and you are always twenty minutes away from something crunchy, warm, and completely your own. That is a kind of kitchen freedom worth holding onto.
Recipe FAQs
- → What makes chickpea flour chips crispy?
-
Spreading the batter thinly (2-3mm) allows even baking, while brushing with olive oil promotes golden crisping at the edges. The high protein content in chickpea flour naturally creates a sturdy, crunchy texture when baked properly.
- → Can I fry these instead of baking?
-
Yes, you can shallow fry small pieces of the batter in hot oil until crispy and golden. Drain on paper towels to remove excess oil. Baking remains the lighter option with less cleanup.
- → How long do homemade chickpea chips stay fresh?
-
Stored in an airtight container at room temperature, these remain crispy for up to 3 days. If they soften slightly, recrisp them in a warm oven for 5-10 minutes before serving.
- → What seasonings work well with chickpea flour?
-
Chickpea flour pairs beautifully with smoked paprika, garlic powder, cumin, nutritional yeast, rosemary, thyme, or curry powder. Its mild, nutty flavor adapts well to various spice combinations from different cuisines.
- → Are chickpea chips suitable for special diets?
-
These snacks are naturally vegan, gluten-free, and high in protein and fiber. They're ideal for those avoiding wheat or seeking plant-based alternatives to traditional potato chips while still delivering satisfying crunch.
- → Why did my chips turn out soft instead of crispy?
-
The batter may have been spread too thickly, or they weren't baked long enough. Ensure the layer is 2-3mm maximum and bake until deeply golden at the edges. Flipping halfway through also helps achieve uniform crispness.
