 Save
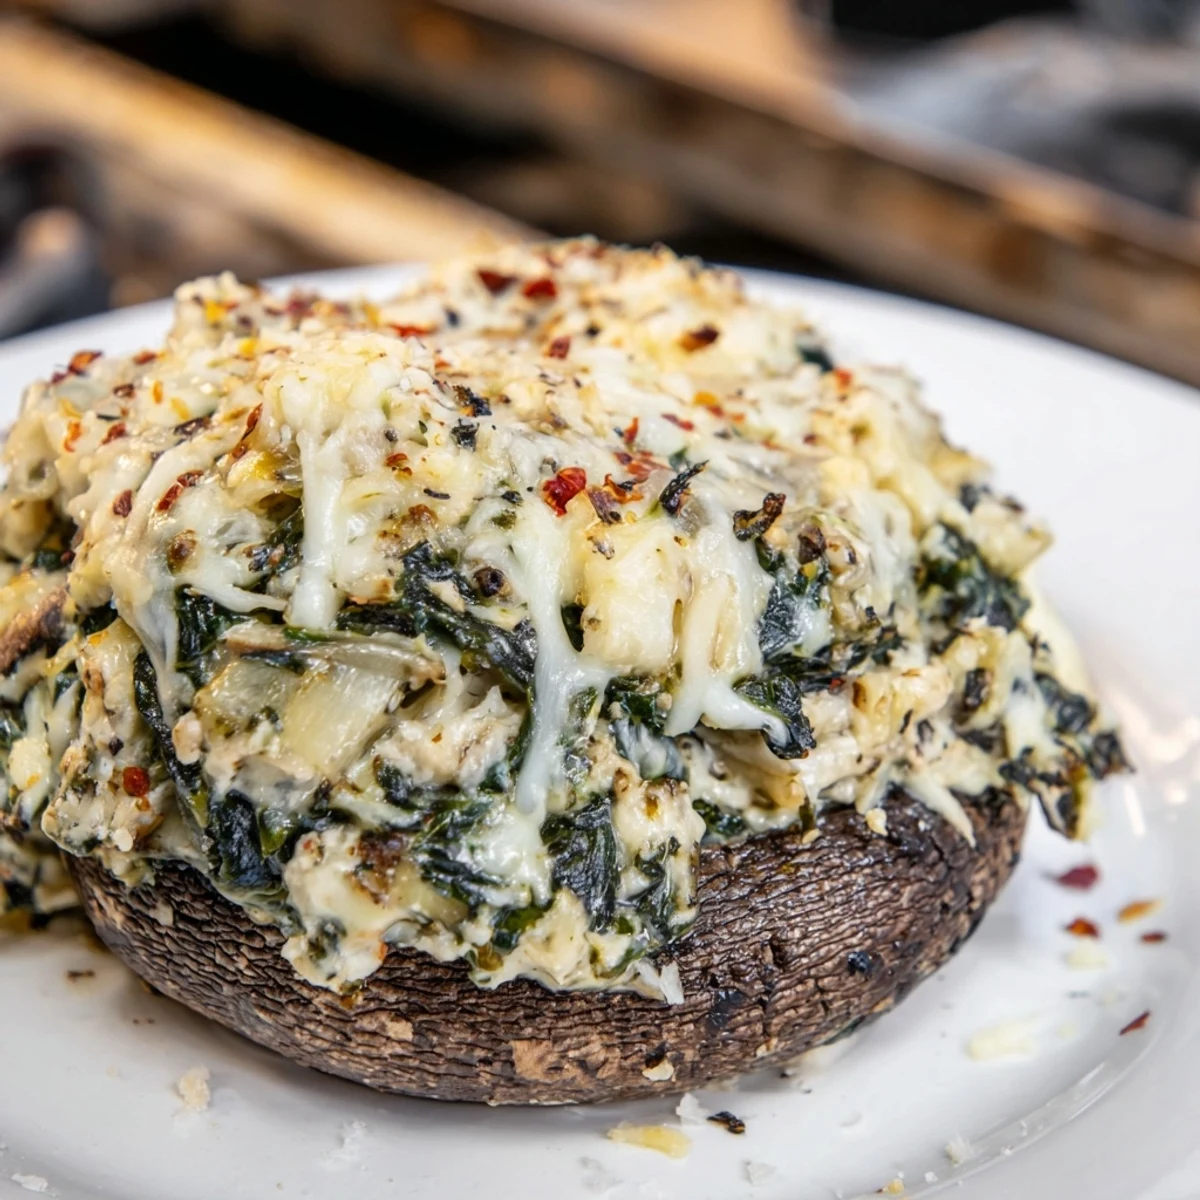
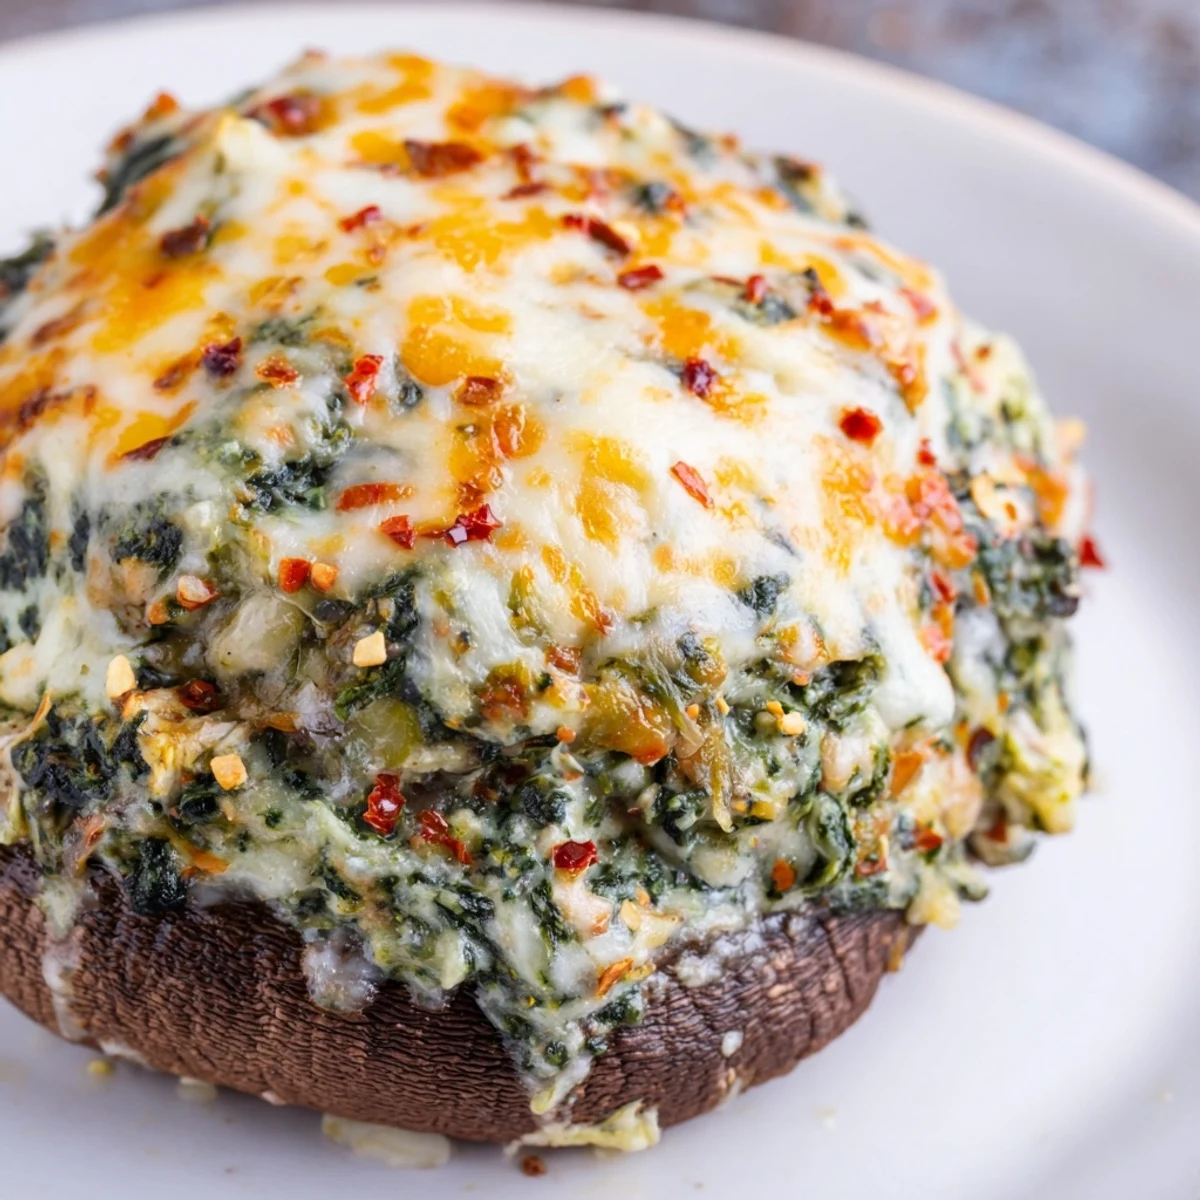
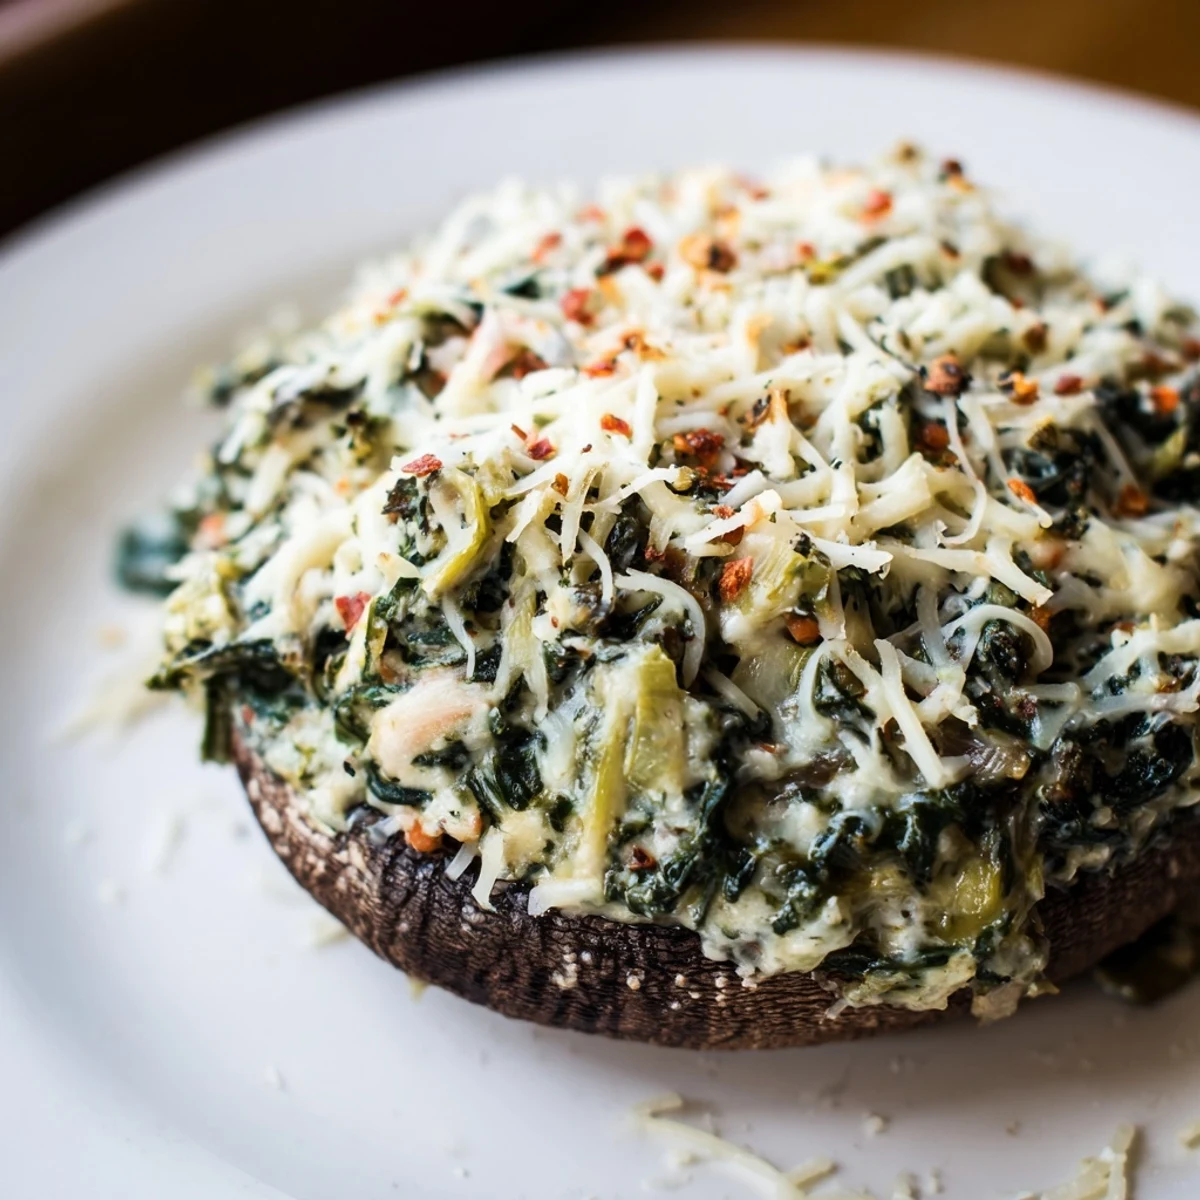
Save Enjoy a satisfying vegetarian meal with these baked Portobello mushrooms. Large caps act as vessels for a warm, creamy blend of spinach, artichoke hearts, cream cheese, and mozzarella. Seasoned with garlic and red pepper flakes, the filling offers a rich contrast to the earthy mushrooms. Baked until the cheese is golden and bubbly, this dish serves perfectly as a hearty main or an impressive appetizer.
I discovered these stuffed mushrooms on a Tuesday evening when I had half a container of spinach going soft in the crisper and a random jar of artichokes left over from a party dip that never happened. Instead of tossing them, I grabbed the largest Portobellos I could find and started layering flavors into their dark, meaty caps. The kitchen filled with this warm, garlicky aroma that made everyone pause and ask what I was making, which almost never happens with weeknight cooking.
My sister brought her new boyfriend to dinner once, and I made these because I needed something that looked impressive but felt casual. He asked for the recipe before dessert was even plated, which told me everything I needed to know. Now whenever he visits, he asks if I am making the mushrooms, and I love that I have something that became his expectation.
Ingredients
- Large Portobello mushroom caps: Four caps become your edible vessels, and removing the gills and stems gives you the perfect cup for filling without any bitter earthiness getting in the way.
- Olive oil: Just a tablespoon brushed on both sides keeps the mushrooms from sticking and helps them brown at the edges.
- Fresh spinach: Two cups of chopped spinach wilts down to almost nothing, so do not hold back on how much you use.
- Artichoke hearts: One cup drained and chopped adds texture and a subtle tang that plays beautifully with the cream cheese.
- Cream cheese and sour cream: Half a cup of softened cream cheese mixed with a third cup of sour cream creates the binding base that holds everything together.
- Mozzarella and Parmesan: Use half a cup of shredded mozzarella in the filling plus another half cup for the top, then split the Parmesan between filling and topping so you get that melted richness and the toasted, nutty crust.
- Garlic: Two minced cloves are enough to let you know the garlic is there without overwhelming the green vegetables.
- Red pepper flakes: A quarter teaspoon is optional, but I always include them because that little heat makes everything taste more interesting.
Instructions
- Heat your oven and prep your stage:
- Set your oven to 400 degrees Fahrenheit and line a baking sheet with parchment paper so cleanup is just tossing the paper and you are done.
- Brush and season the mushroom caps:
- Flip your Portobello caps gill-side up and brush both sides lightly with olive oil, then dust them with salt and pepper. This is where the mushrooms start to release their moisture and get ready to become tender.
- Wilt the spinach quickly:
- Heat a skillet over medium heat and toss in your chopped spinach, stirring for about two minutes until it surrenders and releases its water. Pull it off the heat and let it cool so it does not cook the cream cheese when you mix them together.
- Build the creamy filling:
- In a bowl, combine the wilted spinach, drained artichokes, softened cream cheese, sour cream, mozzarella, Parmesan, minced garlic, red pepper flakes if you are using them, salt, and black pepper, stirring until everything is blended and there are no streaks of plain cream cheese left.
- Generously fill each cap:
- Spoon the mixture into each mushroom cap, pressing gently so it settles into the cavity without overflowing. You want the filling to mound slightly above the rim because it will settle as it bakes.
- Add the finishing cheese layer:
- Sprinkle the remaining mozzarella and Parmesan over the top of each stuffed mushroom so you get that golden, bubbly crust when they come out of the oven.
- Bake until golden and tender:
- Bake for twenty to twenty-five minutes, checking around the twenty-minute mark so you catch them when the cheese is melted and starting to brown at the edges but before anything burns. The mushrooms should feel soft when you press them gently with a fork.
- Rest before serving:
- Let them cool for five minutes after they come out so the filling sets up slightly and you can pick one up without it falling apart.
 Save
Save There was a moment when I pulled these out of the oven and the kitchen just smelled like a restaurant, all warm cheese and garlic and something that made everyone stop talking. That is when I realized food is not really about being fancy or following rules perfectly, it is about creating a reason for people to gather and remember you made something they loved.
Why These Mushrooms Work So Well
Portobello mushrooms have this meaty texture that holds up beautifully to baking without turning into mush or water, and their size means you are essentially building an edible plate that you can pick up with your hands. The moment you remove those gills, you have created a natural bowl that practically begs to be filled with something creamy and rich. I learned early on that underestimating the power of a good mushroom base is a mistake I will never make twice.
Customizing Your Filling
The beauty of this recipe is that the spinach and artichoke base is forgiving enough to welcome additions without losing its identity. I have added everything from chopped sun-dried tomatoes to crispy bacon bits, and every variation felt like I was making something brand new. The cream cheese and sour cream keep everything stable, so you have room to experiment without worrying about the whole thing falling apart.
Pairing and Serving Ideas
These mushrooms work equally well as a dinner party appetizer or as the main event alongside a simple salad and crusty bread. I have served them warm right out of the oven and cold the next day, and honestly, both versions have their own appeal. A crisp white wine like Sauvignon Blanc cuts through the richness perfectly, or if you want something non-alcoholic, sparkling water with lemon does the job.
- Make these ahead of time and refrigerate the stuffed caps for up to eight hours before baking, then just add five extra minutes to your bake time.
- If you want to swap out the cheese, fontina and gouda both melt beautifully and bring their own flavor story to the dish.
- Leftovers keep in an airtight container for three days, and they reheat gently in a 350-degree oven until warm.
 Save
Save These stuffed mushrooms have become my go-to dish when I want to feel like I cooked something sophisticated without spending hours in the kitchen. There is something satisfying about turning a few simple ingredients into something that makes people ask for seconds.
Recipe FAQs
- → Can I prepare the filling ahead of time?
-
Yes, the filling can be mixed and stored in the refrigerator for up to 24 hours before stuffing and baking the mushrooms.
- → How do I clean the mushrooms?
-
Gently wipe the caps with a damp cloth or paper towel to remove dirt. Avoid soaking them in water, as they absorb liquid quickly.
- → Can I use frozen spinach?
-
Yes, thaw the frozen spinach completely and squeeze out all excess moisture using a clean towel to prevent the filling from becoming watery.
- → What can I use instead of cream cheese?
-
You can substitute an equal amount of mascarpone cheese or a Greek yogurt base for a lighter version, though the texture may vary slightly.
- → Are these suitable for a keto diet?
-
Yes, these stuffed mushrooms are naturally low in carbs and high in fat, making them suitable for a ketogenic diet when using full-fat dairy.
