 Save
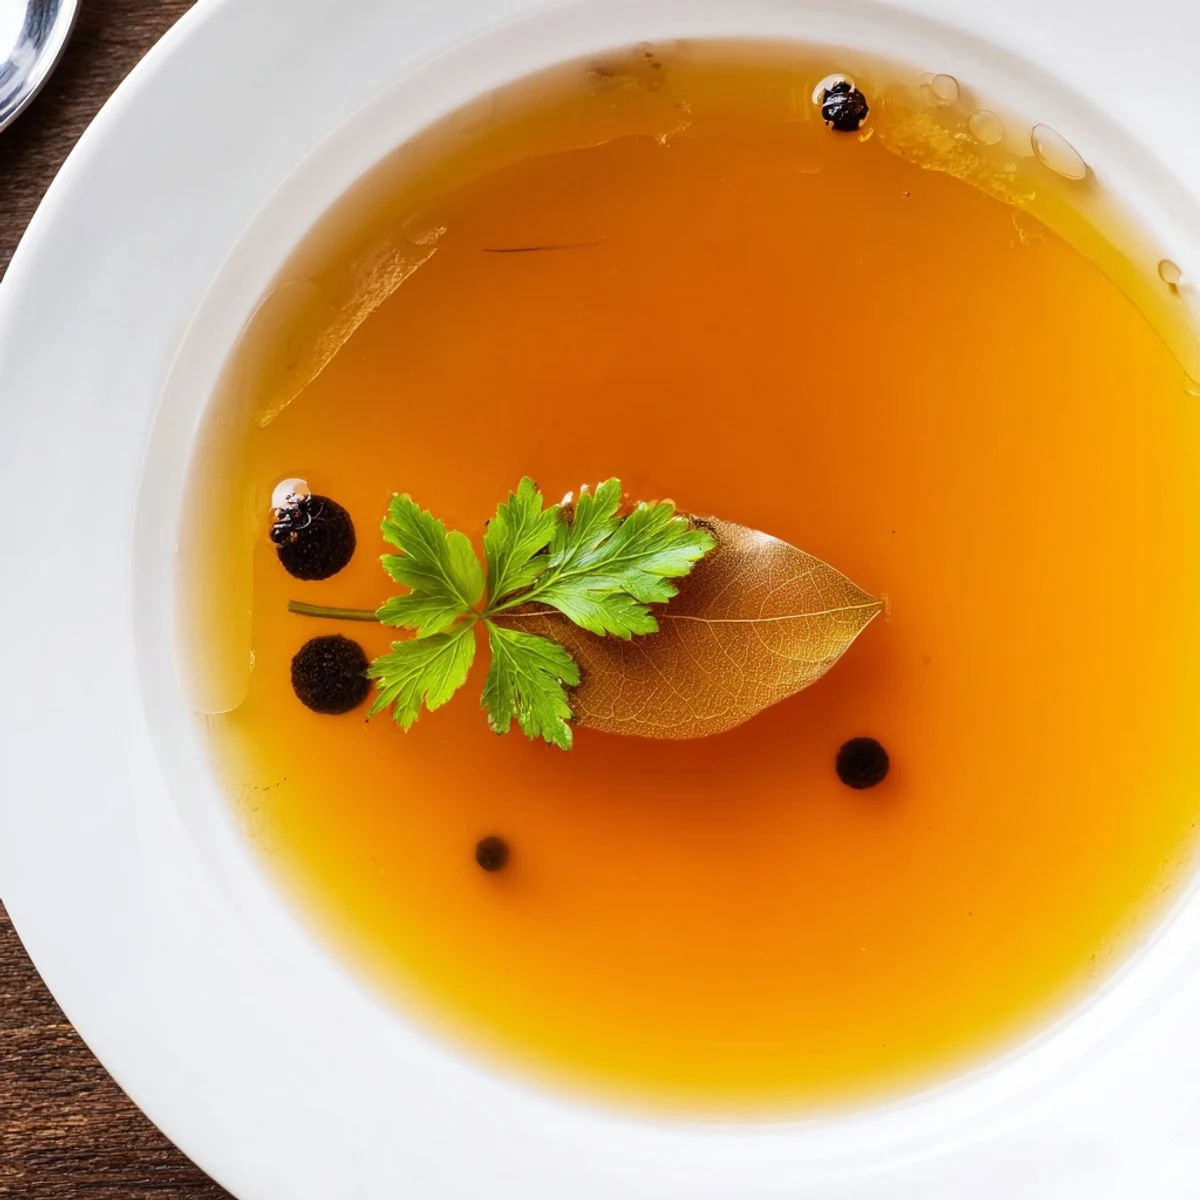
Save Simmer beef bones with carrots, celery, onion, garlic, bay leaves, parsley, peppercorns and a splash of apple cider vinegar in cold water for at least 12 hours. Roast bones first for deeper color. Skim foam, strain through cheesecloth, then chill to remove excess fat. Result is a gelatinous, nutrient-dense broth for sipping or using as a savory base; season with salt after cooking.
The entire apartment smelled like something ancient and holy by hour six, and my roommate walked in asking if I was brewing medicine. In a way, I was. Beef bone broth had been on my list for years, something I kept reading about but never committed to until a cold Sunday when I had nothing else to do and a freezer full of soup bones from the butcher.
I set a timer on my phone that first attempt and woke up at two in the morning to check on the pot, convinced I had either ruined it or started a fire. The gentle bubbling sound from the kitchen was almost meditative, and I stood there in bare feet feeling oddly proud of something that required mostly patience.
Ingredients
- Beef bones (2.5 lbs): A mix of marrow, knuckle, and oxtail gives you the best balance of collagen and flavor, and your butcher will usually cut them to size if you ask.
- Carrots (2): Rough chopped is fine since these are here for flavor extraction, not presentation.
- Celery stalks (2): Adds a subtle savory backbone that you would miss if you left it out.
- Large onion (1): Quartered with the skin on actually adds beautiful golden color to the finished broth.
- Garlic cloves (4): Smashed to release the oils, no need to peel perfectly.
- Bay leaves (2): These quietly do heavy lifting in the background.
- Fresh parsley (1 small bunch): Tossed in whole, stems and all, it brightens the final flavor.
- Whole black peppercorns (1 tsp): Whole peppercorns give gentle warmth without clouding the broth the way cracked pepper would.
- Apple cider vinegar (2 tbsp): This is the trick that helps draw minerals out of the bones, do not skip it.
- Cold water (12 cups): Start cold so the extraction happens gradually as the temperature rises.
- Salt: Add at the end so you can control the seasoning precisely.
Instructions
- Roast the bones:
- Spread your bones on a sheet pan and roast at 400 degrees for about 30 minutes until they are deeply browned and fragrant. This step is optional but transforms a good broth into something remarkably deep and satisfying.
- Load the pot:
- Transfer bones to a large stockpot and pile in the carrots, celery, onion, garlic, bay leaves, parsley, and peppercorns. Pour the apple cider vinegar over everything and add the cold water, making sure the bones are well covered.
- Bring to a simmer:
- Set the pot over medium heat and let it come to a gentle simmer, not a rolling boil. Skim off any grey foam that rises during the first hour with a ladle, as this keeps the broth clean and clear.
- The long wait:
- Reduce the heat to low and let it barely bubble uncovered or partially covered for at least 12 hours. Check occasionally and add water if the level drops below the bones.
- Strain and season:
- Pour the broth through a fine mesh sieve or cheesecloth into a large bowl or second pot, discarding all the solids. Now season with salt to taste, starting small because you can always add more.
- Cool and store:
- Let it cool completely, then refrigerate so the fat solidifies on top like a cap you can easily lift off. The broth keeps for 5 days in the fridge or freezes beautifully for up to 3 months.
 Save
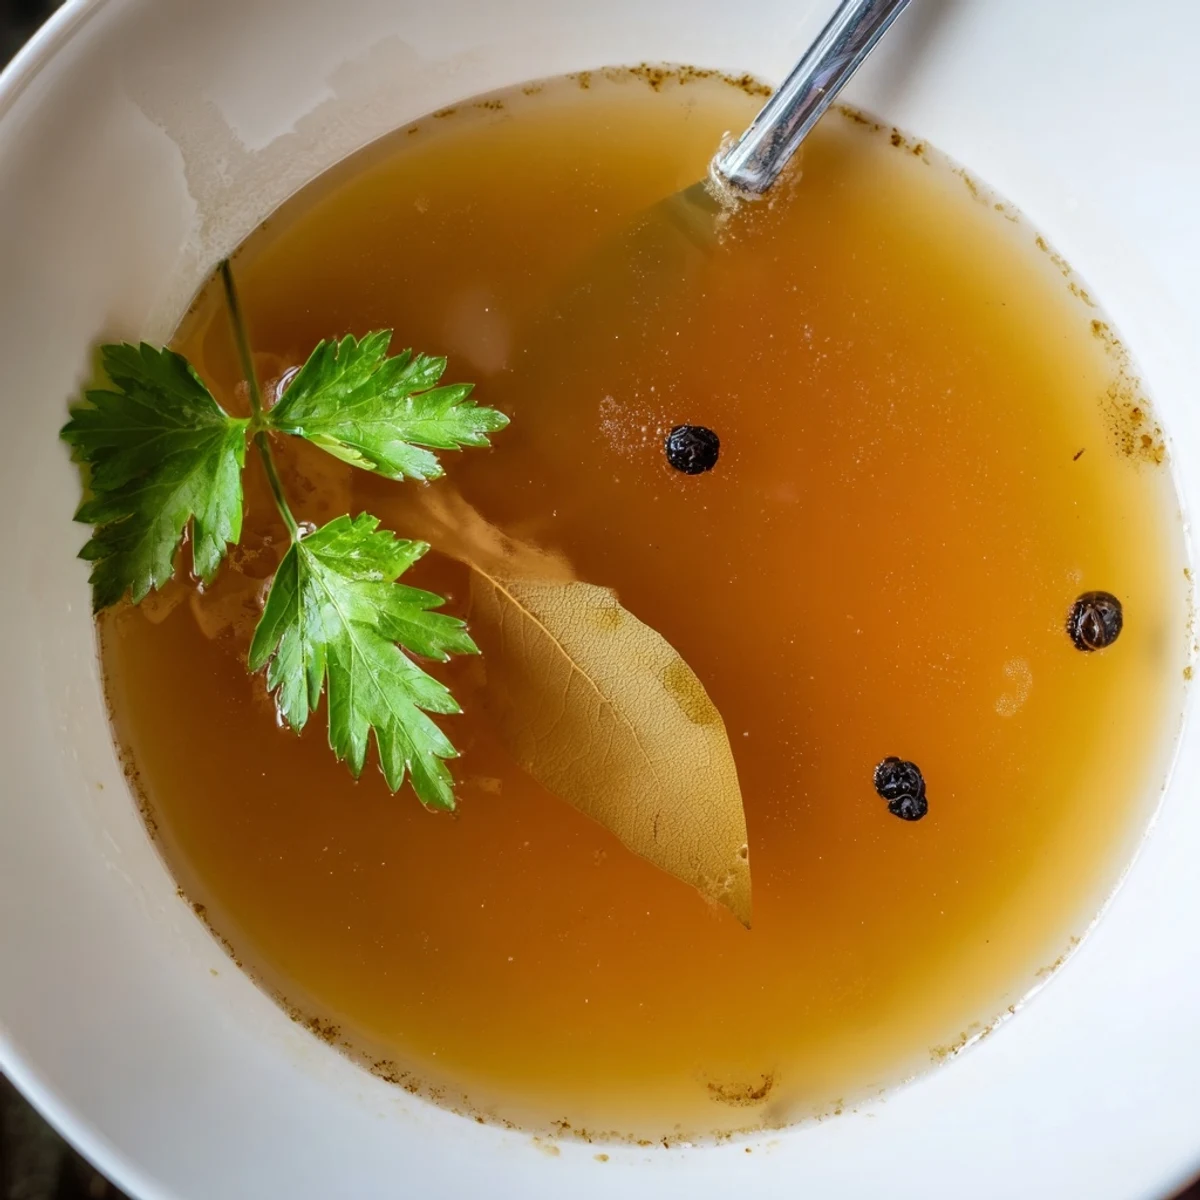
Save Pouring that first steaming mug of finished broth and tasting something I had tended for half a day felt like a kind of kitchen meditation I had never experienced before.
What Kind of Bones Work Best
Your butcher is your best friend here, so ask for a mixed bag of marrow bones, knuckles, and joint pieces rather than grabbing whatever is pre packaged. Oxtail adds incredible richness but can be expensive, so even a small amount mixed with cheaper bones makes a noticeable difference. If you see bones with a lot of meat still attached, save that meat after straining for a quick soup later.
Slow Cooker Versus Stovetop
Both methods produce excellent results, but the slow cooker wins on convenience because you can leave it overnight without worrying about an open flame. The stovetop gives you slightly more evaporation control and a marginally richer result, though honestly the difference is subtle. Use whatever lets you commit to the full twelve hours without anxiety.
How to Use Every Drop
A batch this size disappears faster than you think once you start using it for everything. Keep some in smaller jars so you can thaw only what you need without repeating the freeze and thaw cycle.
- Freeze portions in ice cube trays for quick deglazing pans when you need just a splash.
- Season simply with salt, a squeeze of lemon, and a pinch of chili flakes for a restorative afternoon drink.
- Remember that a layer of solid fat on top after refrigeration is your seal of authenticity, not a flaw.
 Save
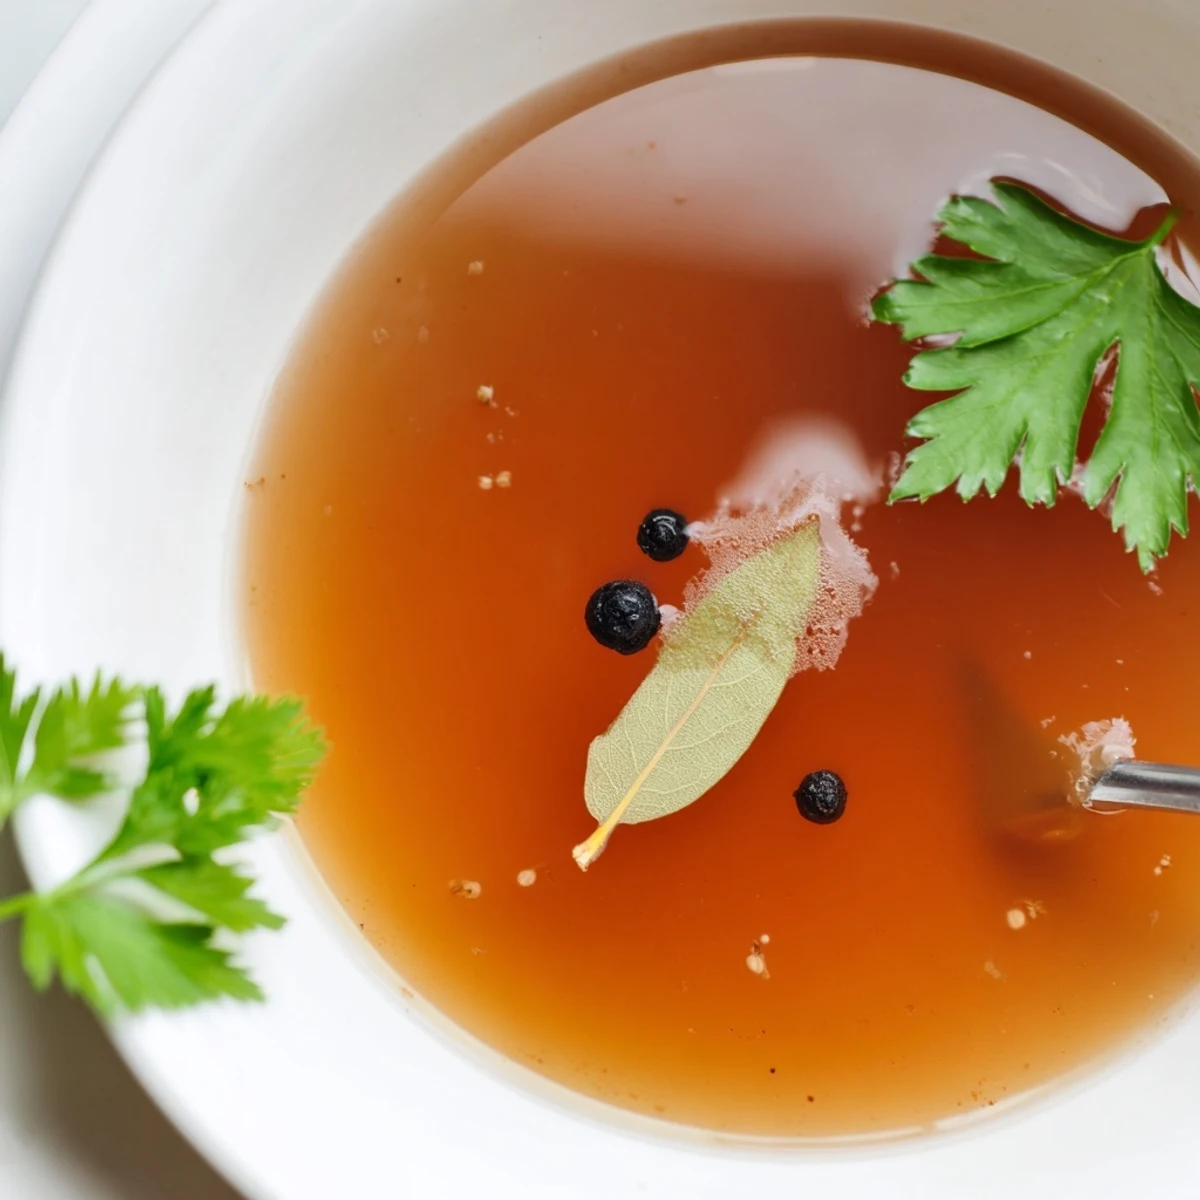
Save There is something deeply satisfying about transforming humble bones and scraps into something so nourishing. Once you have made your own, you will never look at a carton of store bought broth the same way again.
Recipe FAQs
- → Why add apple cider vinegar to the pot?
-
The acid helps draw minerals and collagen from the bones into the liquid, enhancing body and mouthfeel. A small splash before simmering promotes extraction without altering flavor.
- → Does roasting the bones matter?
-
Roasting deepens color and imparts caramelized, savory notes. It isn’t required but yields a richer, more complex broth if you roast bones at 400°F for about 30 minutes first.
- → How long should I simmer for best results?
-
Simmer uncovered or partially covered for at least 12 hours; longer cooking (up to 24 hours) produces a more gelatinous, flavorful stock. Keep bones submerged and add water as needed.
- → How can I tell the broth is done?
-
When chilled, a well-made broth becomes slightly to fully gelatinous due to extracted collagen. Taste for depth of flavor and adjust salt after cooking rather than during the long simmer.
- → What’s the best way to remove fat and store the liquid?
-
Chill the strained liquid until fat solidifies on the surface, then skim or lift off the fat. Store in the fridge up to 5 days or freeze portions for up to 3 months.
- → Can I use a slow cooker or pressure cooker instead?
-
Yes. A slow cooker works well for long, gentle simmering. A pressure cooker can extract flavor faster—reduce time to several hours—but expect a slightly different clarity and color.
