 Save
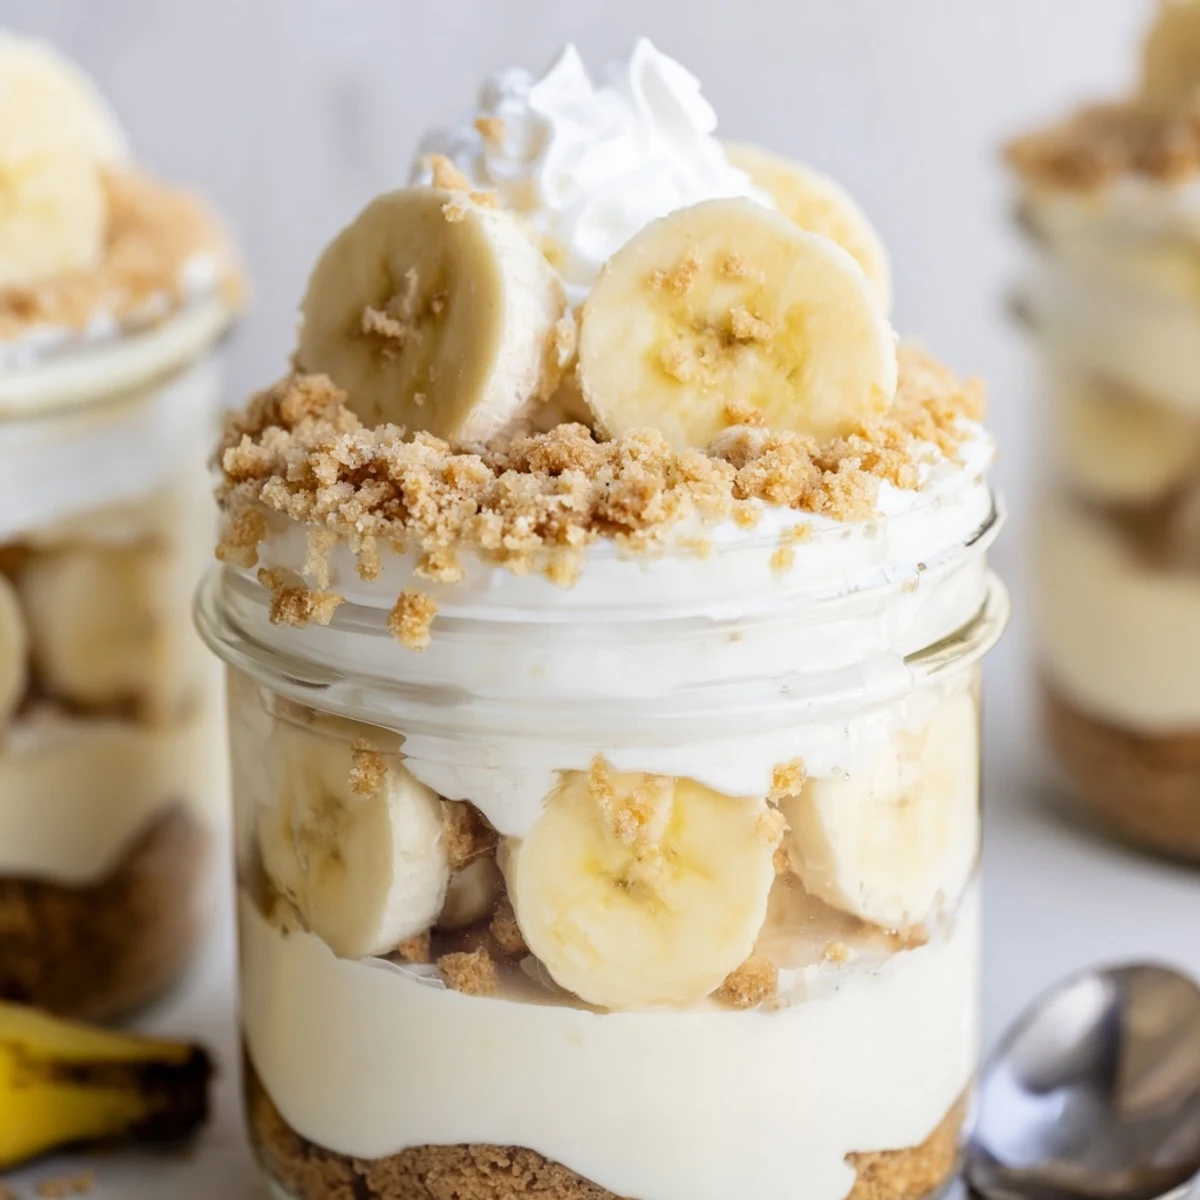
Save These individual cups feature layers of creamy cheesecake filling, fresh banana slices, and silky banana pudding atop a buttery vanilla wafer crust.
Ready in just 20 minutes of hands-on time, this no-bake dessert chills in the refrigerator until set. The combination of textures—crunchy crust, smooth cheesecake, and tender bananas—creates an irresistible treat.
Perfect for parties, potlucks, or make-ahead entertaining, each serving delivers classic banana pudding flavors in an elegant presentation.
My sister brought these to our summer potluck last year, and I watched three grown adults fight over the last cup. There is something about the combination of creamy cheesecake and nostalgic banana pudding that makes people lose all restraint. I have been making them for every gathering since, and they disappear within minutes.
The first time I made these for my neighbors, their kids asked if I could come over every week to make dessert. I stood in my kitchen at midnight pressing wafer crumbs into cups, realizing I had found my new signature dish.
Ingredients
- Vanilla wafer cookies: The crust needs to be fine crumbs, so crush them thoroughly for the best texture.
- Unsalted butter: Melted butter binds the crust together without making it greasy.
- Cream cheese: Must be fully softened to avoid lumps in your filling.
- Granulated sugar: Sweetens the cheesecake layer just enough without overpowering.
- Pure vanilla extract: Quality vanilla makes a noticeable difference here.
- Heavy whipping cream: Keep it very cold for the stiffest peaks.
- Instant banana pudding mix: The quick route to that classic flavor everyone recognizes.
- Whole milk: Cold milk helps the pudding set properly.
- Ripe bananas: Look for yellow with some brown spots for maximum sweetness.
Instructions
- Build the crust:
- Mix crushed wafers with melted butter until everything feels like damp sand. Press about two tablespoons into each cup and use the back of a spoon to tamp it down firmly.
- Whip the cheesecake base:
- Beat cream cheese, sugar, and vanilla until completely smooth with no streaks remaining. Scrape the bowl once or twice to catch any stubborn bits.
- Fold in the cream:
- Whip cold heavy cream until it holds stiff peaks, then gently fold it into the cream cheese mixture. Stop as soon as everything is combined to keep it airy.
- Make the pudding:
- Whisk pudding mix and cold milk for two full minutes, then let it sit until it thickens to a spreadable consistency.
- Layer everything:
- Spoon half the cheesecake mixture over each crust, add banana slices, top with pudding, then finish with remaining cheesecake.
- Add the finishing touches:
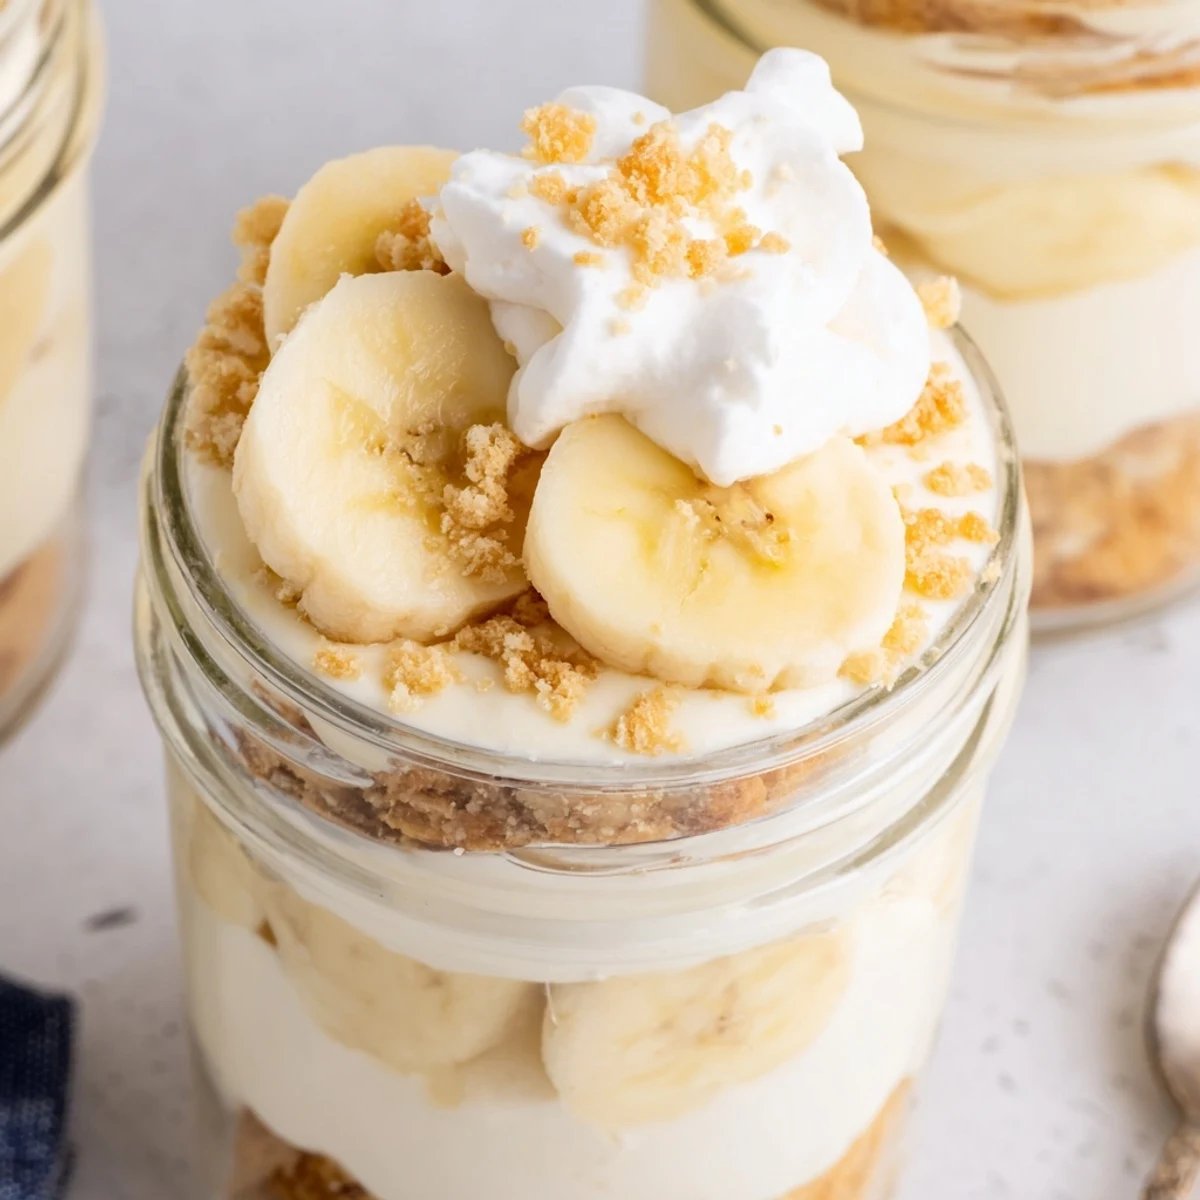
- Sprinkle extra wafer crumbs on top and add fresh banana slices right before serving for the best texture contrast.
- Chill before serving:
- Refrigerate for at least two hours so the layers can set and the flavors meld together beautifully.
 Save
Save I once made these for a friend recovering from surgery, and she told me they were the first thing that actually made her feel hungry again. Food has a way of becoming more than sustenance.
Storage That Actually Works
These cups keep beautifully in the refrigerator for up to 24 hours, though the crust softens slightly over time. Cover them tightly with plastic wrap to prevent them from absorbing other flavors.
Serving Ideas
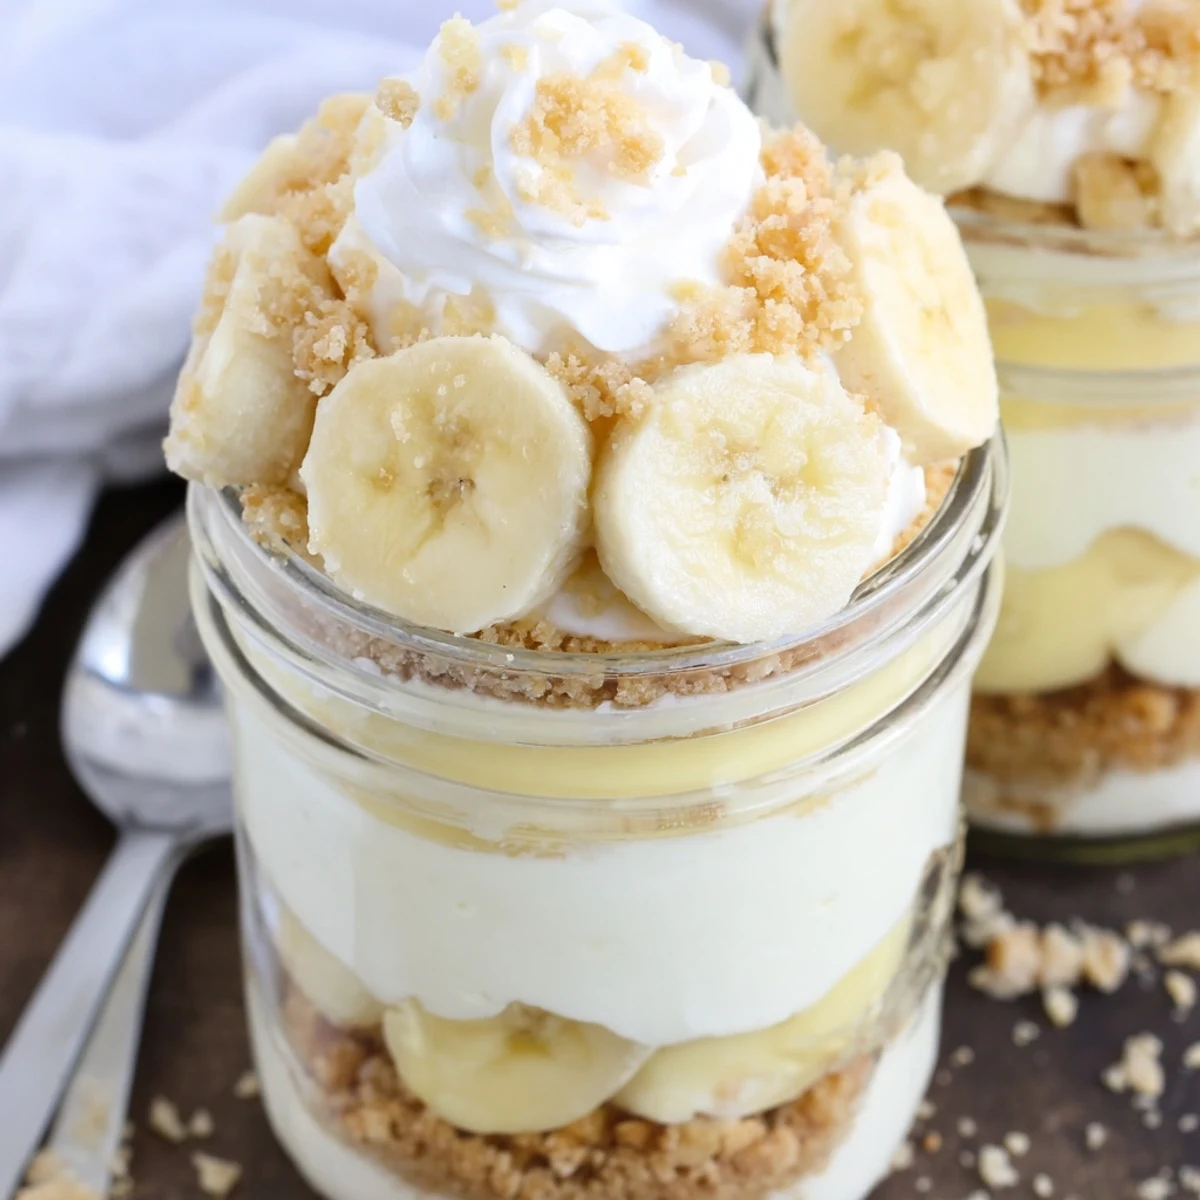
Clear glass cups or jars show off the beautiful layers, but even opaque containers work fine. I sometimes set up a toppings bar so guests can add their own whipped cream and crumbs.
Variations Worth Trying
The basic formula adapts easily to other flavors if banana is not your favorite. Try vanilla pudding with fresh berries or chocolate pudding with crushed Oreos for completely different desserts.
- Add a pinch of cinnamon to the crust for warmth.
- Drizzle caramel sauce between layers for extra indulgence.
- Use graham crackers instead of vanilla wafers for a different crunch.
 Save
Save Make these once and people will start expecting them at every gathering you host. Sometimes the easiest recipes become the most requested.
Recipe FAQs
- → Can I make these cheesecake cups ahead of time?
-
Yes, you can prepare the cups up to 24 hours in advance. Store them covered in the refrigerator and add fresh banana slices and wafer crumbs just before serving for best texture.
- → How do I prevent the bananas from turning brown?
-
Toss sliced bananas in a small amount of lemon juice before layering to slow oxidation. Alternatively, add fresh banana slices right before serving.
- → Can I use homemade banana pudding instead of instant?
-
Absolutely. Homemade cooked banana pudding works wonderfully—just ensure it cools completely and thickens before layering into the cups.
- → What size cups should I use for serving?
-
Use 6-8 ounce individual serving cups, mason jars, or dessert glasses. Clear containers showcase the beautiful layered presentation best.
- → Can I substitute the vanilla wafers for the crust?
-
Graham crackers, gingersnaps, or shortbread cookies make excellent alternatives. Crush them finely and mix with melted butter as directed.
